This next update has been long overdue.
Holiday, and especially PC troubles and other niggles have kept me from updating my blog and hampered my building progress quite.
Nevertheless I have been doing some small stuff which I'd like to show in this update.
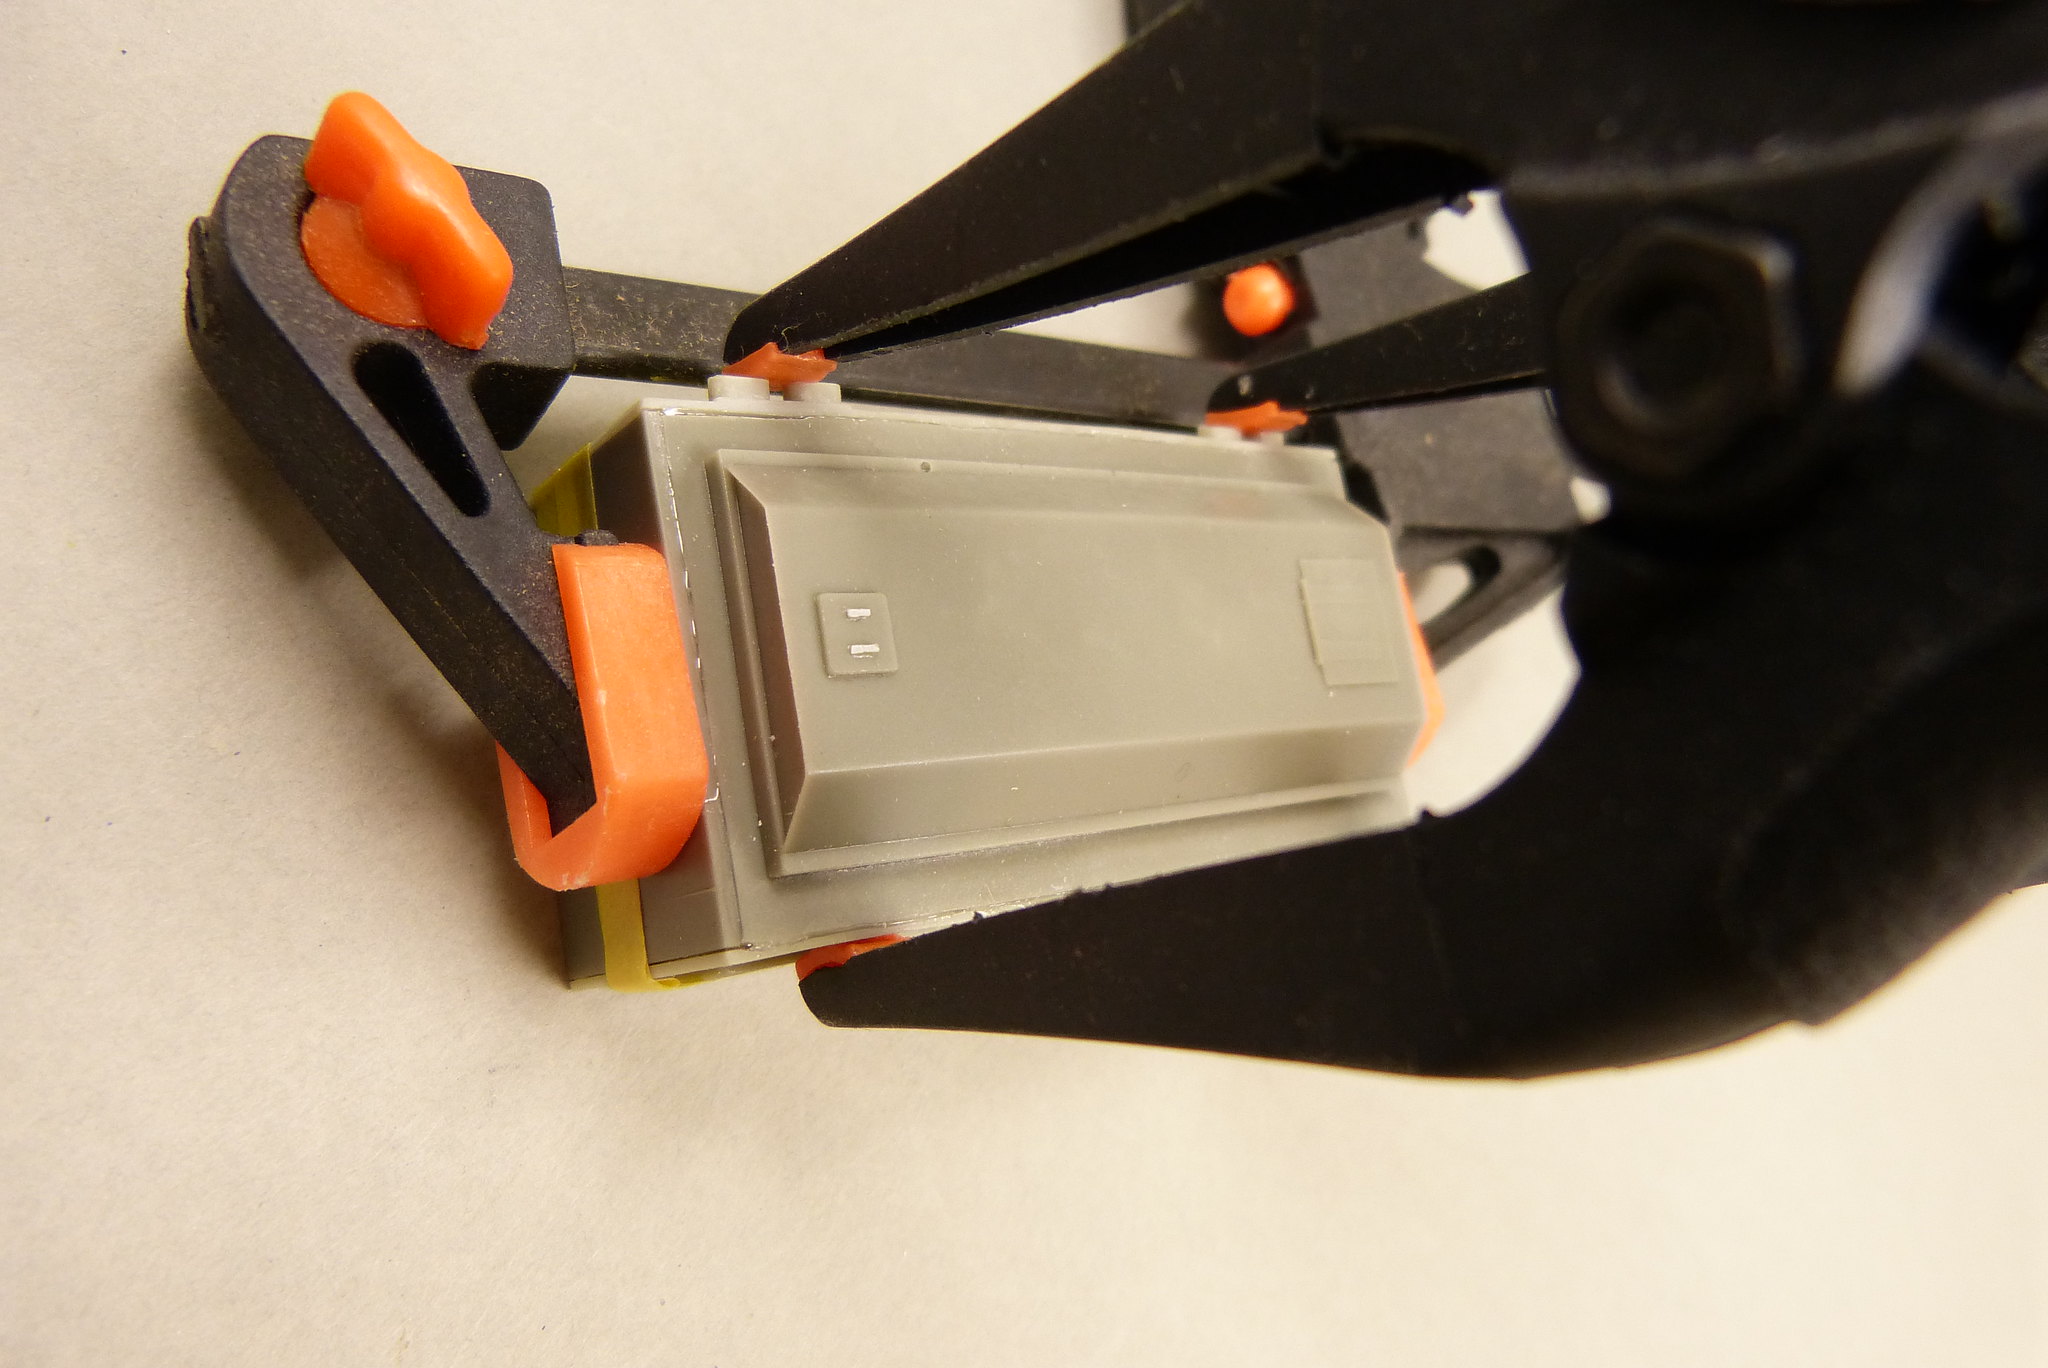
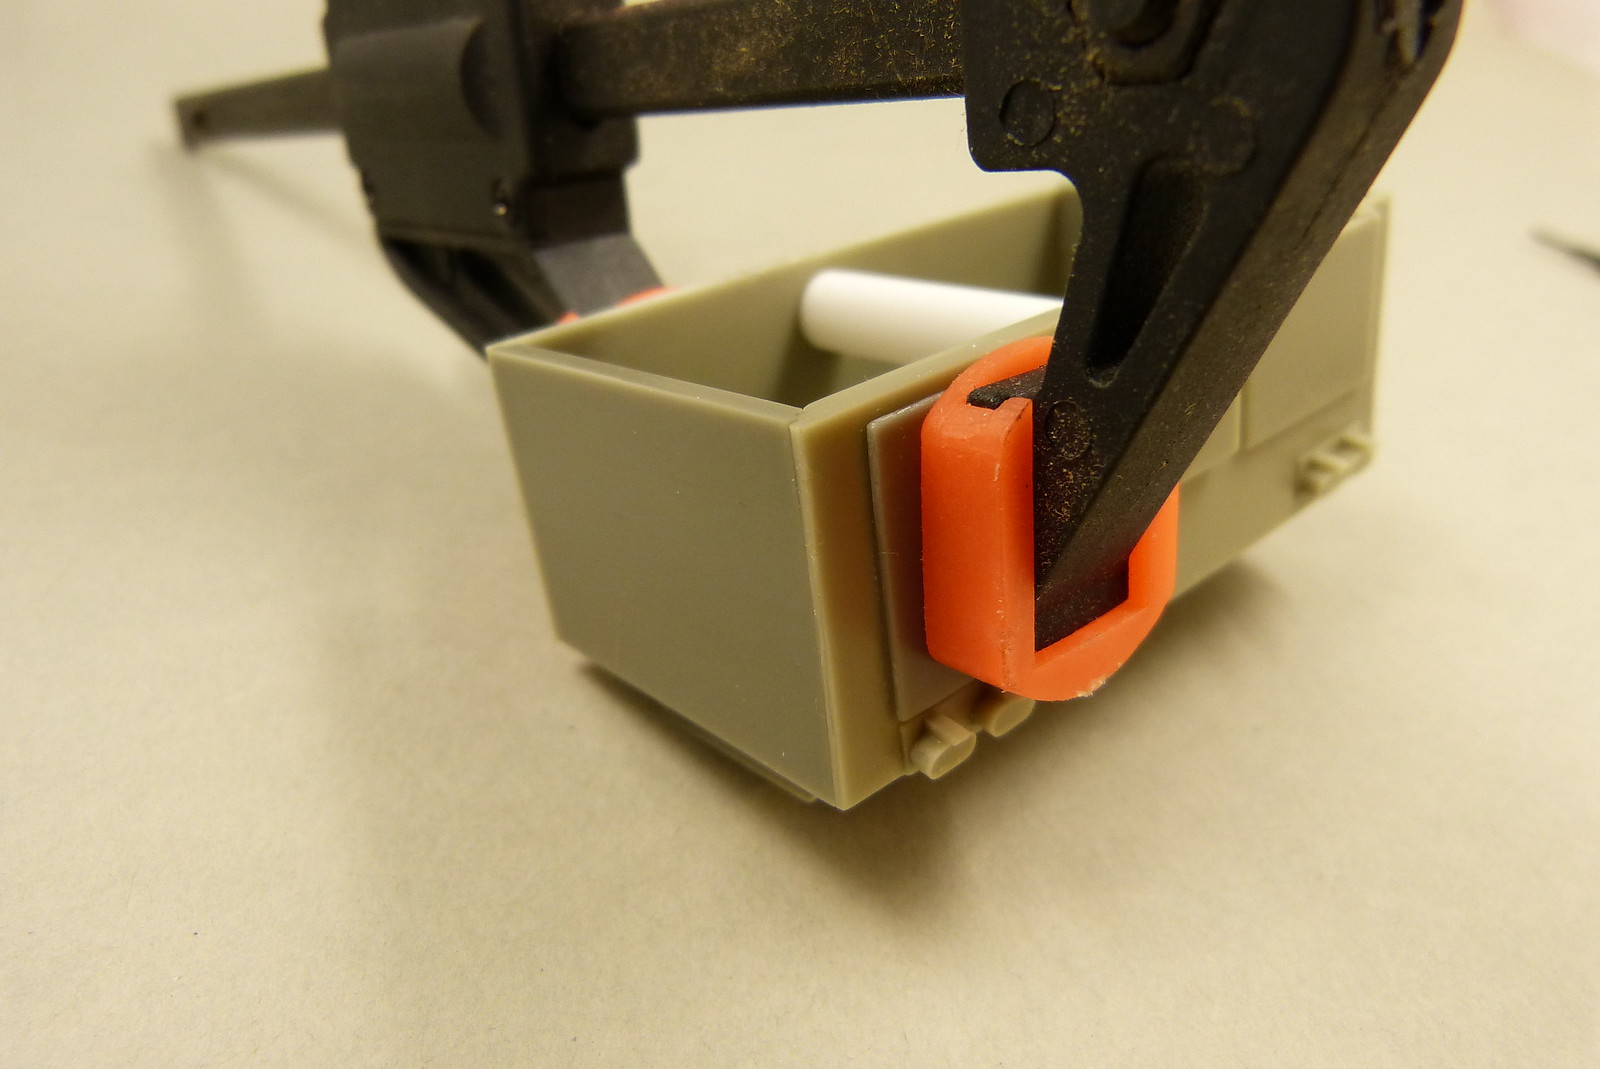
Continuing where I left off last time, I'll start this update with a few images of the first parts I've glued together (with 2-part epoxy glue).
I used some clamps to keep the parts together while the glue set.
I used some clamps to keep the parts together while the glue set.
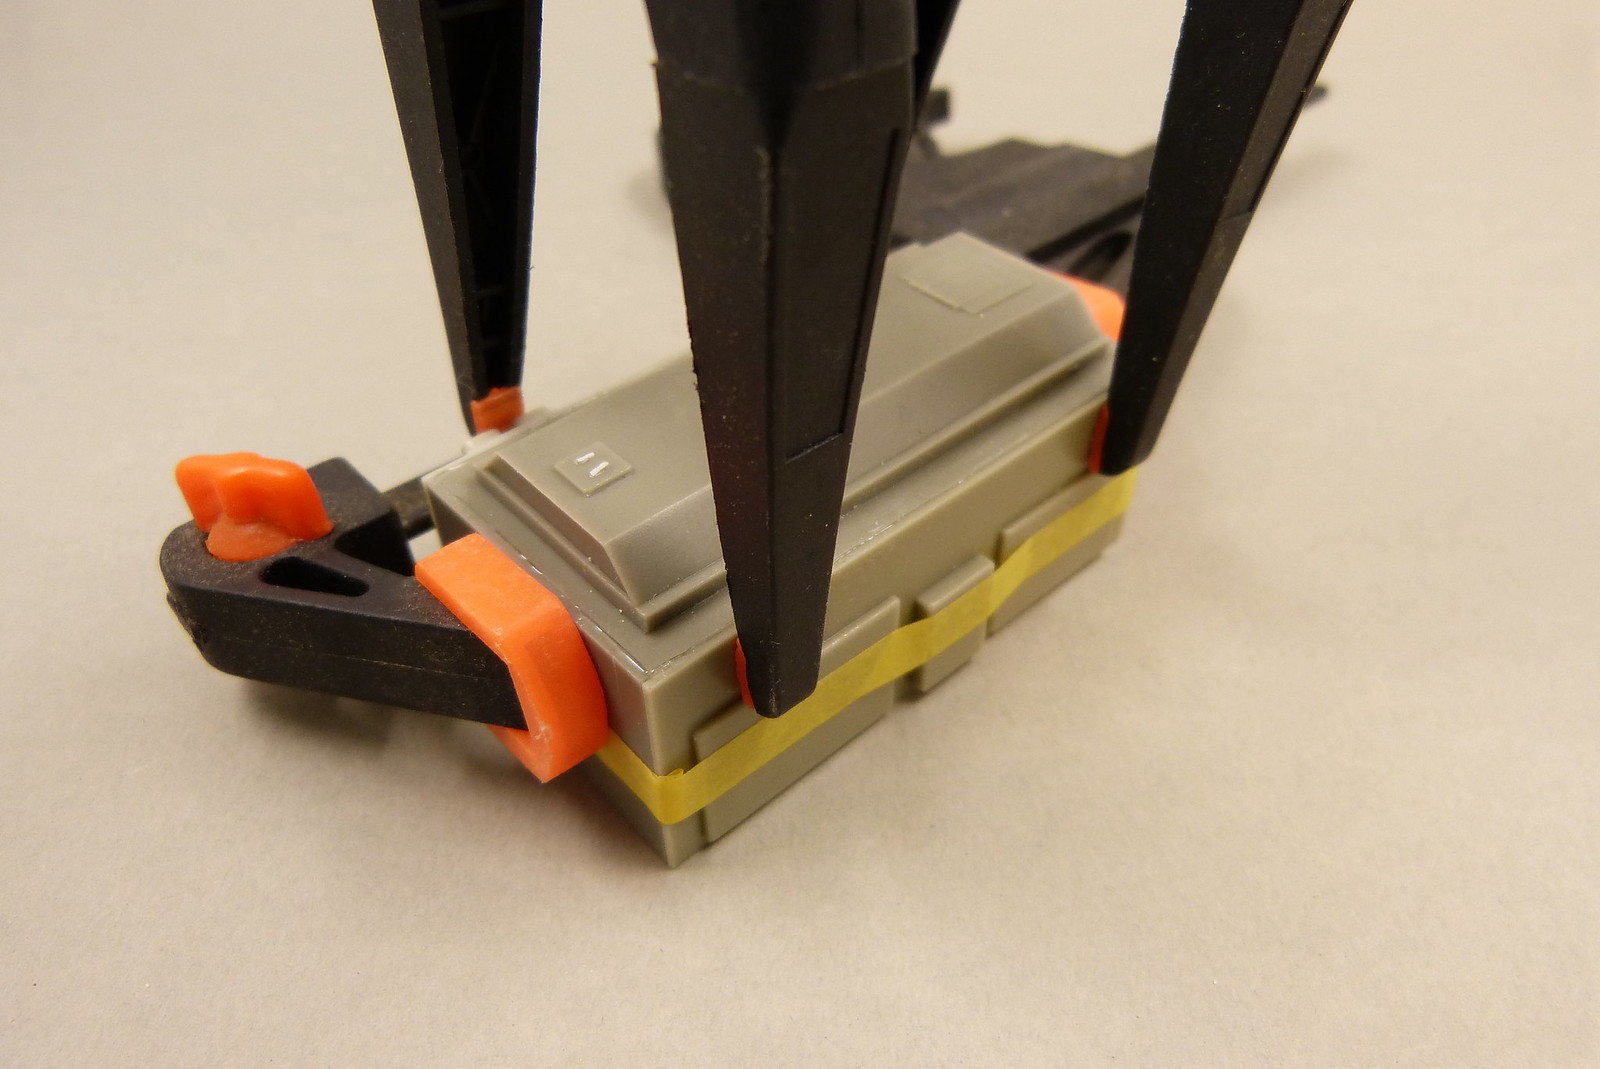
After the glue on the parts of the field generator had set,
I noticed that the sidewalls seemed slightly deformed (bent inwards). Probably a result of the
clamping of the parts when the glue was curing.
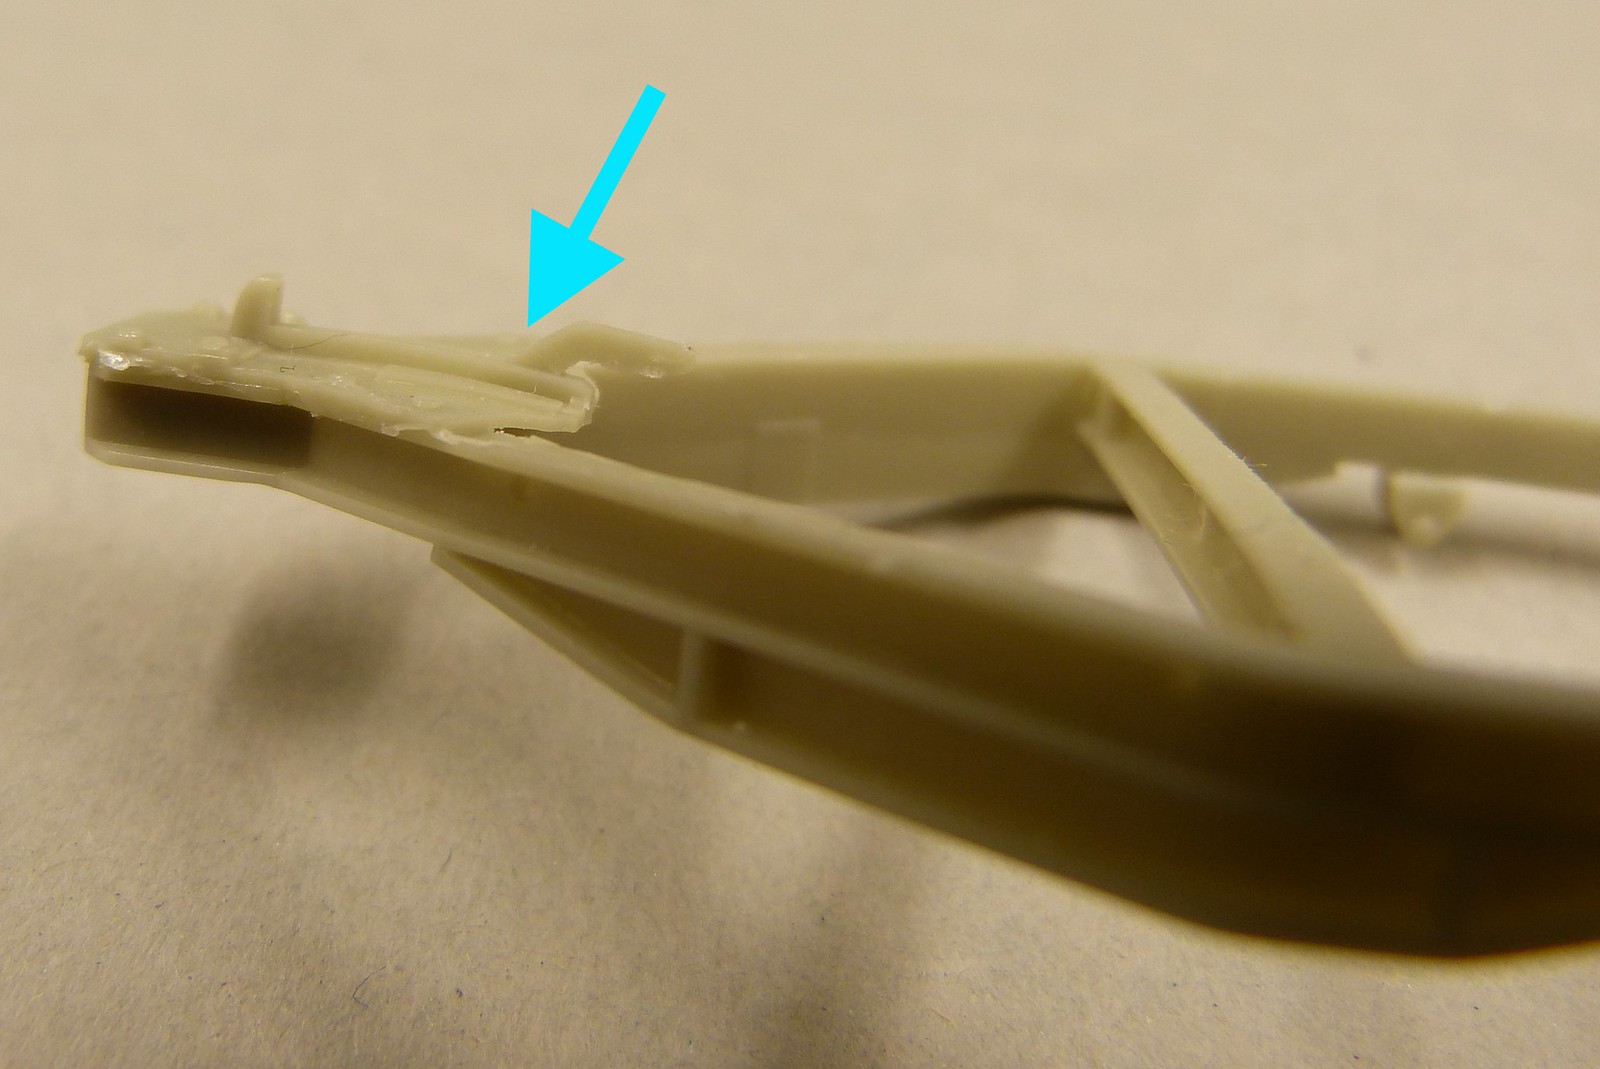
I placed a styrene tube between the sidewalls to return them to the correct shape.
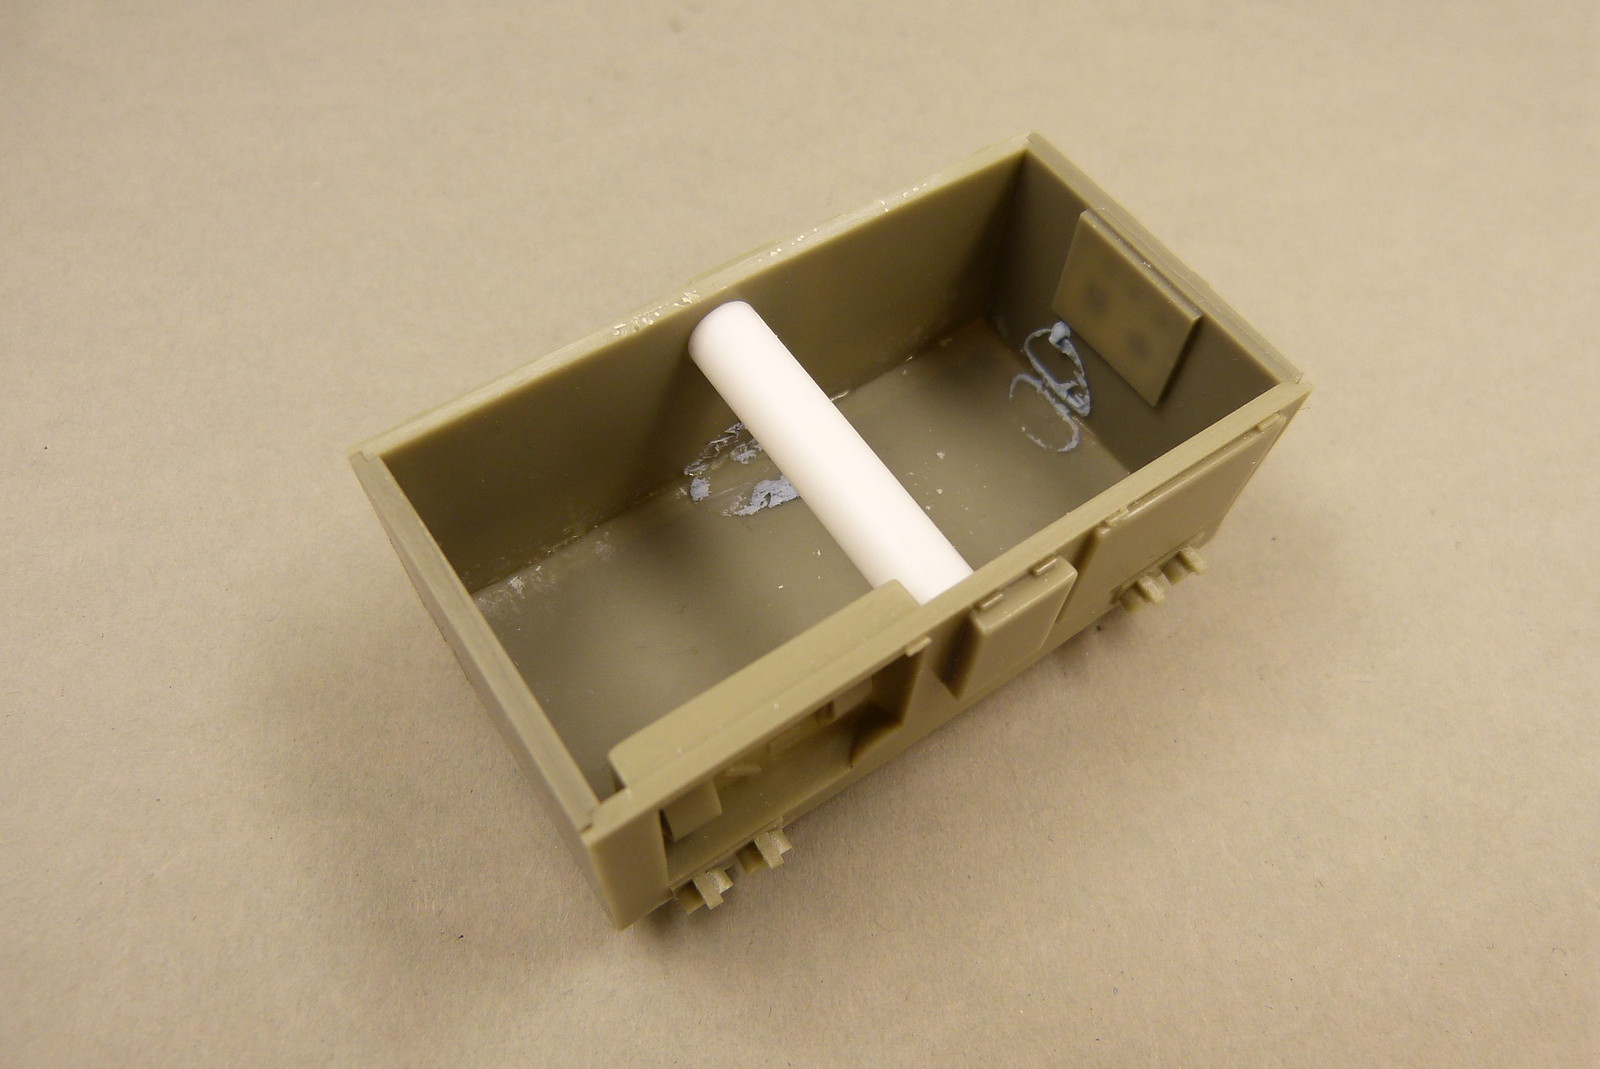
I placed a styrene tube between the sidewalls to return them to the correct shape.
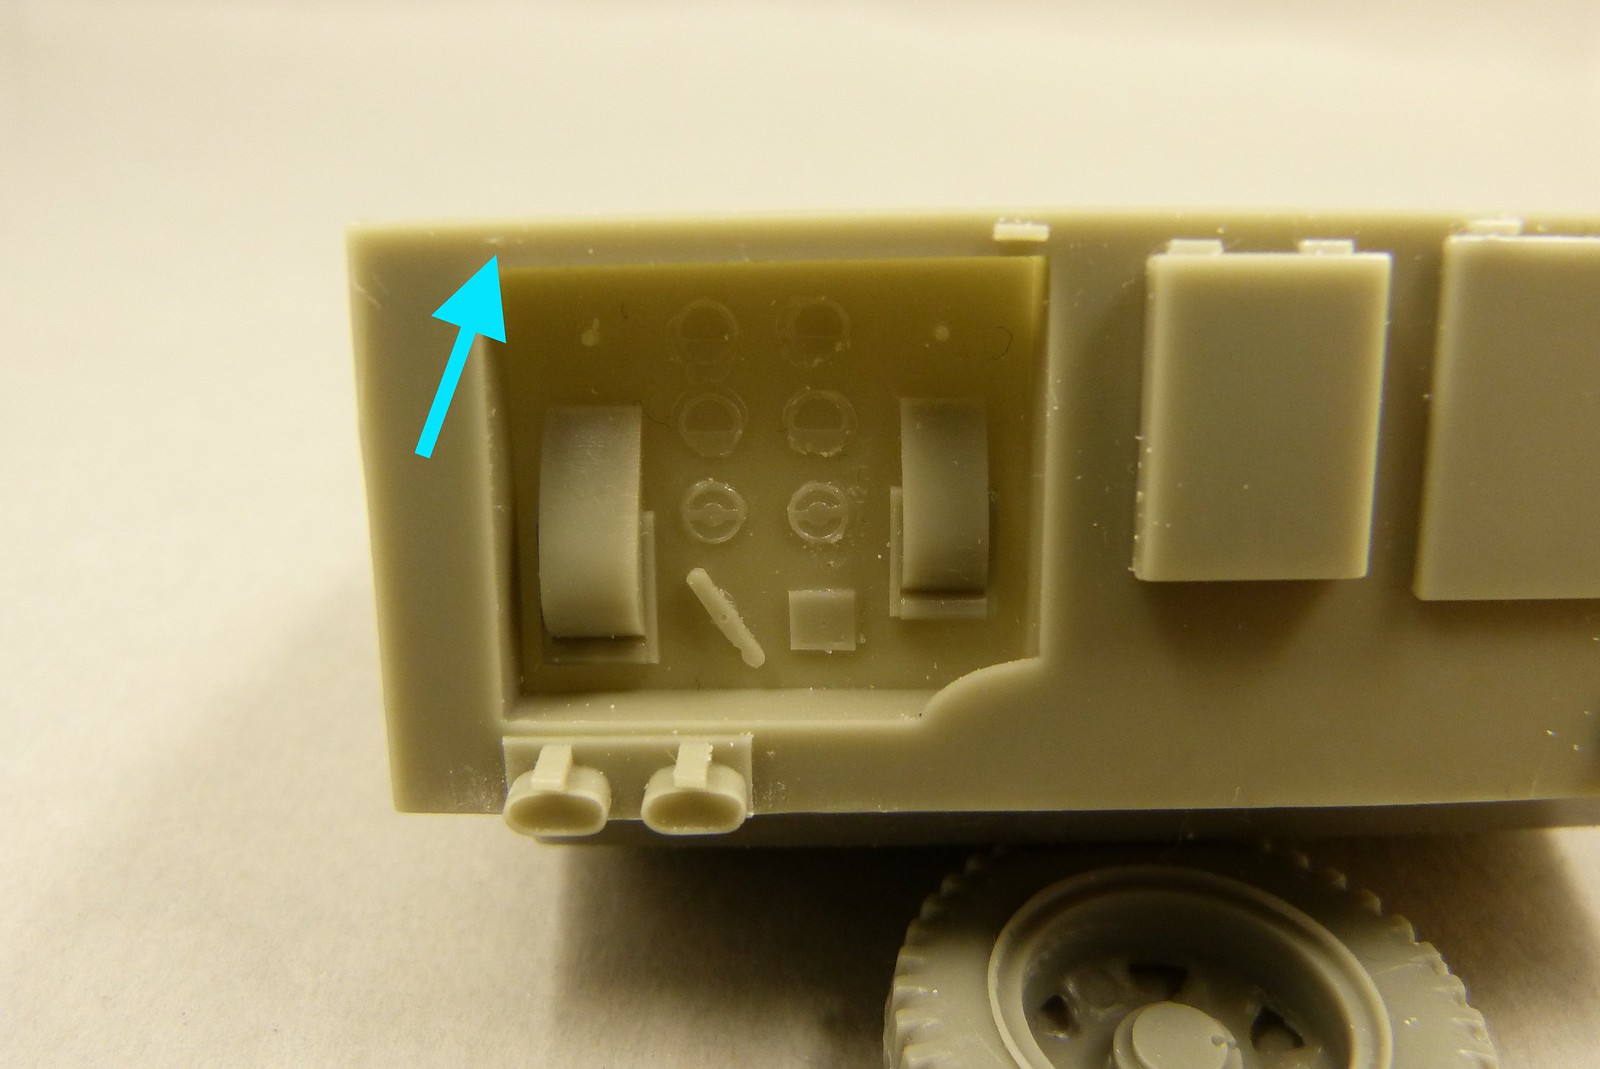
I continued by glueing the side panel shut.
Just one final look at all the nice detail I'll be hiding from the viewing public and than the panel goes on. For this job I used Zap Thin CA.
Only thing I need to do now is glue on a new hinge as one wasn't present on my casting.
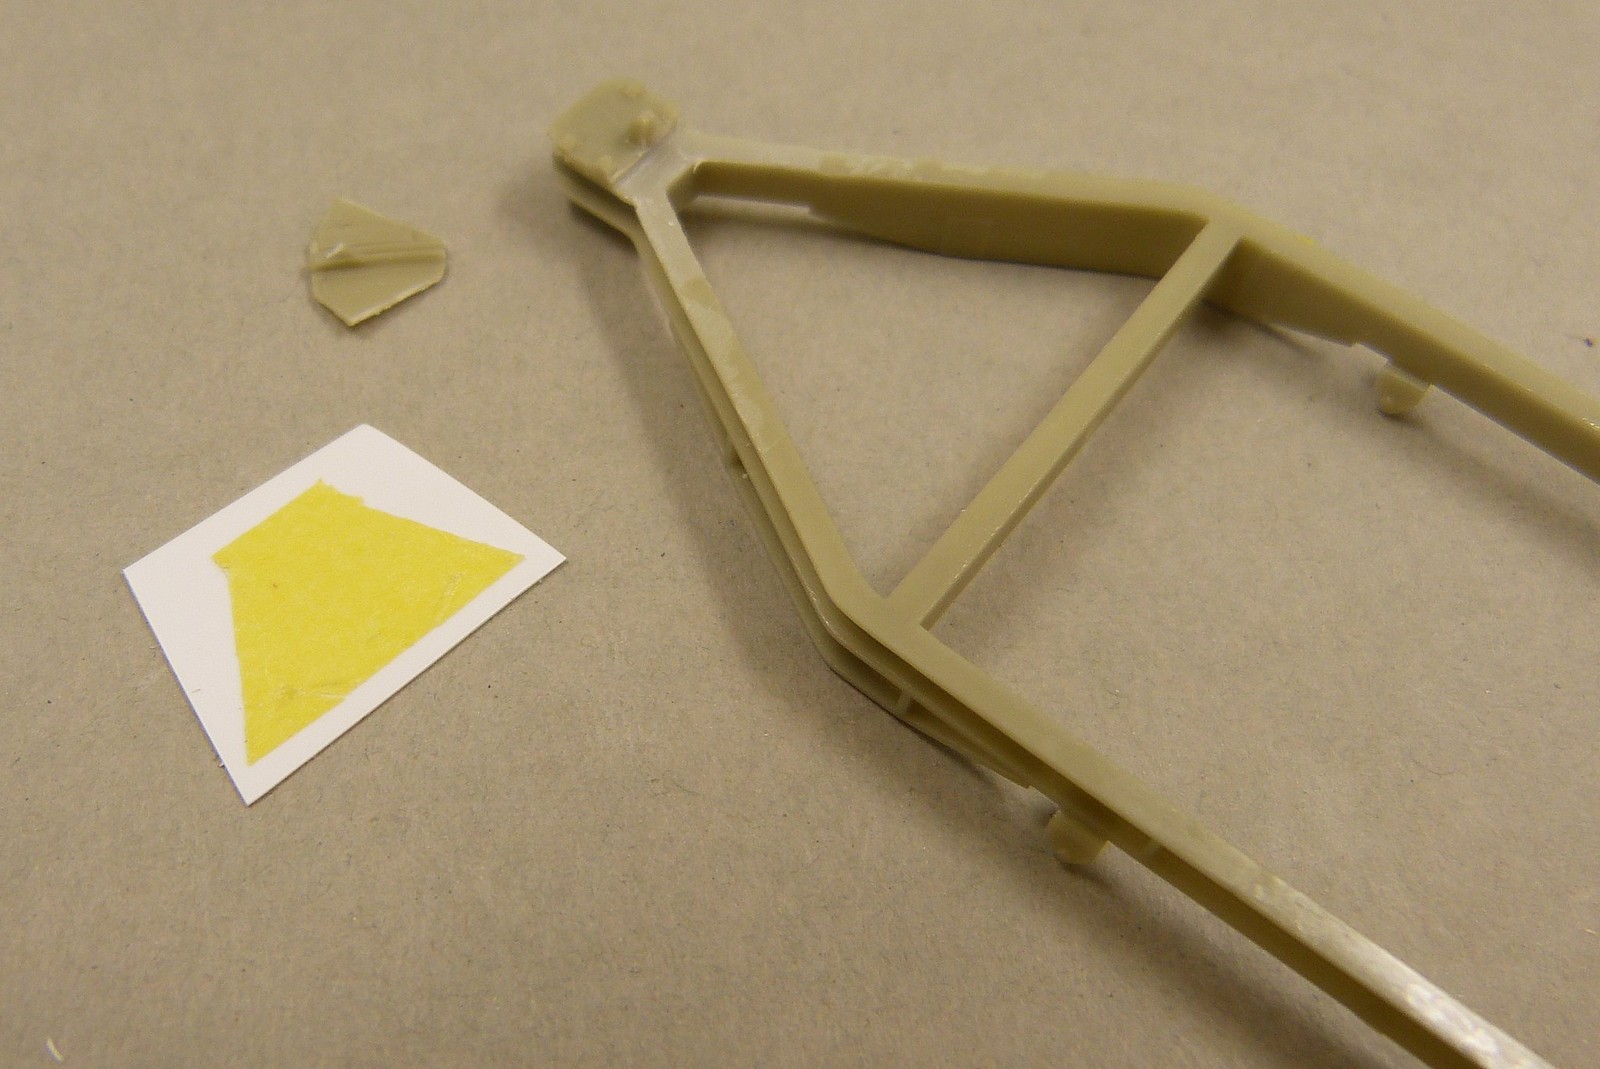
It looks a lot better now. The only part of the frame that remains stubborn is the section with the handle for lifting it on and off the towbar. It's better than before, but it still isn't straight.
After some consideration I realized that I wouldn't get the kit part to conform, so I decided to remove the section with the handle completely and to rebuild it from sheet with possibly some of the salvaged resin parts (like the handle and rail).
After some consideration I realized that I wouldn't get the kit part to conform, so I decided to remove the section with the handle completely and to rebuild it from sheet with possibly some of the salvaged resin parts (like the handle and rail).
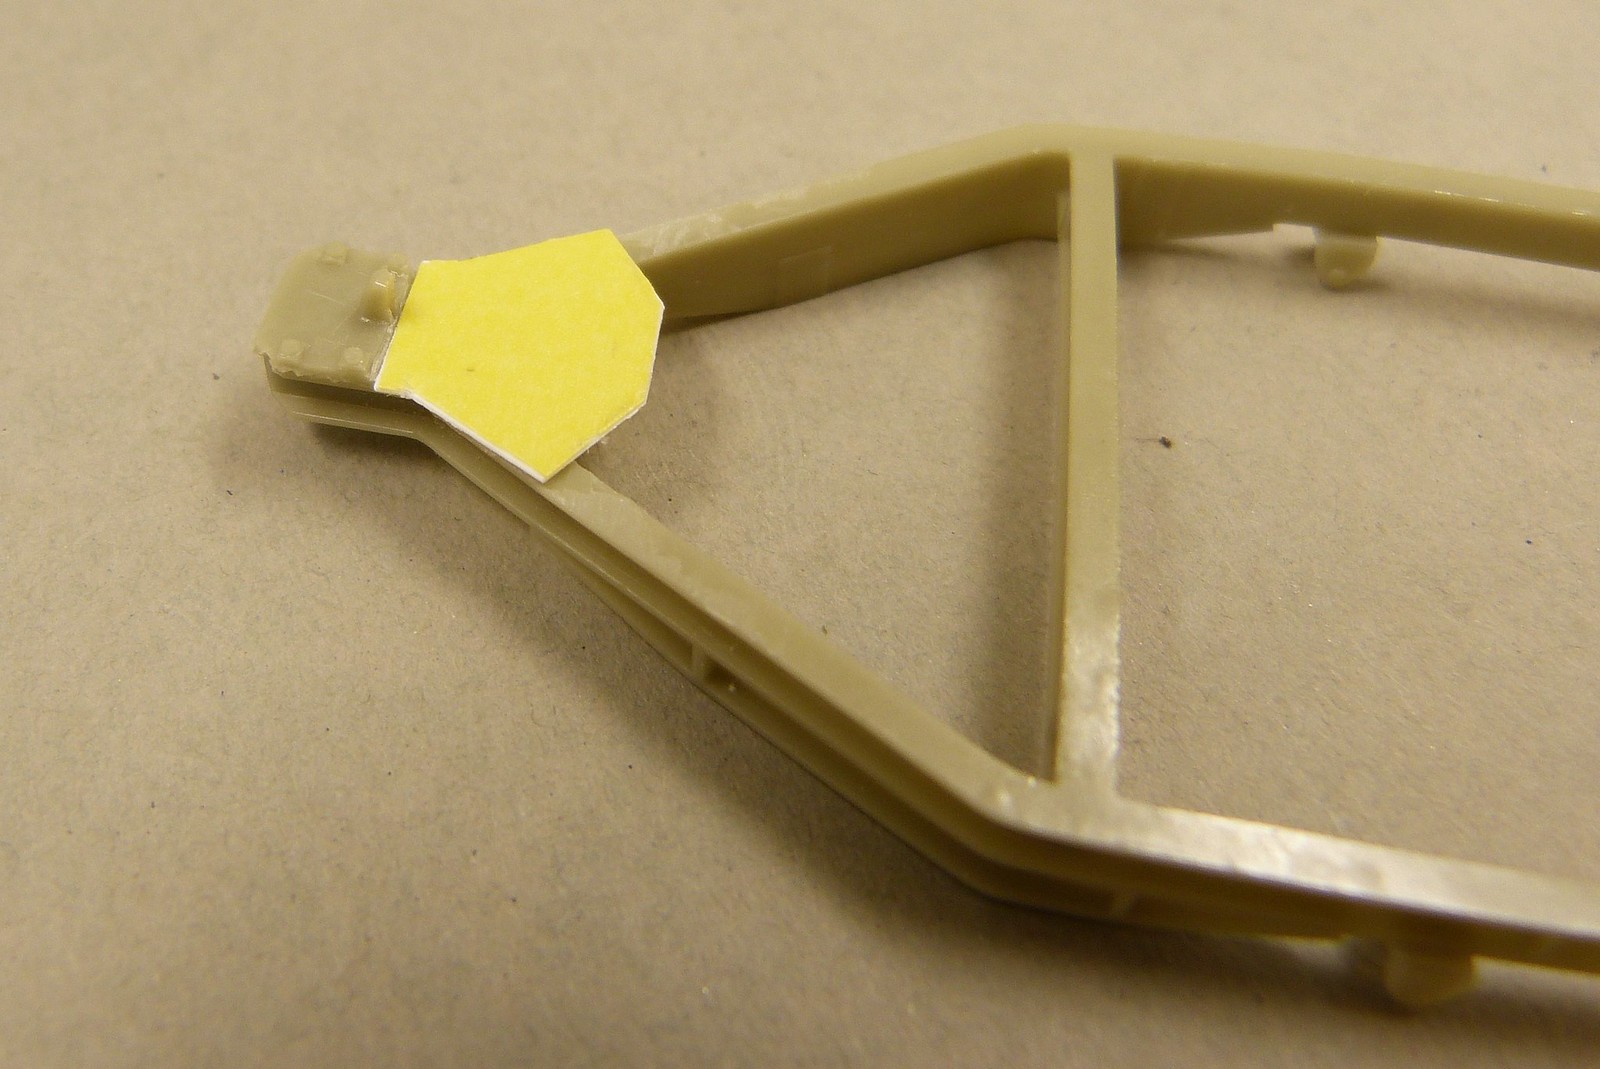
Using the frame and the original section as a template I made a new piece from 0.25 mm styrene sheet.
It took a few tries, but finally I got it right.
Next up is adding the handle and rail.

In the meantime I've separated and cleaned more items from their casting blocks in preparation for assembly.
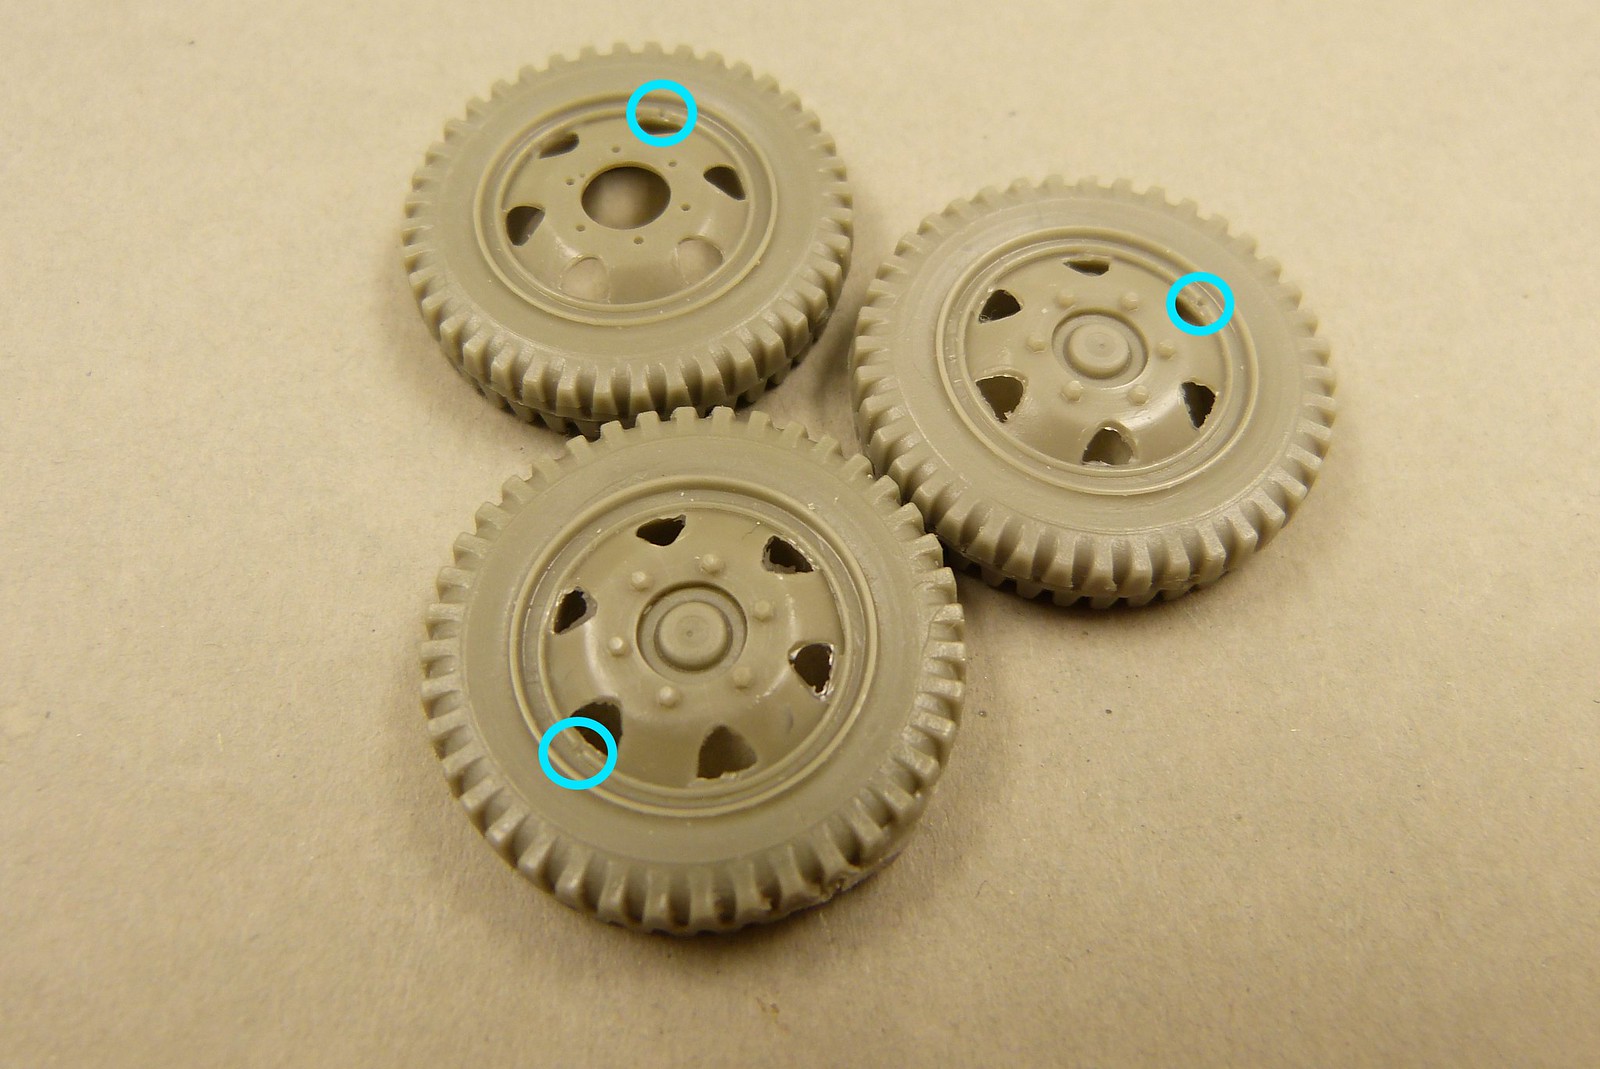
Among them are the wheels.
The kit contains three of them. One spare wheel and two that will be fitted to the trailer.
Some sections of the wheels are very thin. I just hope that this won't cause me any troubles come painting time.
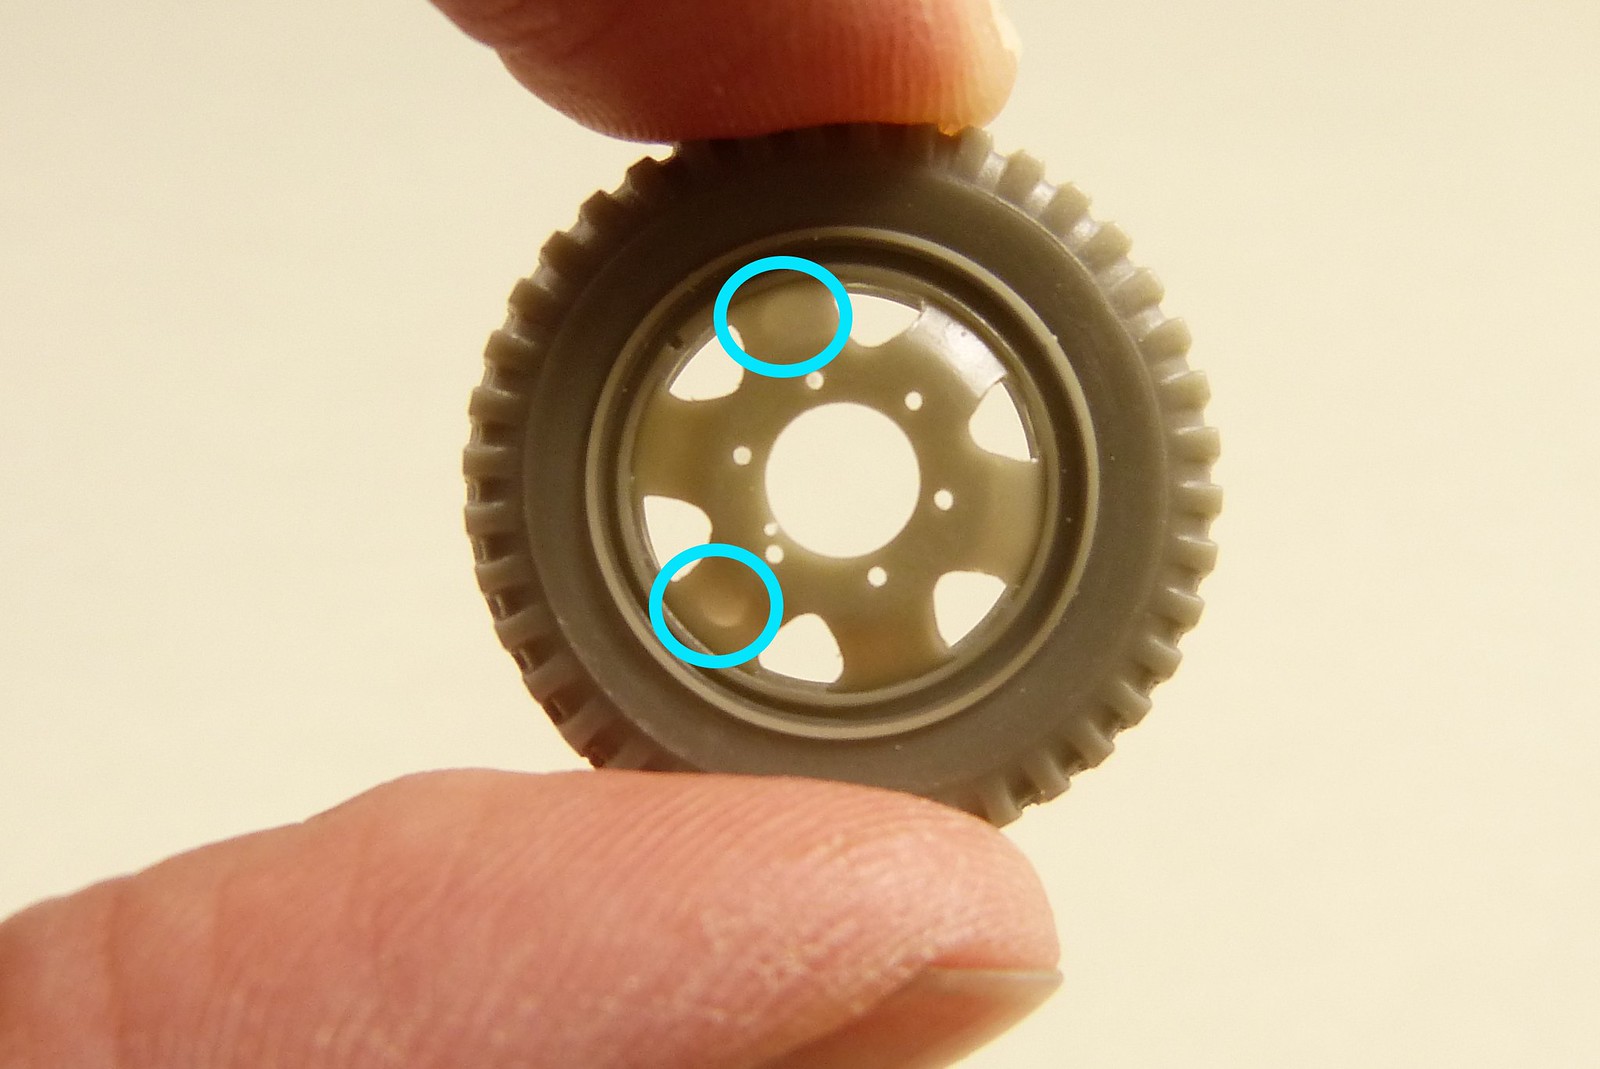
Cleaning up took some time as there was quite an amount of flash present on the holes in the rim.
There's also a small gap in the rim of each wheel. I don't know the purpose of this gap as there is no mention of it in the instructions. The boxart shows the wheels with the same gap, so it's not limited to my kit only.
A quick search on the internet turned up nothing. I'll look into it a bit further, but I'll probably end up closing the gaps.
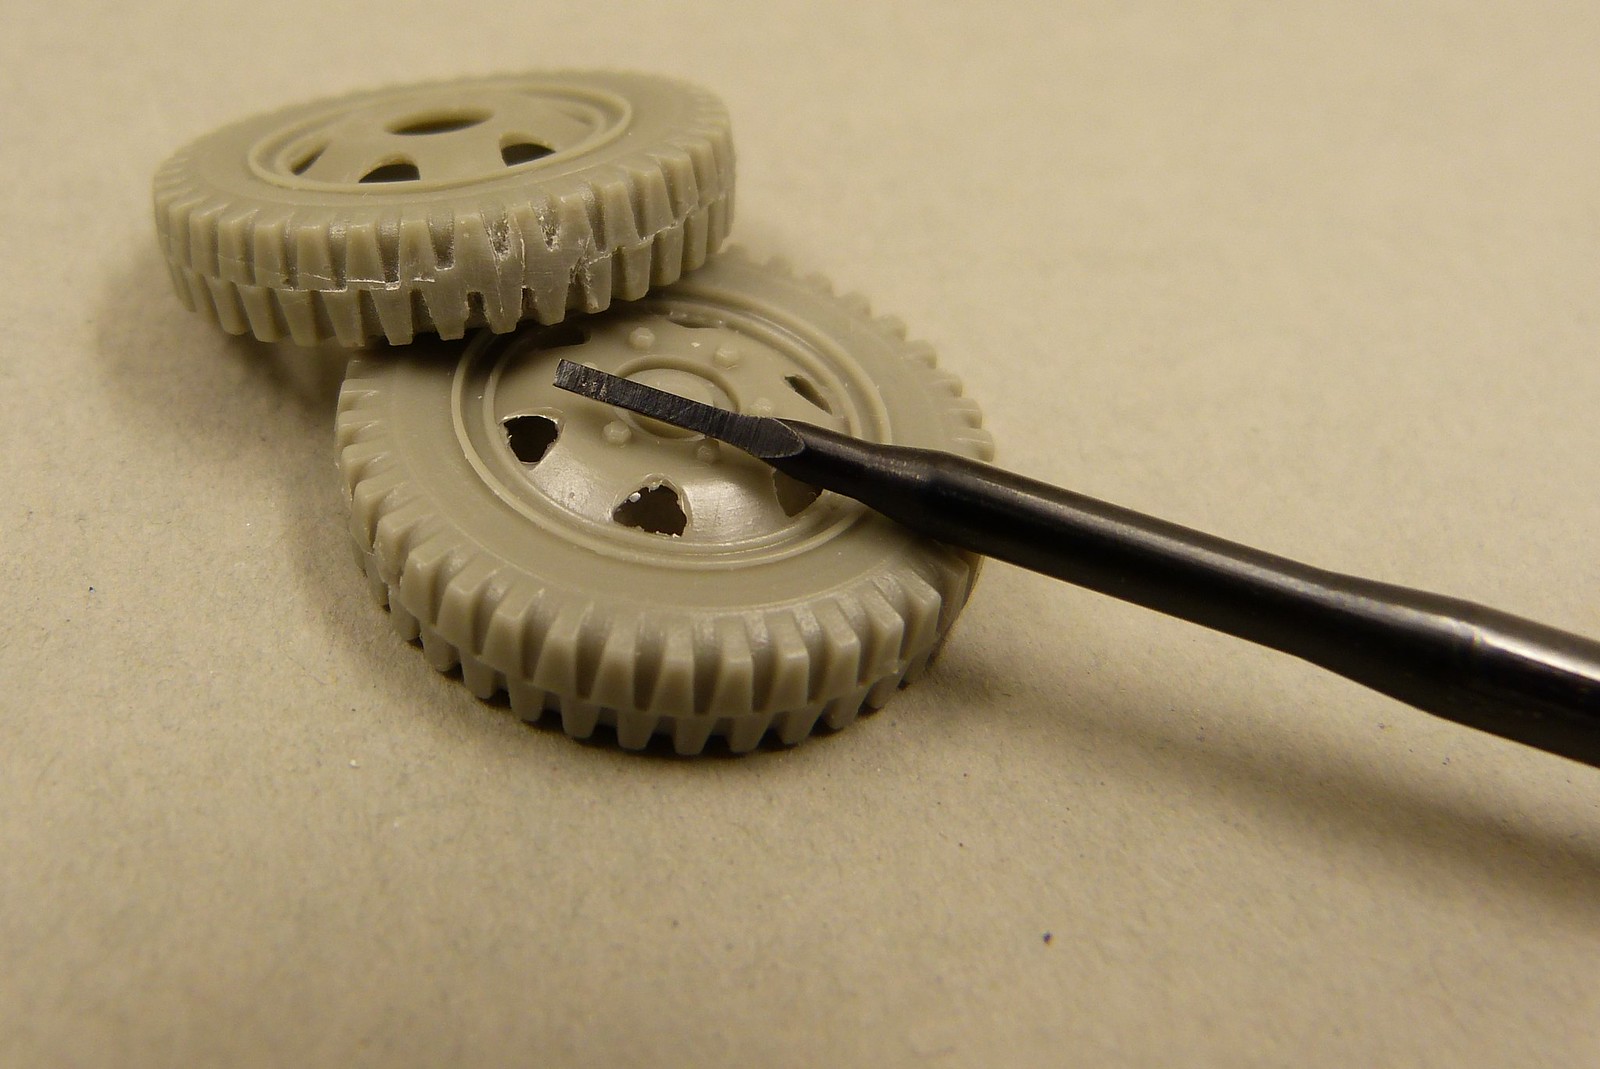
Last thing I did on the wheels (for now) was restoring the tread pattern where the casting block was located. I used a micro chisel for this job. Nothing too fancy, but it looks better now.
That's it for this update.
Next up is adding the handle and rail.
Among them are the wheels.
The kit contains three of them. One spare wheel and two that will be fitted to the trailer.
Some sections of the wheels are very thin. I just hope that this won't cause me any troubles come painting time.
Cleaning up took some time as there was quite an amount of flash present on the holes in the rim.
There's also a small gap in the rim of each wheel. I don't know the purpose of this gap as there is no mention of it in the instructions. The boxart shows the wheels with the same gap, so it's not limited to my kit only.
A quick search on the internet turned up nothing. I'll look into it a bit further, but I'll probably end up closing the gaps.
Last thing I did on the wheels (for now) was restoring the tread pattern where the casting block was located. I used a micro chisel for this job. Nothing too fancy, but it looks better now.
That's it for this update.
Comments
Post a Comment