I've been working on the seatbelts lately.
According to the pictures in the Auto Modélisme magazine, the seatbelts in the No. 53 car were blue (as opposed to (mainly) red for the No. 50 sister car).
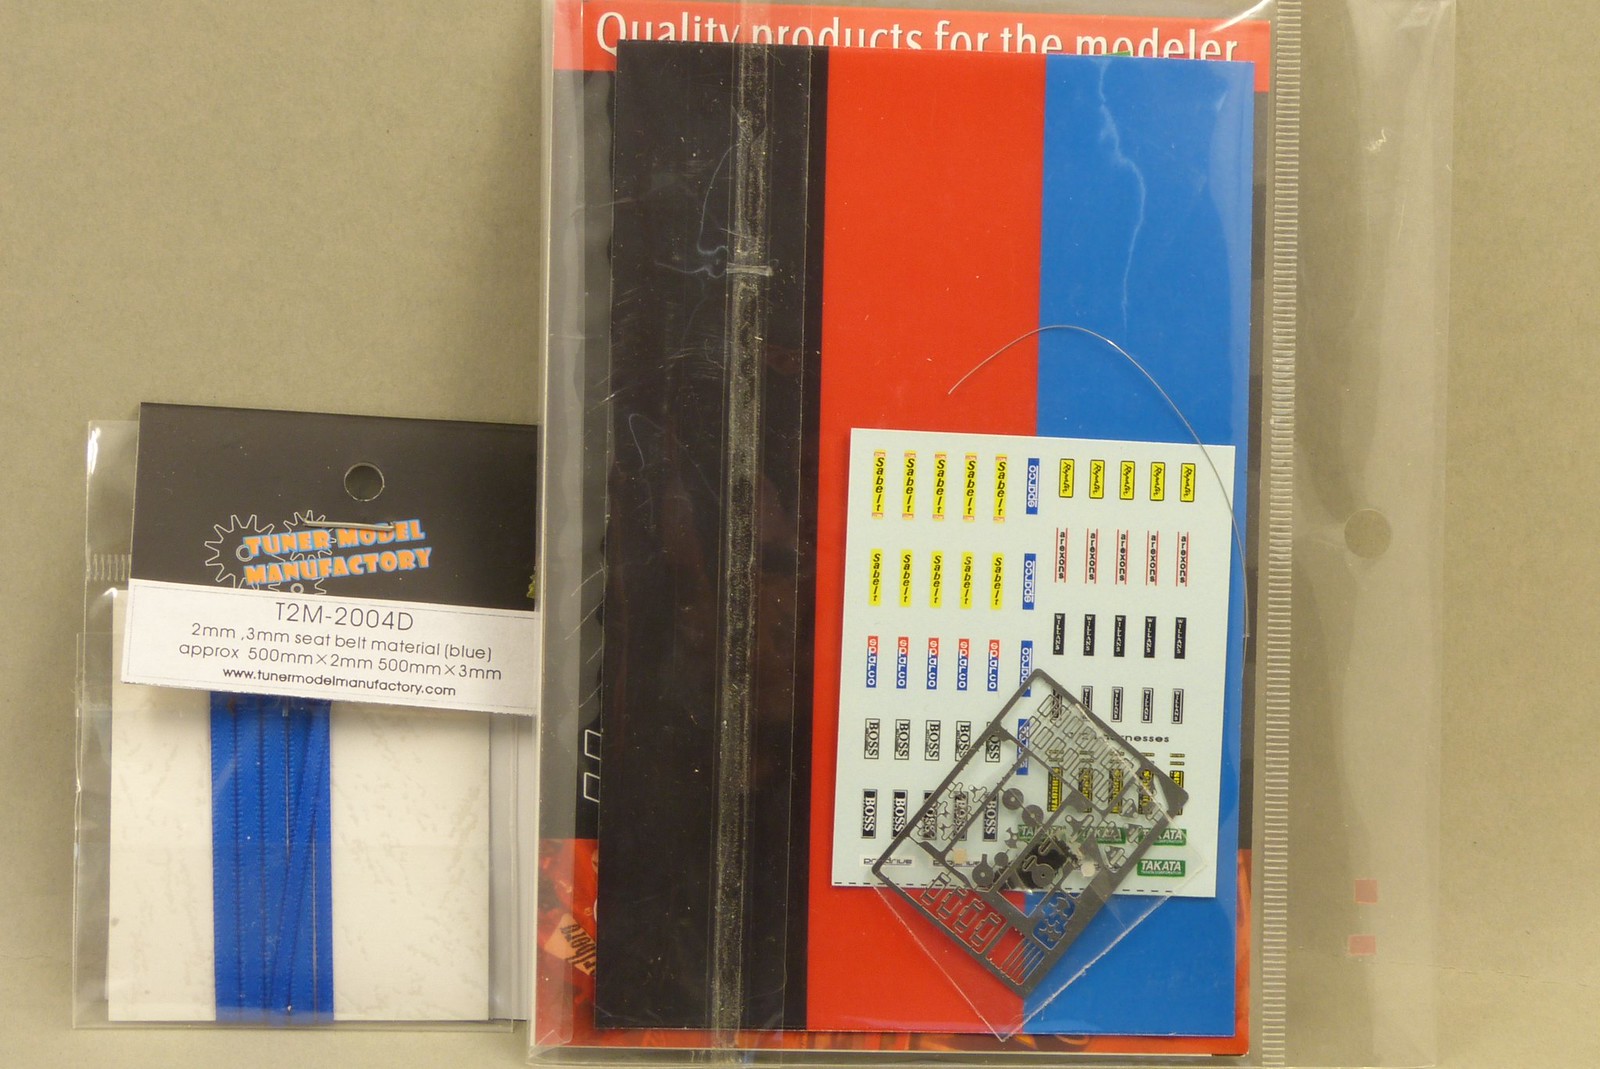
I had a harness set from Crazy Modeler lying around I intended to use. But sadly, the 2 mm wide blue harness material (from T2M) was too big to fit through the seatbelt hardware.
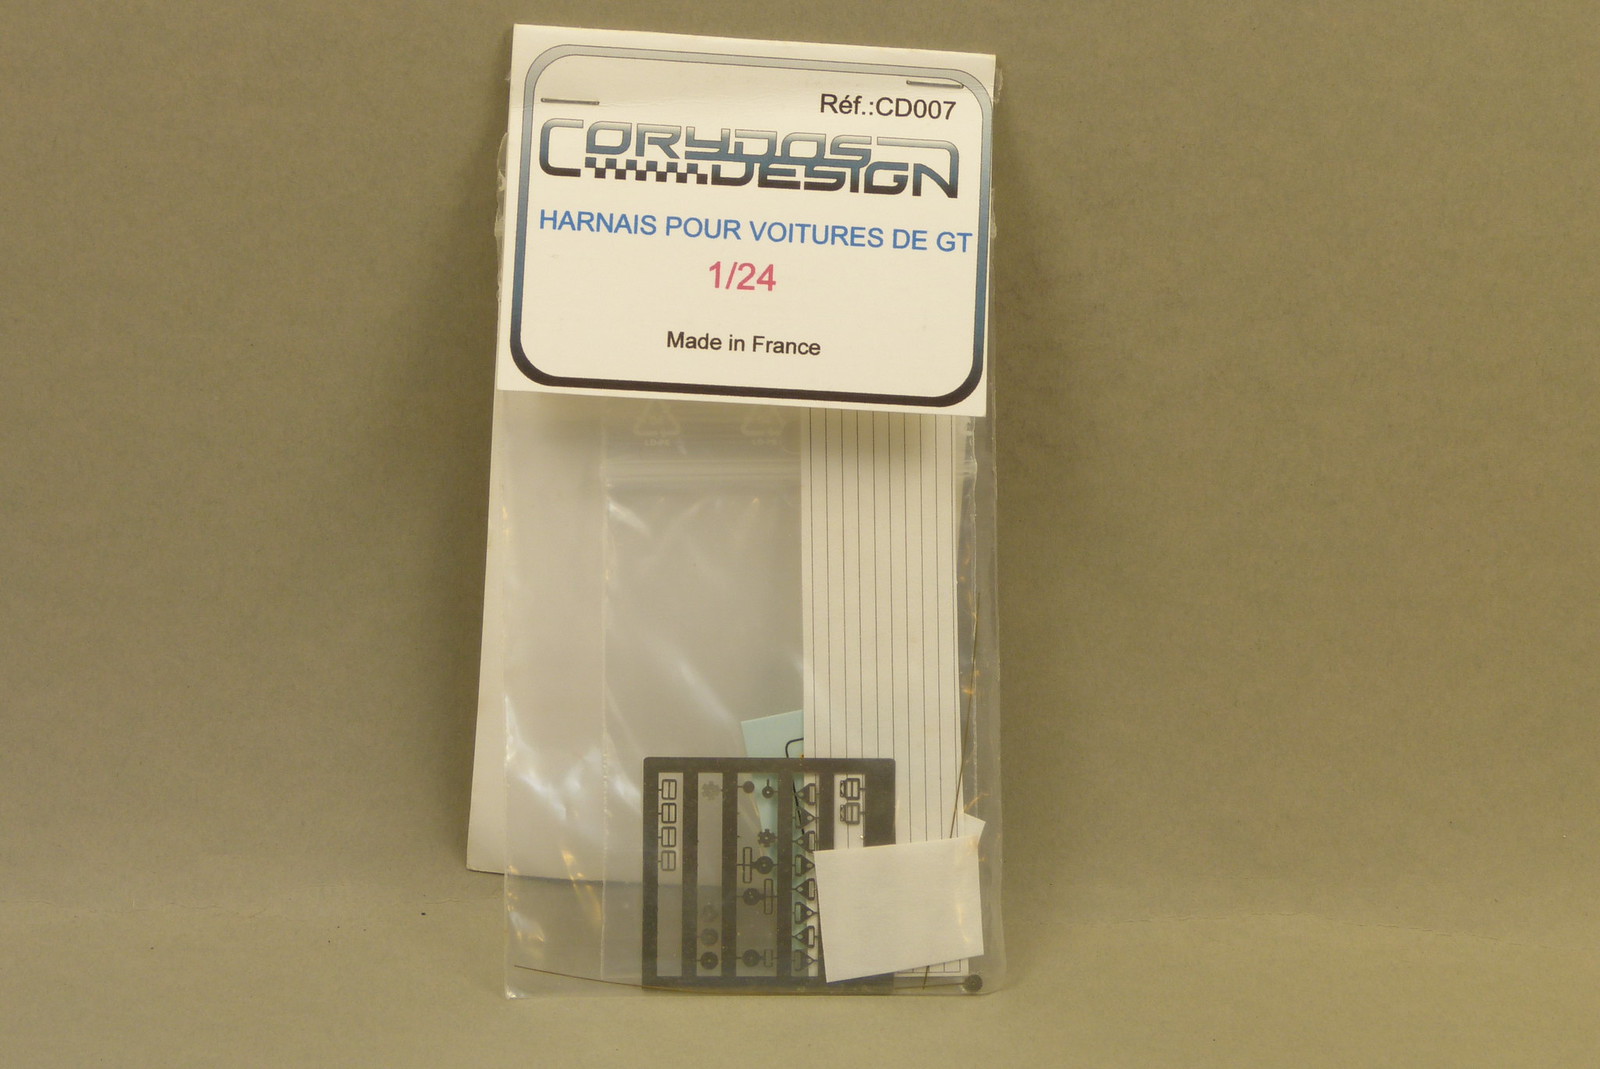
I than decided to buy another set. From Corydos Design (item no. CD007) in this case. And this time the harness material fitted (only just...).
Things were moving along nicely. To fix the seatbelts I used 2-sided adhesive tape from 3M. This worked perfectly with my Peugeot 307 WRC build. But here I noticed that after several days the belt material came loose again.
I don't know if that's due to the age of the tape (maybe it has lost a bit of it's holding strength) or that the problem lies with the seatbelt material. It seems a bit stiffer compared to the material I used on the Peugeot.
As I'm having second thoughts about the tape holding everything together over time, I decided to go a different route with the seatbelts.
I've read on a German forum that medical tape (more precisely Leukosilk from BSN Medical GmbH) can be a good substitute as a seatbelt material.
It can easily be painted in the desired color and it's easy to apply thanks to it's adhesive layer.
I placed a piece of tape on a piece of PMMA. I cut several lengths of seat belt and painted it blue with Revell Aqua color 36151 (Ultramarin Blue).
The seatbelts came out fine, although the shade of blue is a bit darker than I anticipated. Probably a result of the tape material...

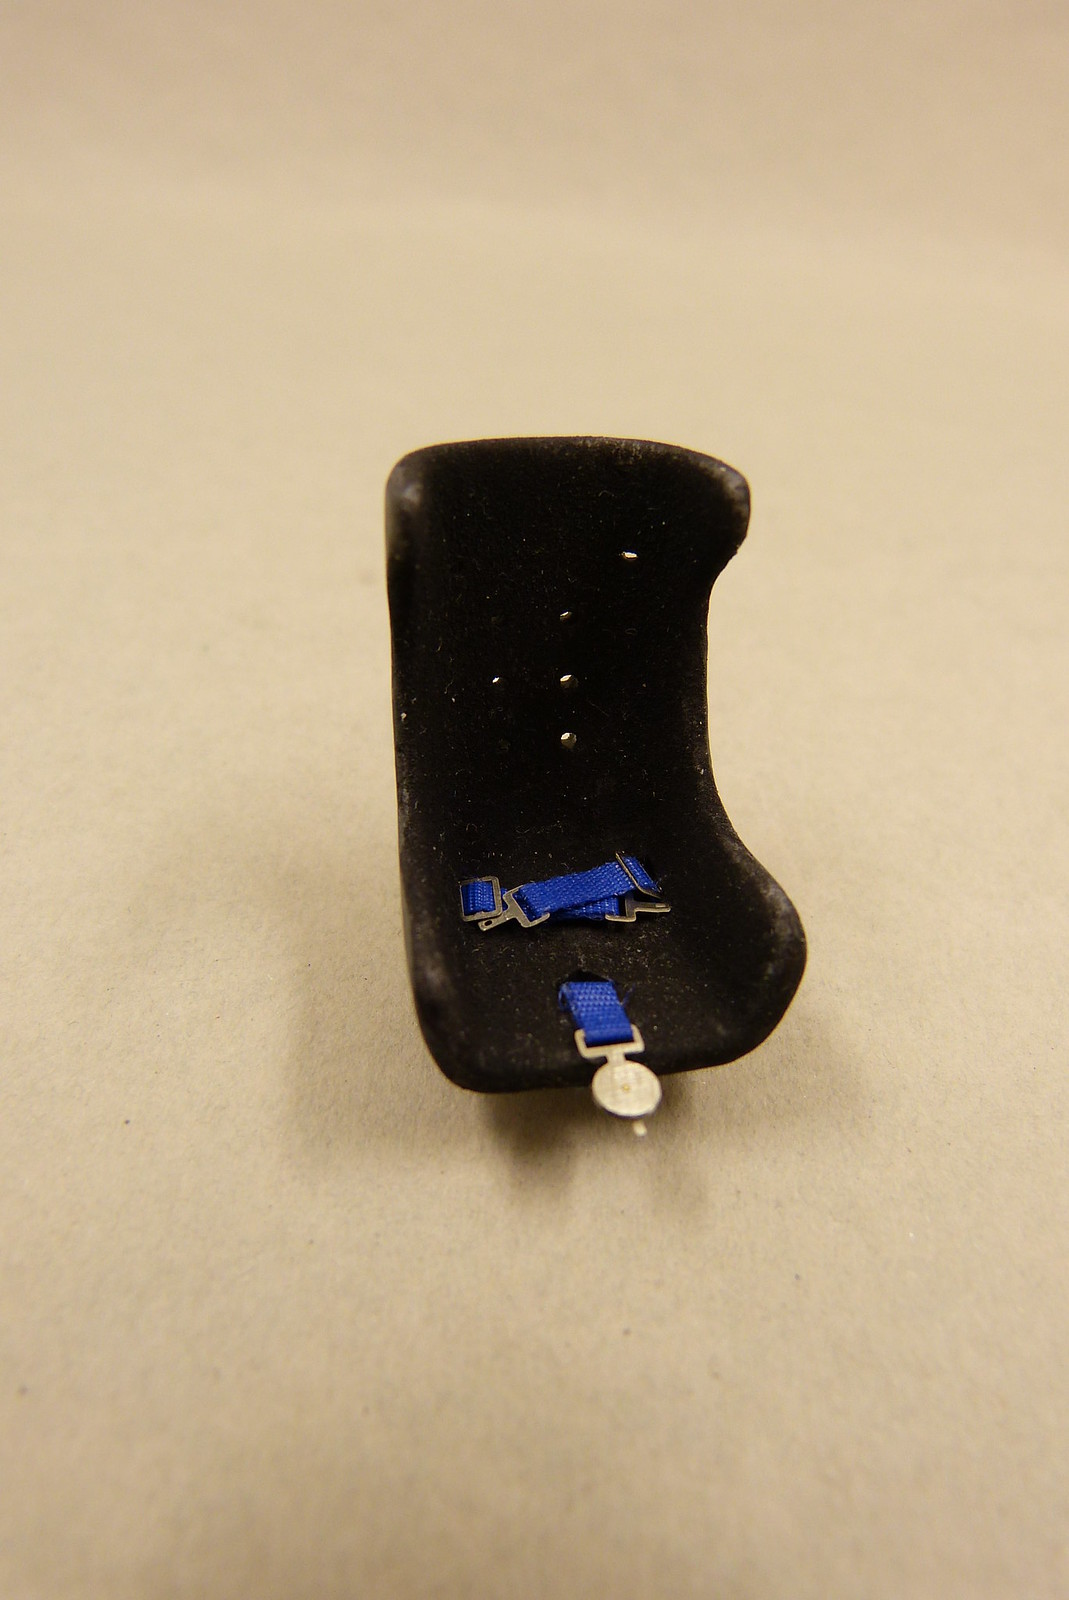
I started with the lap belts. And after an amount of fiddling I managed the create a good enough result.
The tape is very sticky so it took a few attempts to get all the PE parts in their correct place.
The stickyness reduces quickly though when handled too much. But all in all this turned out quite nicely.
The shoulder straps will be added when I get to the point that the extra piece of rollcage I made earlier has to be fitted.
During a dryfit I noticed that the seat sits still quite high above the lower bar of the extra piece of rollcage. Strange that I didn't notice this earlier.
Too late now to change it. But a good reminder to keep dryfitting and checking if everything fits as desired.
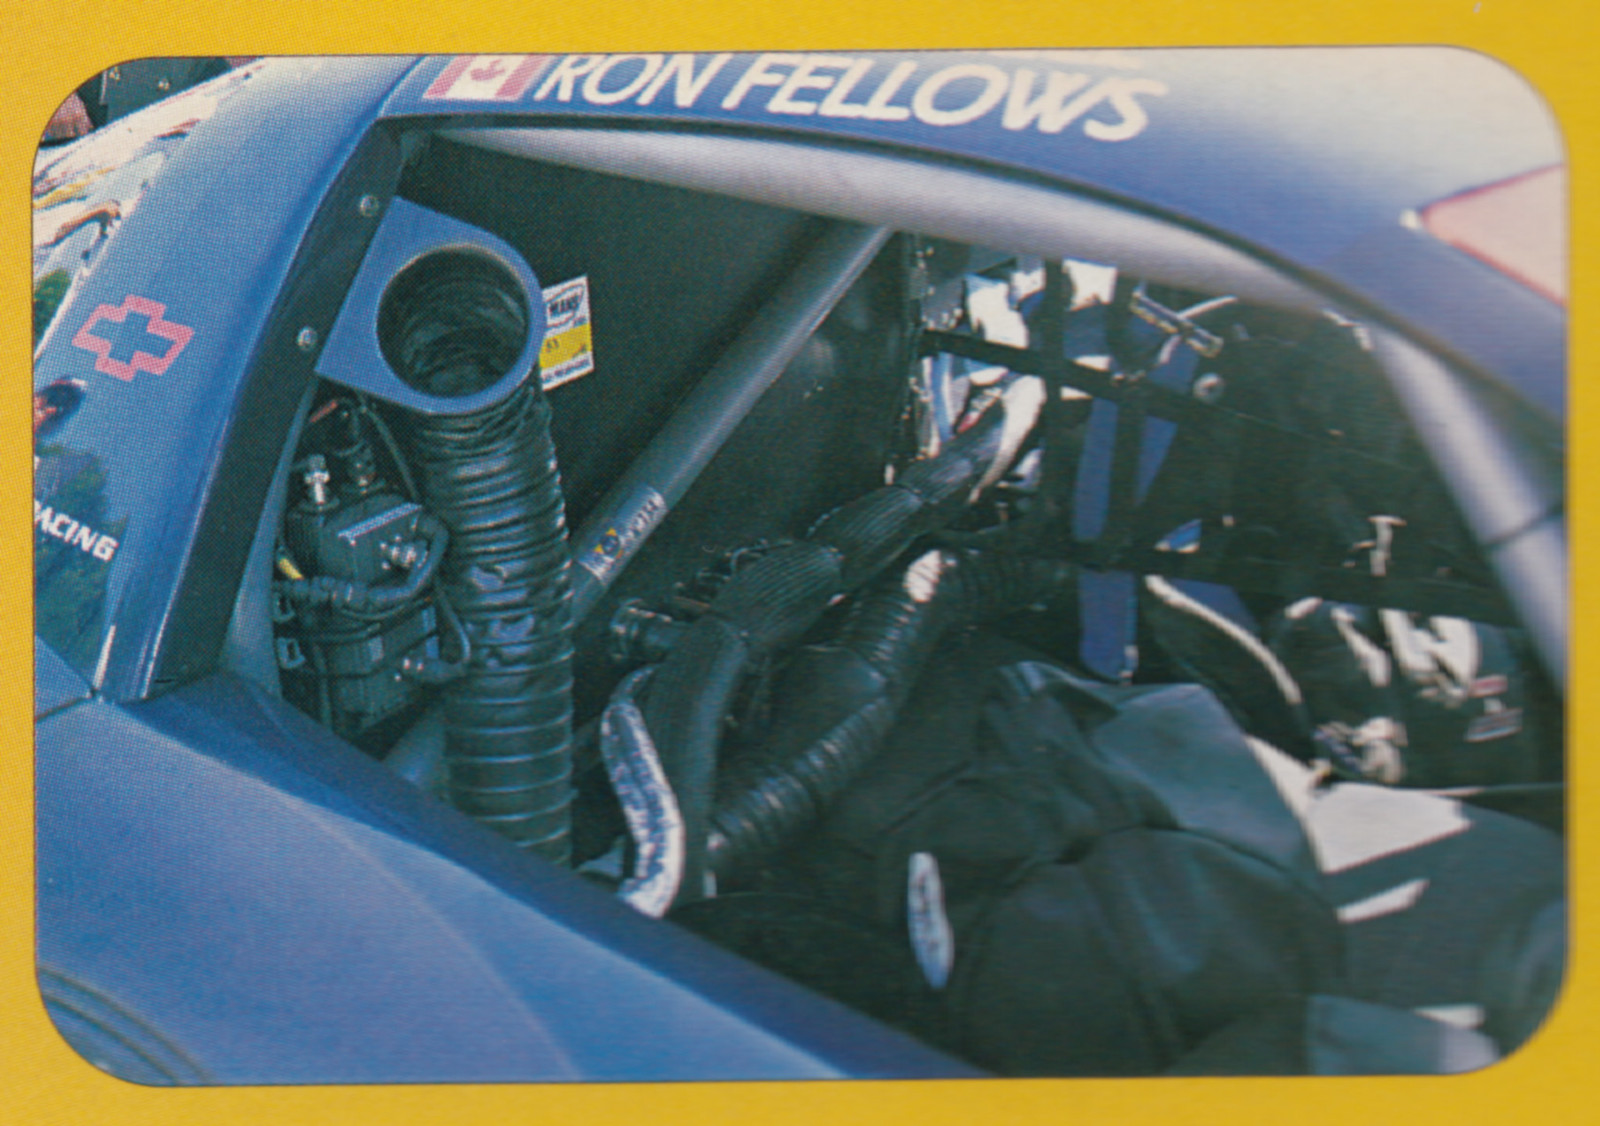
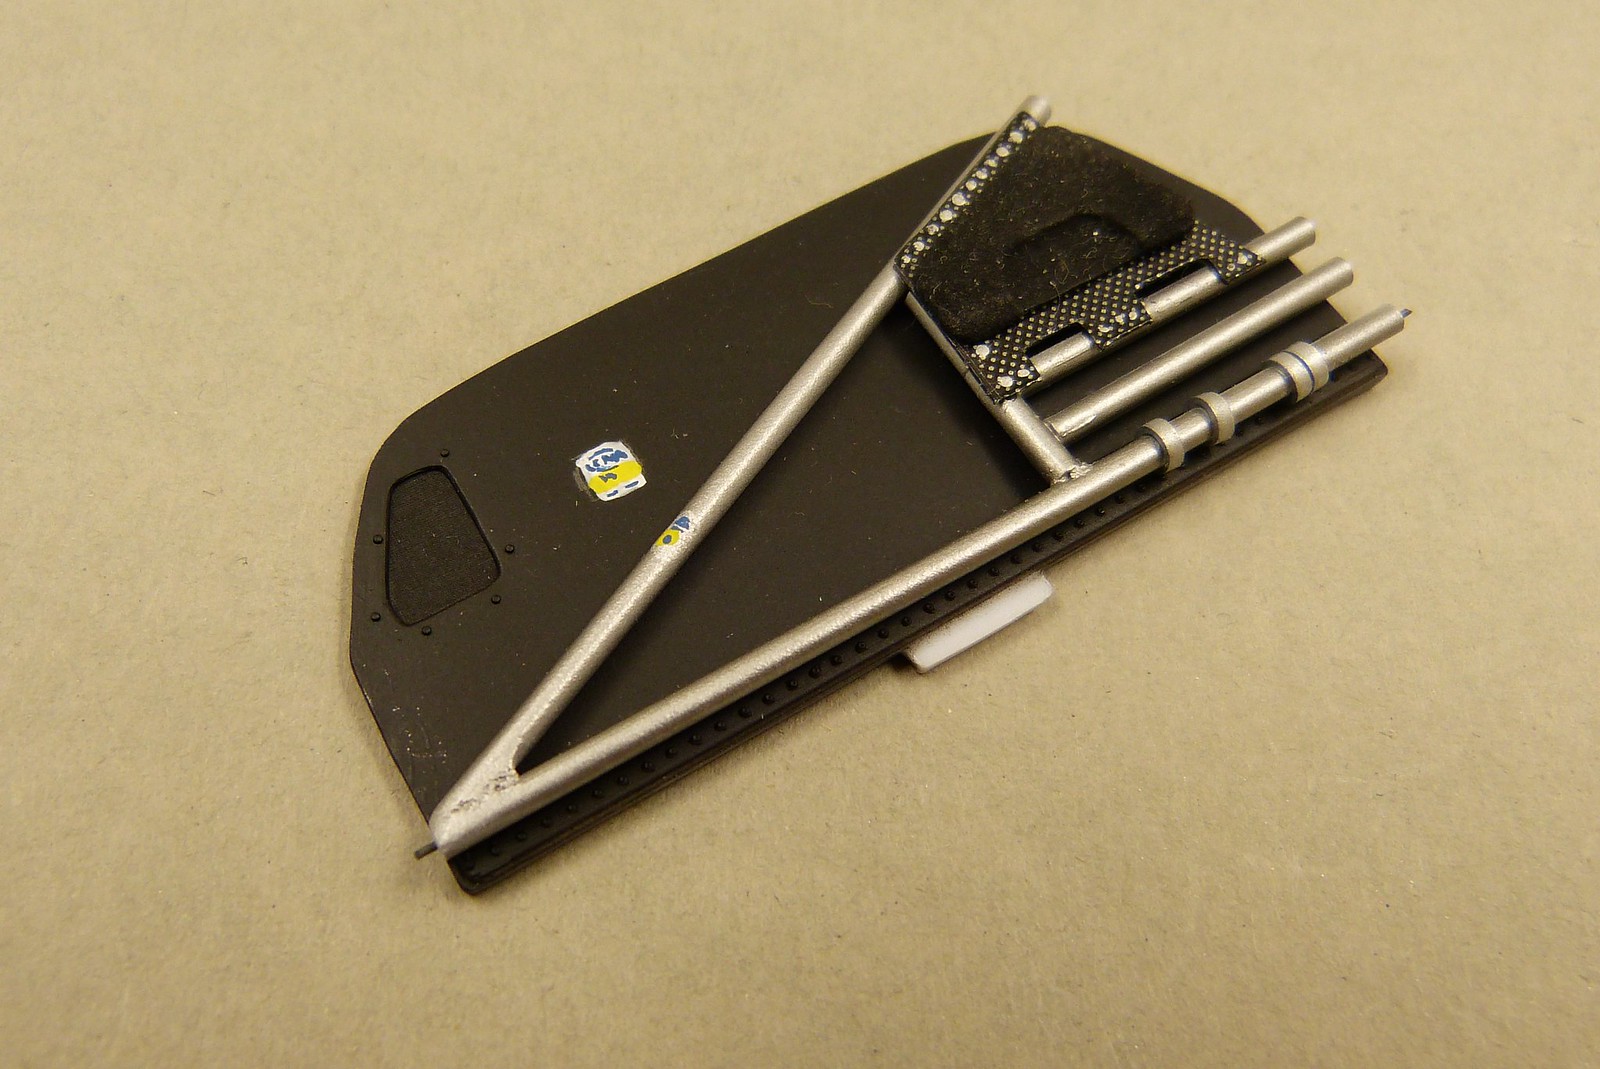
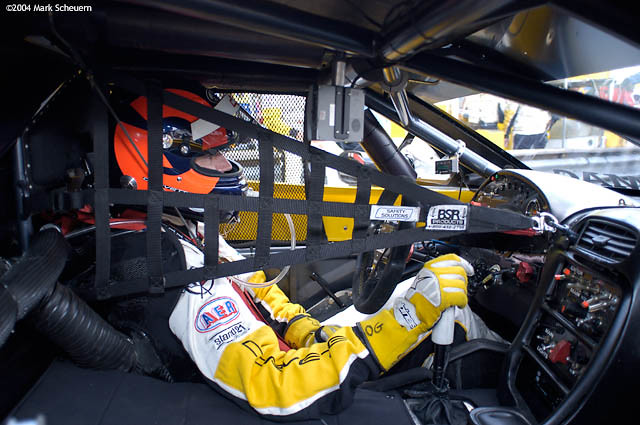
I got a bit creative on the interior and decided to try and add some of the stickers/decals present on the real car (below to the left is an image from car No. 53 taken from the "Auto Modélisme" magazine I use for reference).
But I didn't use decals myself, I tried to paint these.
And I must admit that I'm actually very satisfied with how they turned out. I know that probably no one will ever notice, but I thought it provided a bit of color to the otherwise rather dark and monotonous interior.
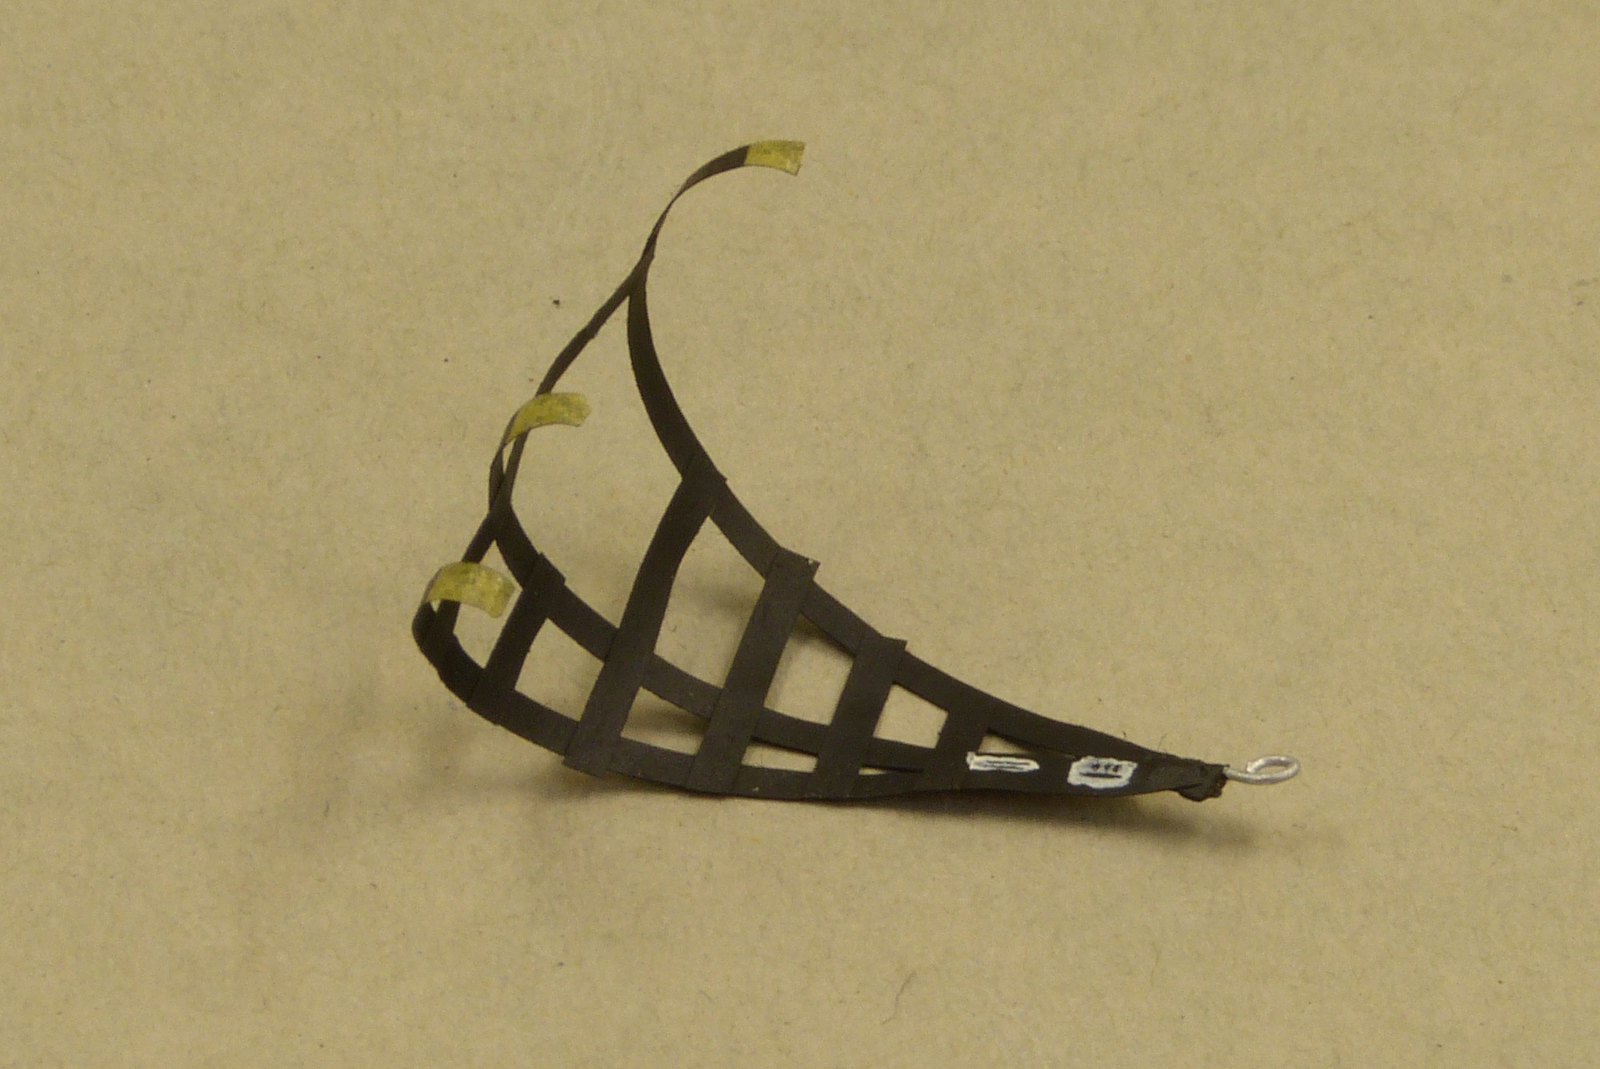
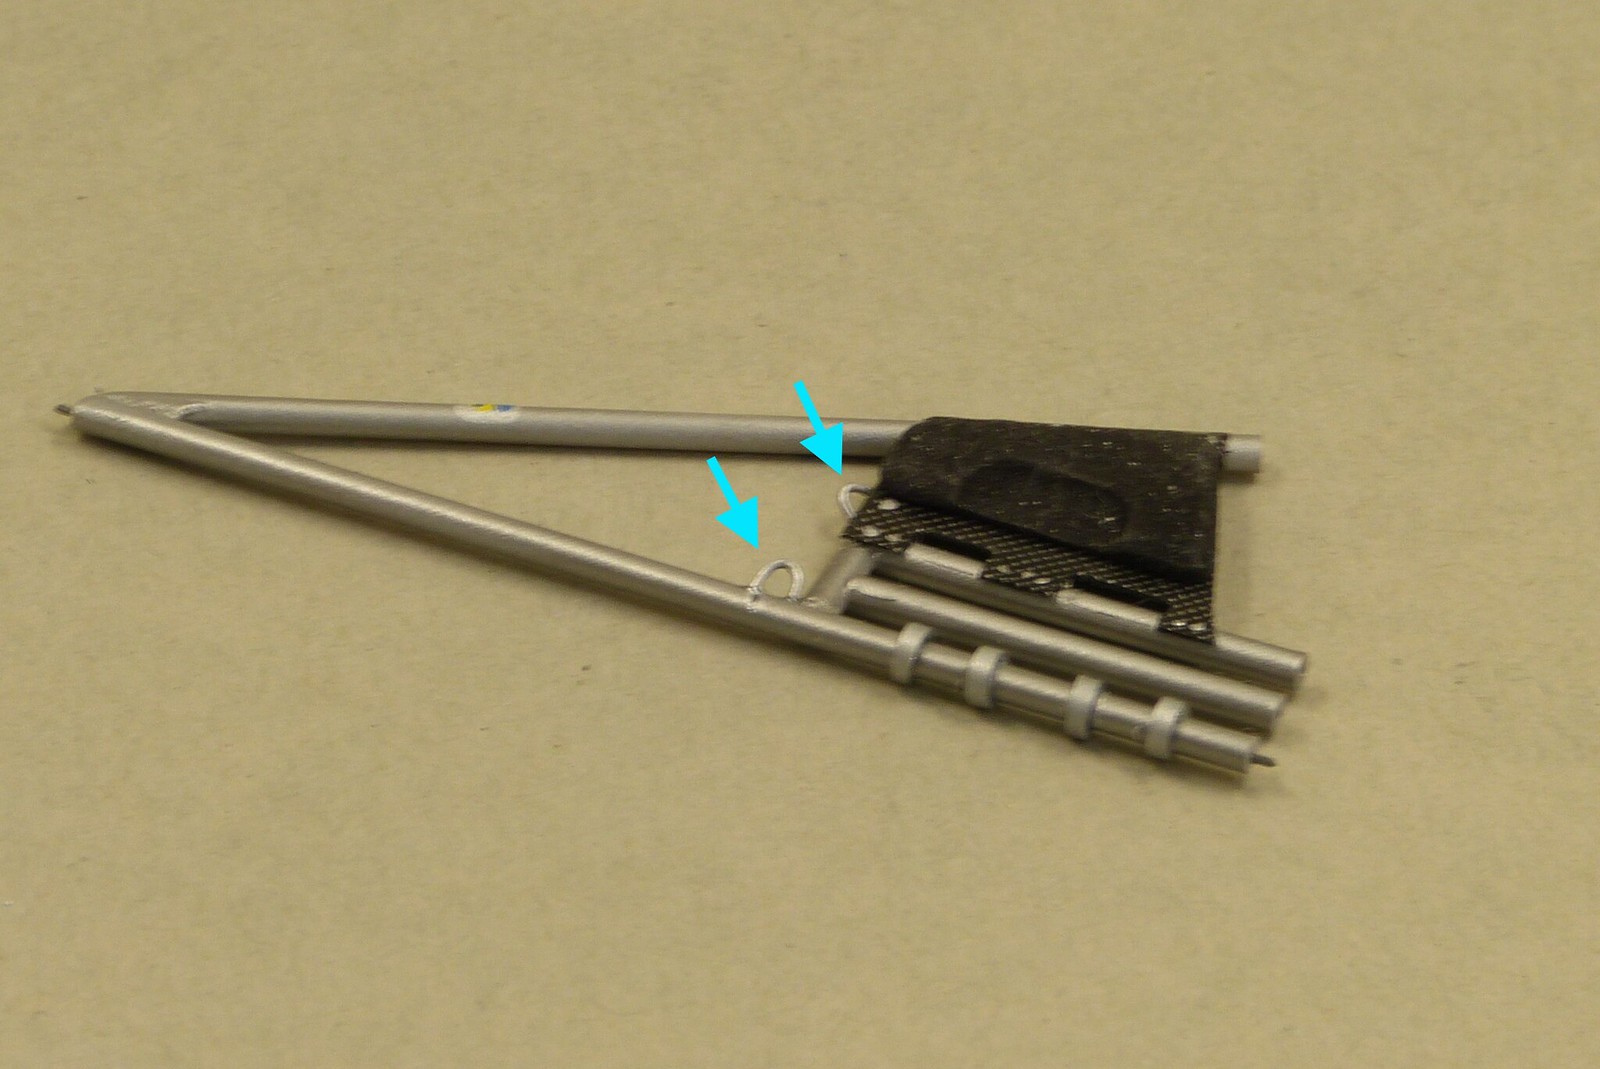
To further spice up the interior I decided to also fit the safety netting. There were two safety nets, one to each side of the driver.
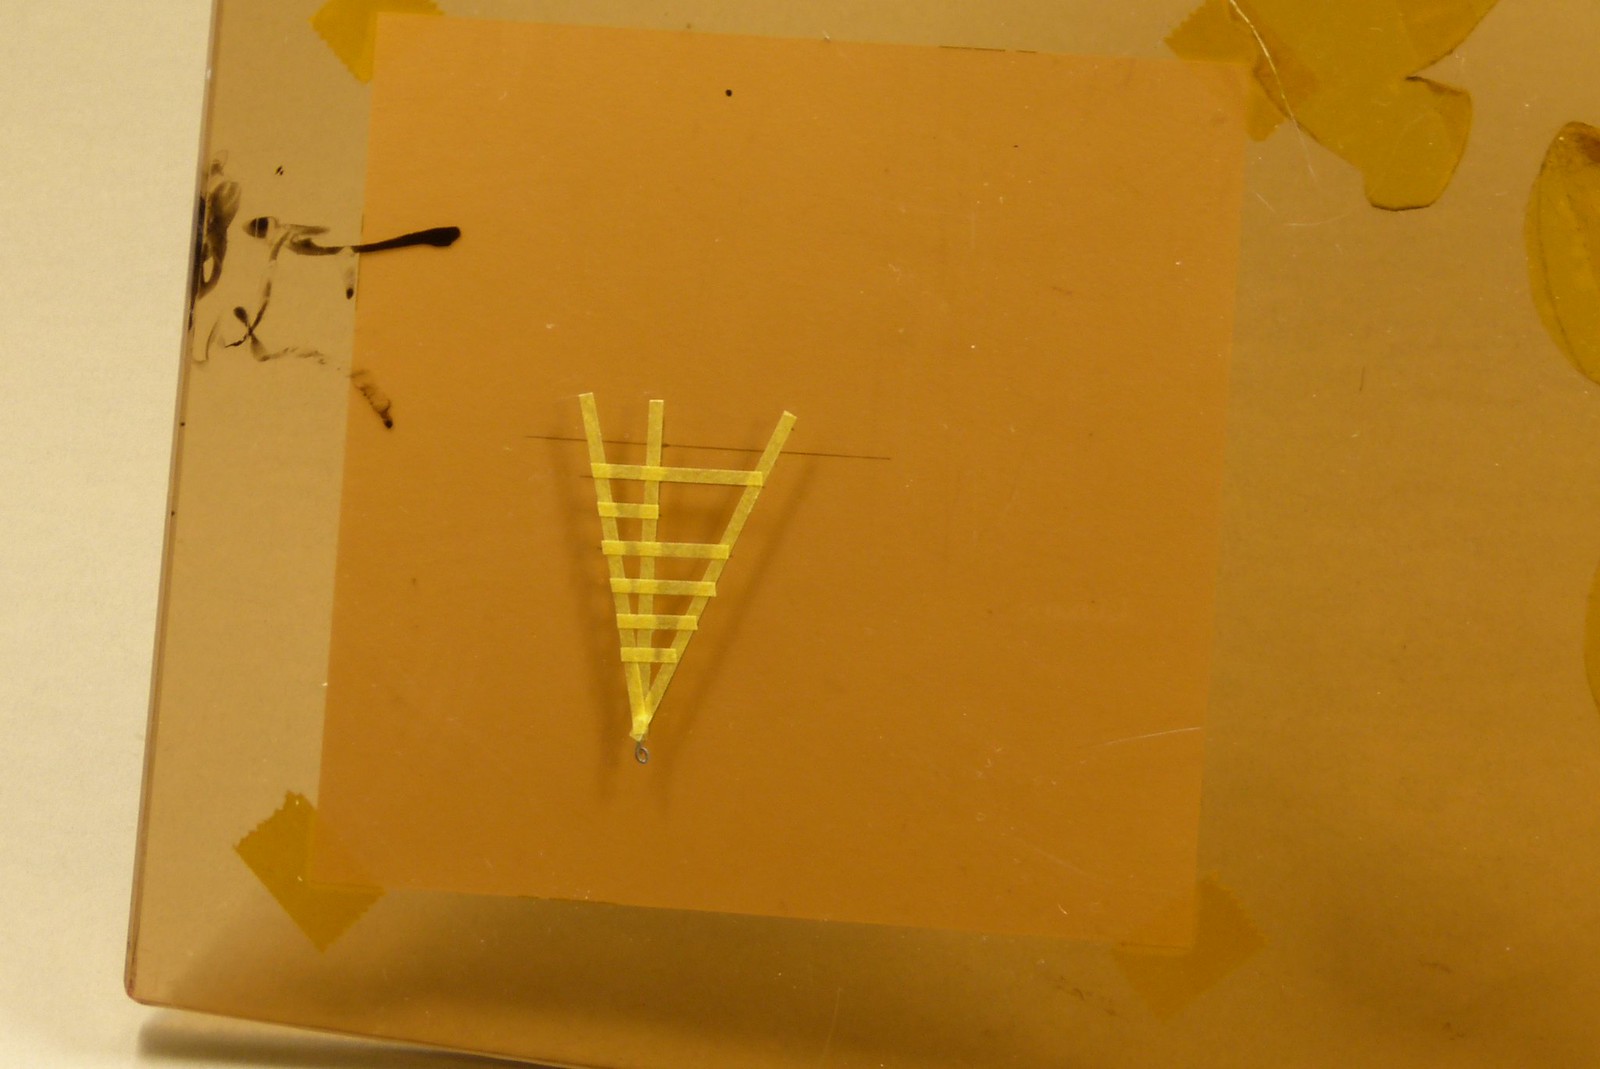
I started with the safety net inside the car, to the right of the driver. I made this with the aid of very small strips of 1.5 mm wide masking tape.
First I drew up a template, stuck that to a piece of perspex and build up the safety net with the masking tape.
I also added a hook to hook it up to the loop in the dashboard, although I'll leave the net hanging loosely to the passenger side.
Upon looking at my reference pictures I noticed that the inner safety net is attached to some loops welded to the roll cage.
I duly made my own loops and attached these to the rollcage at the corresponding locations (approximately).
I will also make the netting for the door, but that will come later.
To finish off this update I present a lesson in stupidity...
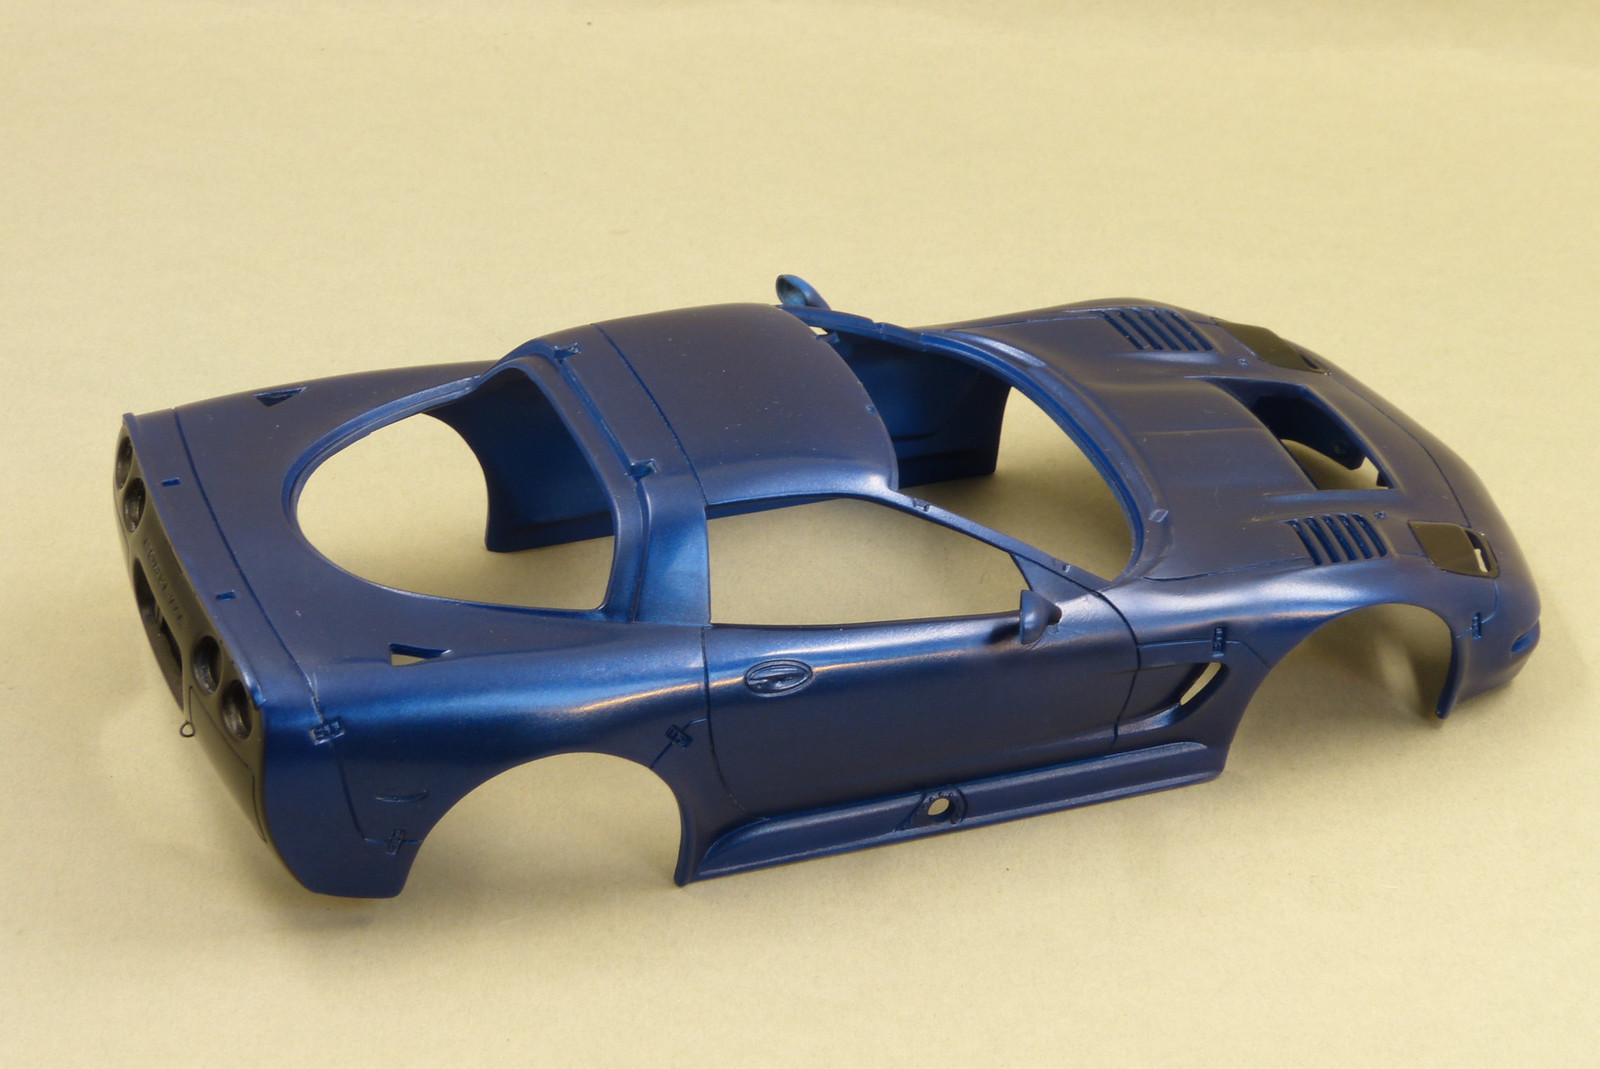
As I was happy with how everything was coming along, I decided to do a dry-fit with the floor and the body.
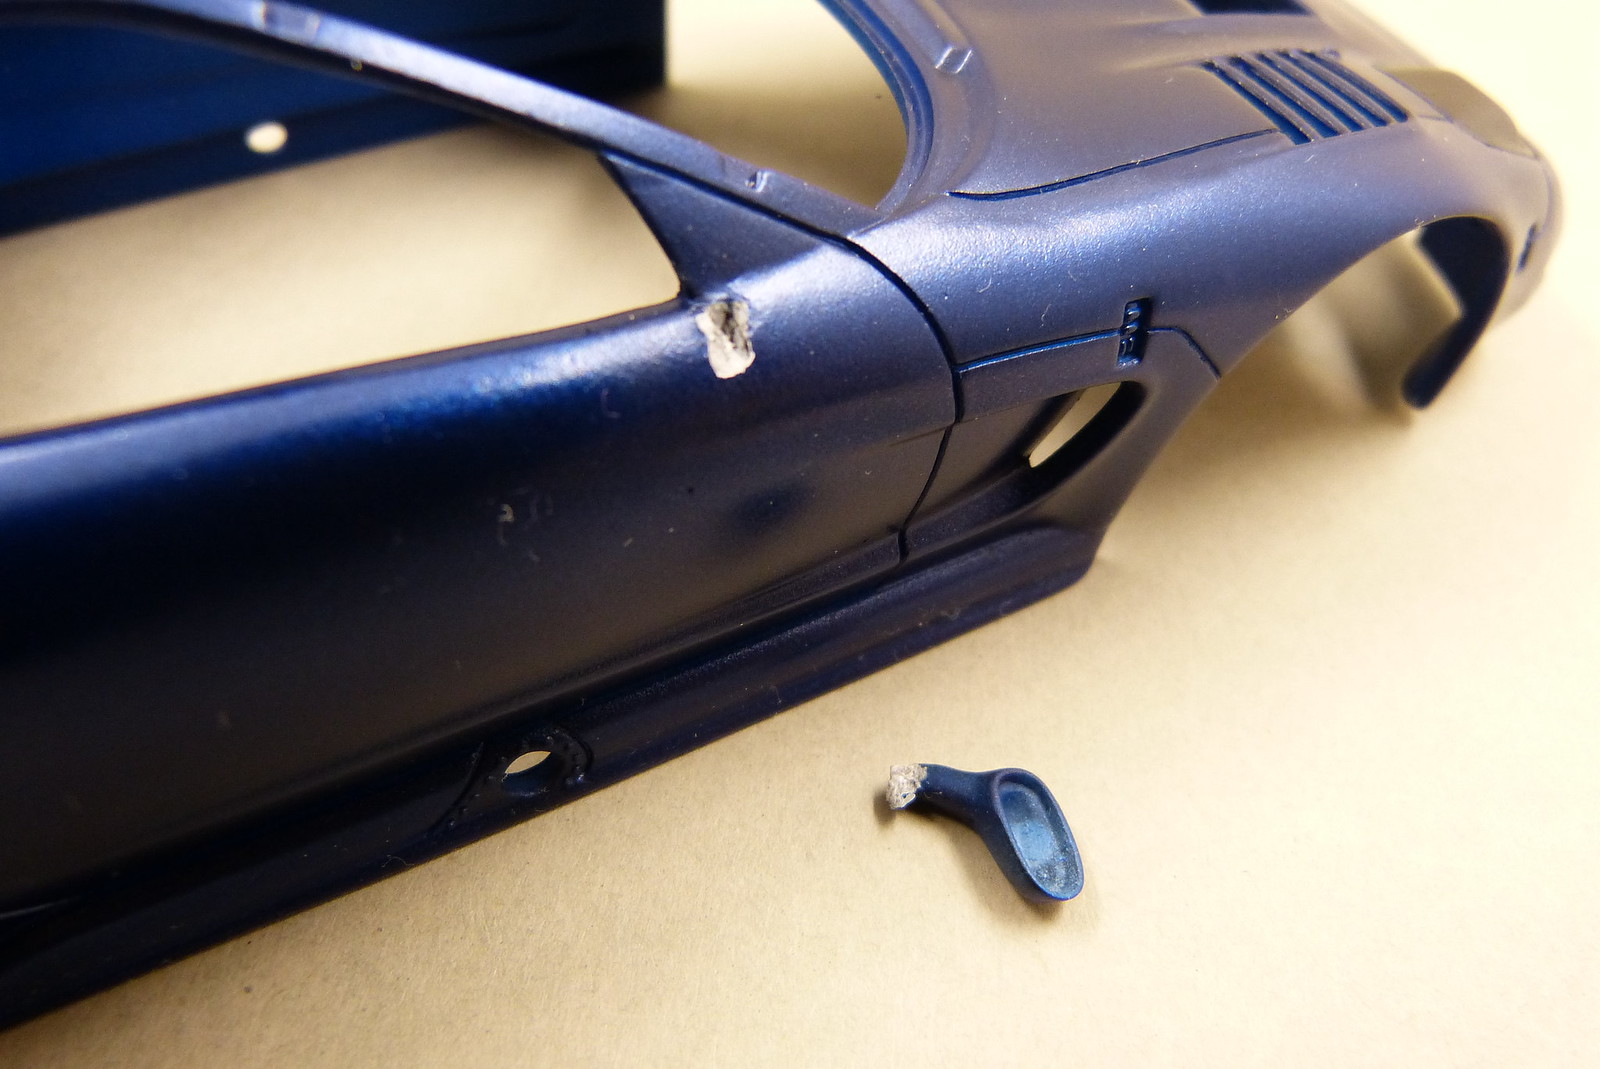
That's when disaster struck... The body slipped out of my hands and was on it's way to the floor...
I just managed to catch it (with my legs...) during the fall, but sadly I managed to snap off one of the mirrors...
That's going to need some repairing.
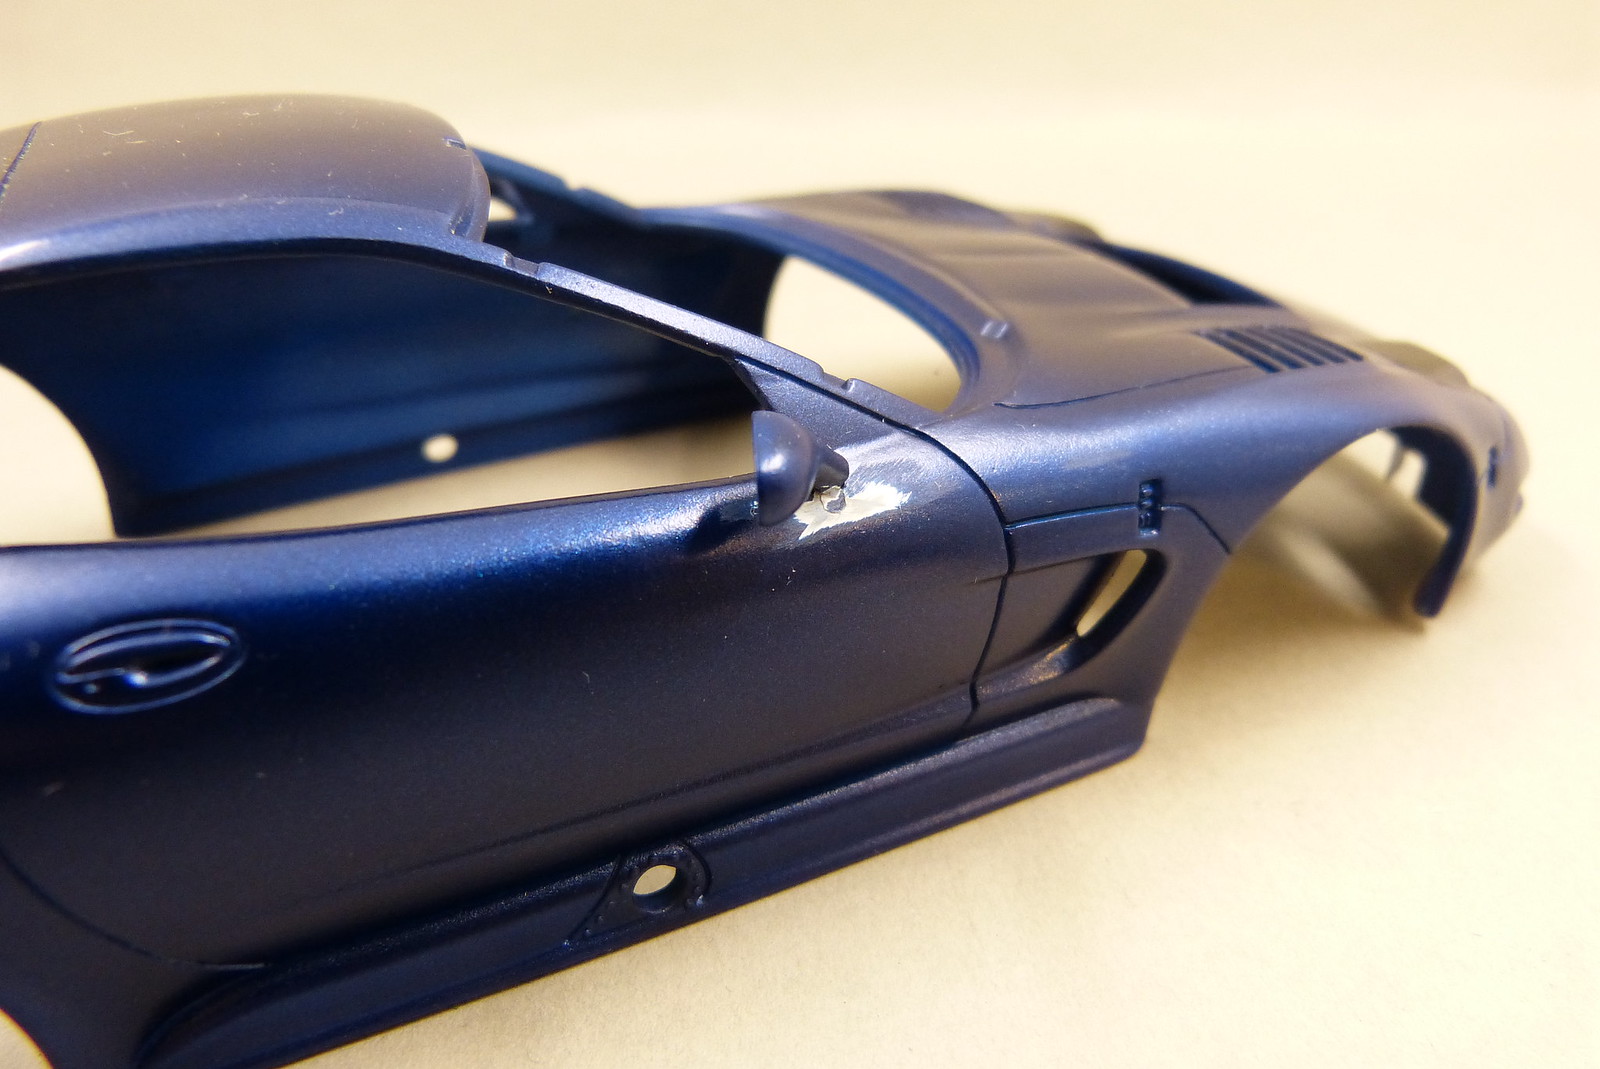
A bit of a setback sadly. Luckily nothing more got damaged and I managed to glue the mirror back to its place without problems.
I sanded the area around the mirror to smooth the slight steps from the paint that chipped off.
A respray of the affected area took care of the rest.
The macro really shows that the resprayed area is far from perfect, although in real life it isn't that obvious.
Comments
Post a Comment