After the better part of an afternoon I had polished the body.
I started with MicroMesh cloths, using 6000, 8000 and 12000 grit. Next I used Tamiya compound (fine and finish) to restore the shine.
Once again I can state that the Aqua Gloss from Alclad can be polished quite nicely and the layer is quite tough.
However, after washing the body there were some tiny scratch marks evident.
Seems to be my own fault as I used an old cotton t-shirt to apply the compound to the model. It appears that cotton is still too coarse for polishing (also stated on the Hiroboy website).
So off I went and bought me some polishing clothes from Zero Paints and from Tamiya.
After another round of compound the scratches have been removed, so I could (finally) continu with the final details. Or so I thought.
For some reason I couldn't get the shine back on this paint. I don't know if it's because I used Zero Paints compound or that there's something else going on.
I was a bit reluctant to give it another round of compound, feared of going through the clear layer. In some places I suspected the clear was almost completely rubbed away...
Time for a new layer of clear, to be on the safe side.
This time I went for ZP pre-thinned 1K clear.
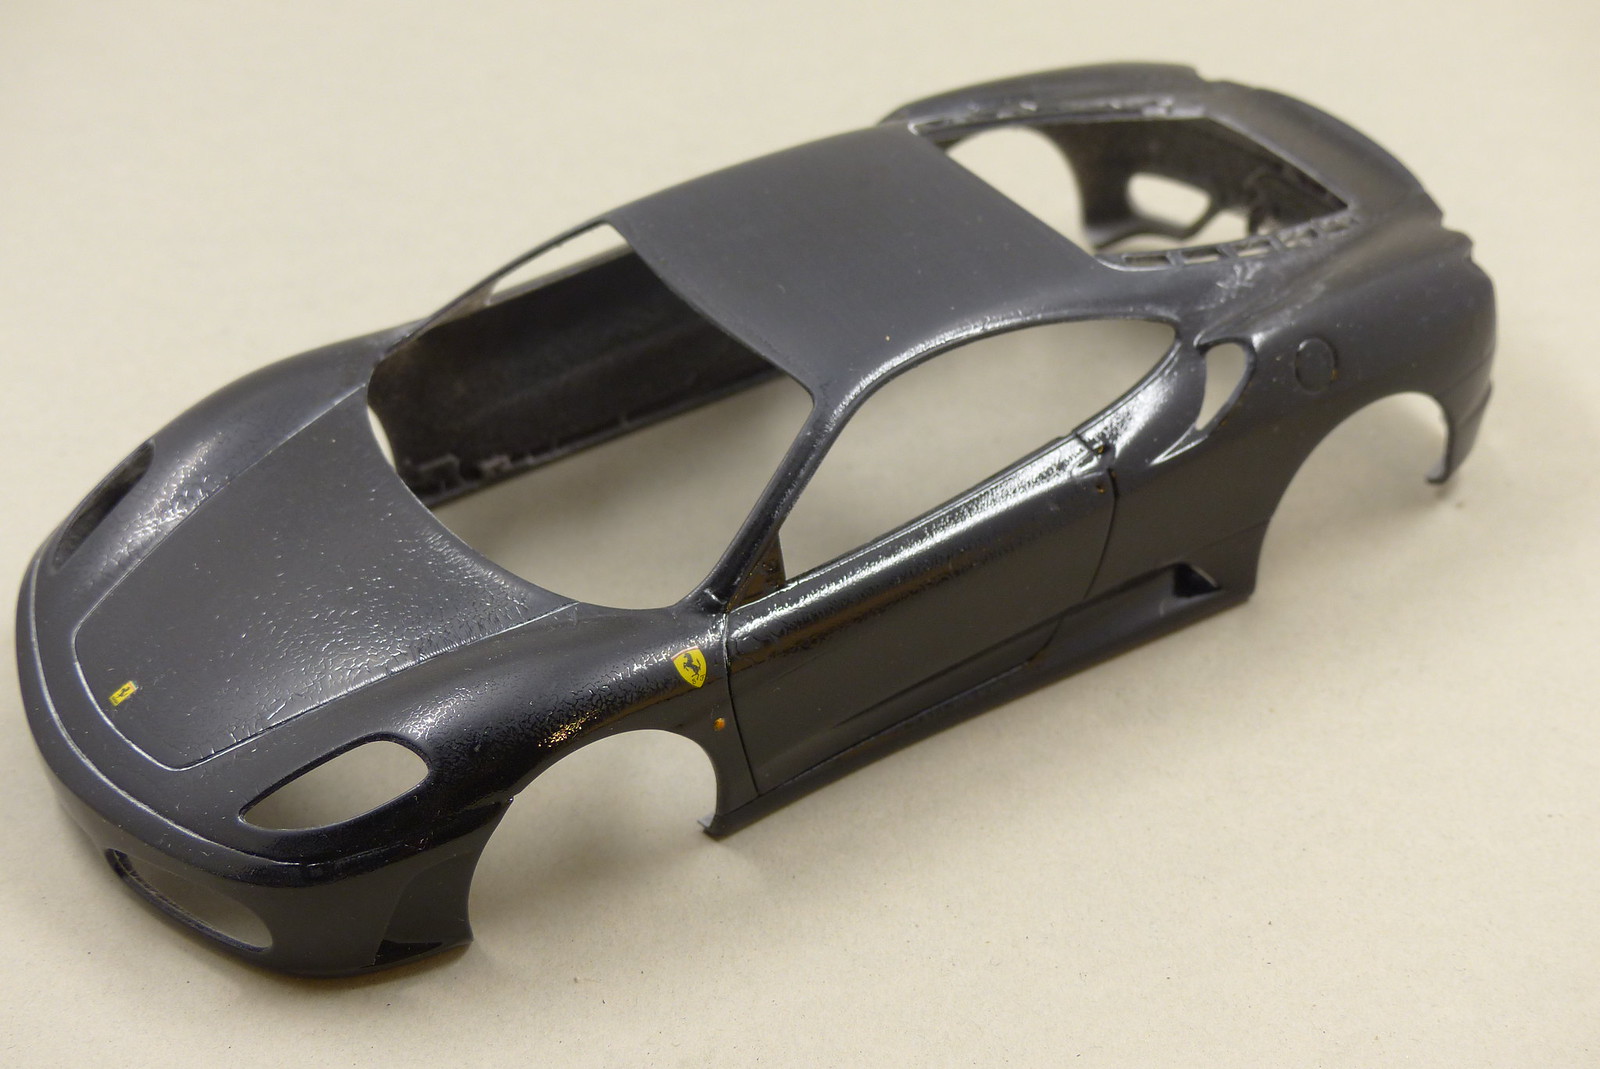
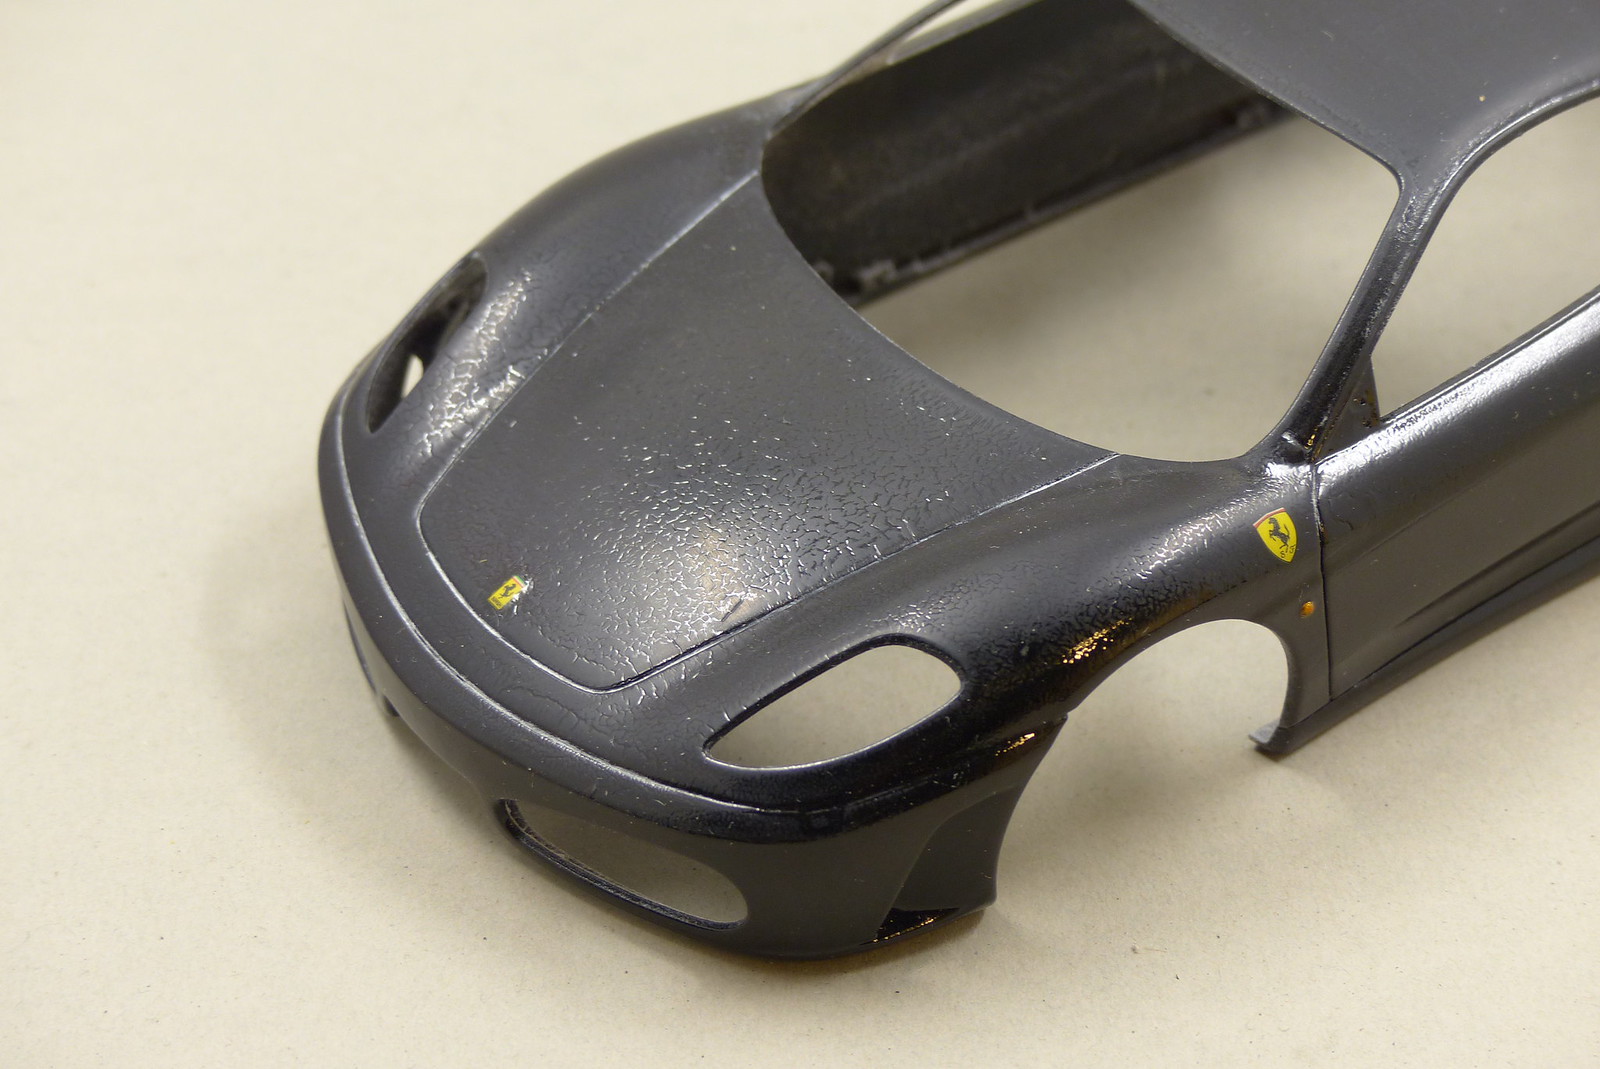
And what do you know. More clearcoat equals more problems.
When spraying the first mist coat I noticed a lot of webbing in the layer of clear. When it had dried a bit, I rubbed the layer with a tack cloth and the webbing mostly disappeared.
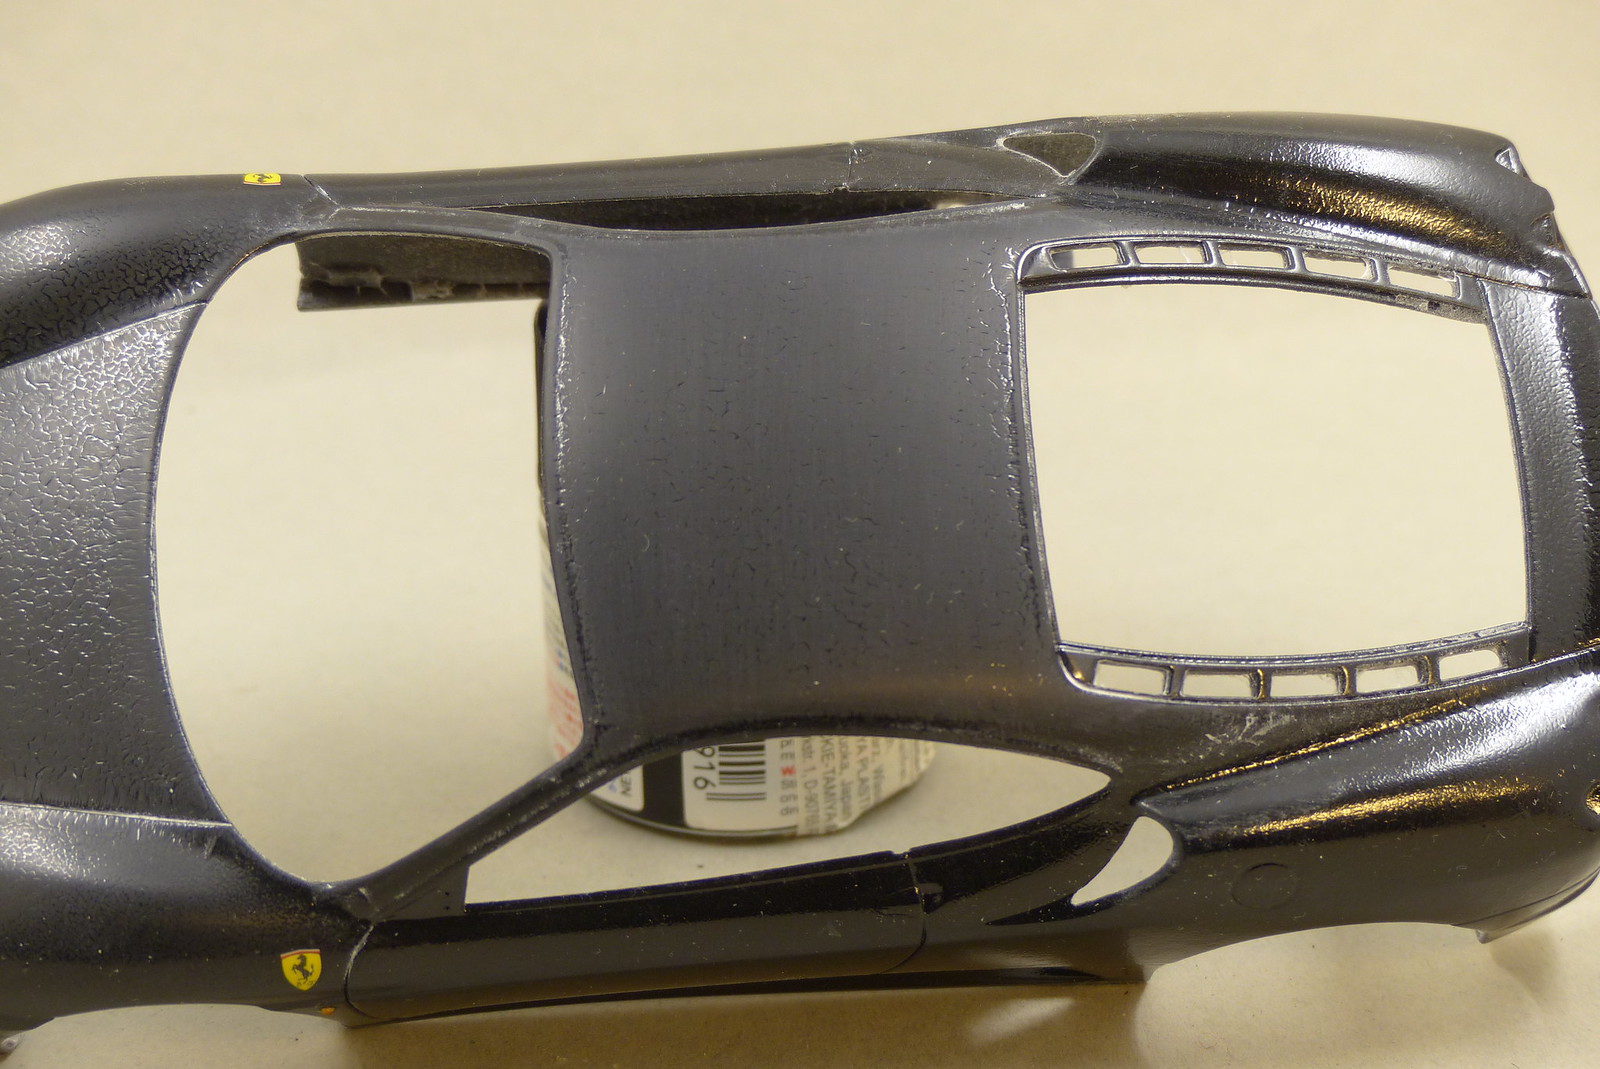
In the image below, the webbing can be seen on the inside of the model.

I figured that the next wet coat would get rid of the remaining irregularities.
How wrong I was.
I don't really know what went wrong here. I used a 0.6 mm needle. The clear was sprayed at a pressure close to 30 psi (20-40 is recommended).
It looks like shit.
The bottle of clear wasn't new, so maybe that could be the problem.
Or maybe it was a faulty batch.
I already started to sand back the layer of clear to get rid of the structure. But the clear is very durable and it's taking a LOT of time to get to something halfway acceptable...

Upon searching on the internet I came across a few people who also had experienced similar problems.
Although, there are also modellers who never experienced problems with this clear.
I will have to sleep on this for now. I'm close to binning this one... I came this far and it would be a shame to give up now, but I'm not sure if and how I can save this one...
I started with MicroMesh cloths, using 6000, 8000 and 12000 grit. Next I used Tamiya compound (fine and finish) to restore the shine.
Once again I can state that the Aqua Gloss from Alclad can be polished quite nicely and the layer is quite tough.
However, after washing the body there were some tiny scratch marks evident.
Seems to be my own fault as I used an old cotton t-shirt to apply the compound to the model. It appears that cotton is still too coarse for polishing (also stated on the Hiroboy website).
So off I went and bought me some polishing clothes from Zero Paints and from Tamiya.
After another round of compound the scratches have been removed, so I could (finally) continu with the final details. Or so I thought.
For some reason I couldn't get the shine back on this paint. I don't know if it's because I used Zero Paints compound or that there's something else going on.
I was a bit reluctant to give it another round of compound, feared of going through the clear layer. In some places I suspected the clear was almost completely rubbed away...
Time for a new layer of clear, to be on the safe side.
This time I went for ZP pre-thinned 1K clear.
And what do you know. More clearcoat equals more problems.
When spraying the first mist coat I noticed a lot of webbing in the layer of clear. When it had dried a bit, I rubbed the layer with a tack cloth and the webbing mostly disappeared.
In the image below, the webbing can be seen on the inside of the model.
I figured that the next wet coat would get rid of the remaining irregularities.
How wrong I was.
I don't really know what went wrong here. I used a 0.6 mm needle. The clear was sprayed at a pressure close to 30 psi (20-40 is recommended).
It looks like shit.
The bottle of clear wasn't new, so maybe that could be the problem.
Or maybe it was a faulty batch.
I already started to sand back the layer of clear to get rid of the structure. But the clear is very durable and it's taking a LOT of time to get to something halfway acceptable...
Upon searching on the internet I came across a few people who also had experienced similar problems.
Although, there are also modellers who never experienced problems with this clear.
I will have to sleep on this for now. I'm close to binning this one... I came this far and it would be a shame to give up now, but I'm not sure if and how I can save this one...
Comments
Post a Comment