A new year, a new project.
But different this time. At least, that's the plan.
No thrills - no frills, just out of the box...
When I first started modelling (a long time ago) I mainly built 1/76 and 1/72 Matchbox kits as they were easy to come by.
There was also a good selection of Revell kits, but I didn't like them back then. Too much flash to clean up and soft detail. At least that's what I can remember now.
Planes soon became the main staple in modelling for me, before I discovered the 1/20 F1 cars from Tamiya...
Although my main interest lies still with car kits, the occasional plane will find its way into my stash.
And this happened too with this particular kit.
When I first saw this kit in the new kits section of an issue of Airfix Model World I was intrigued.
I never heard of this plane type before (not that I now all plane types by heart, mind you). When searching Google for this plane I discovered a great special livery for it. And that's when I decided that I was going to build this plane.

As it turned out, this kit wasn't new. Italeri first released it in 2011.
This particular release (from 2017) has three possible liveries. To my joy the livery I was planning to build was included in this release.

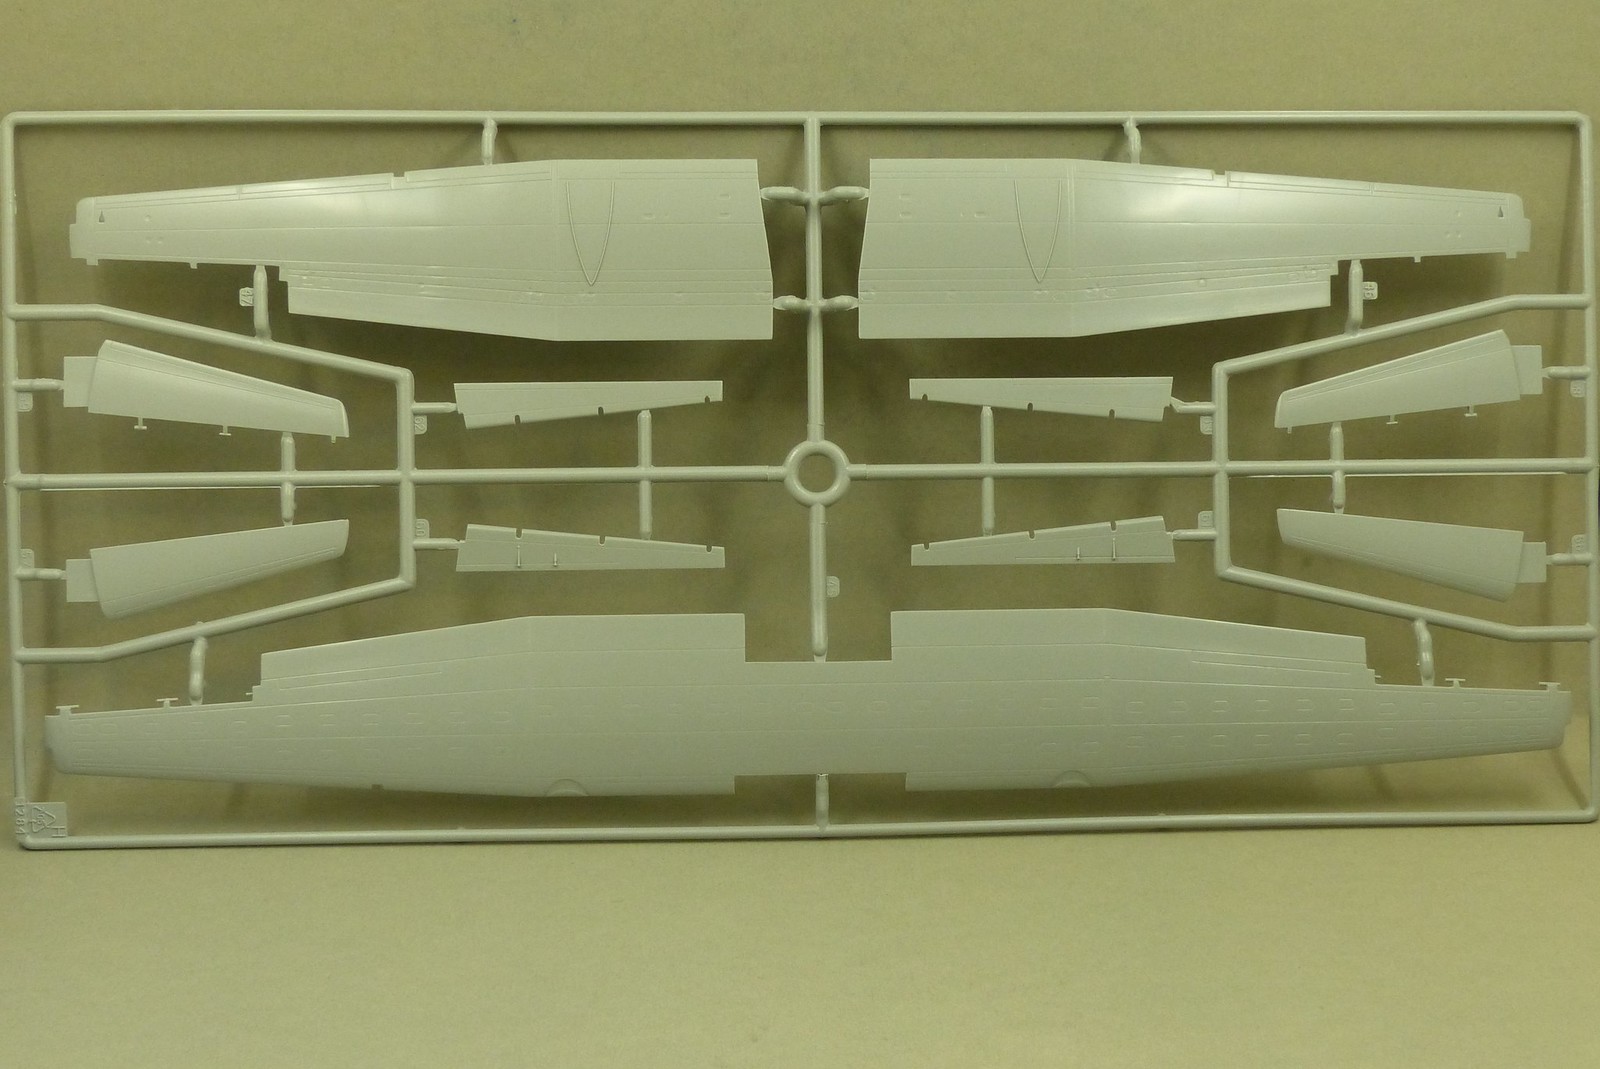
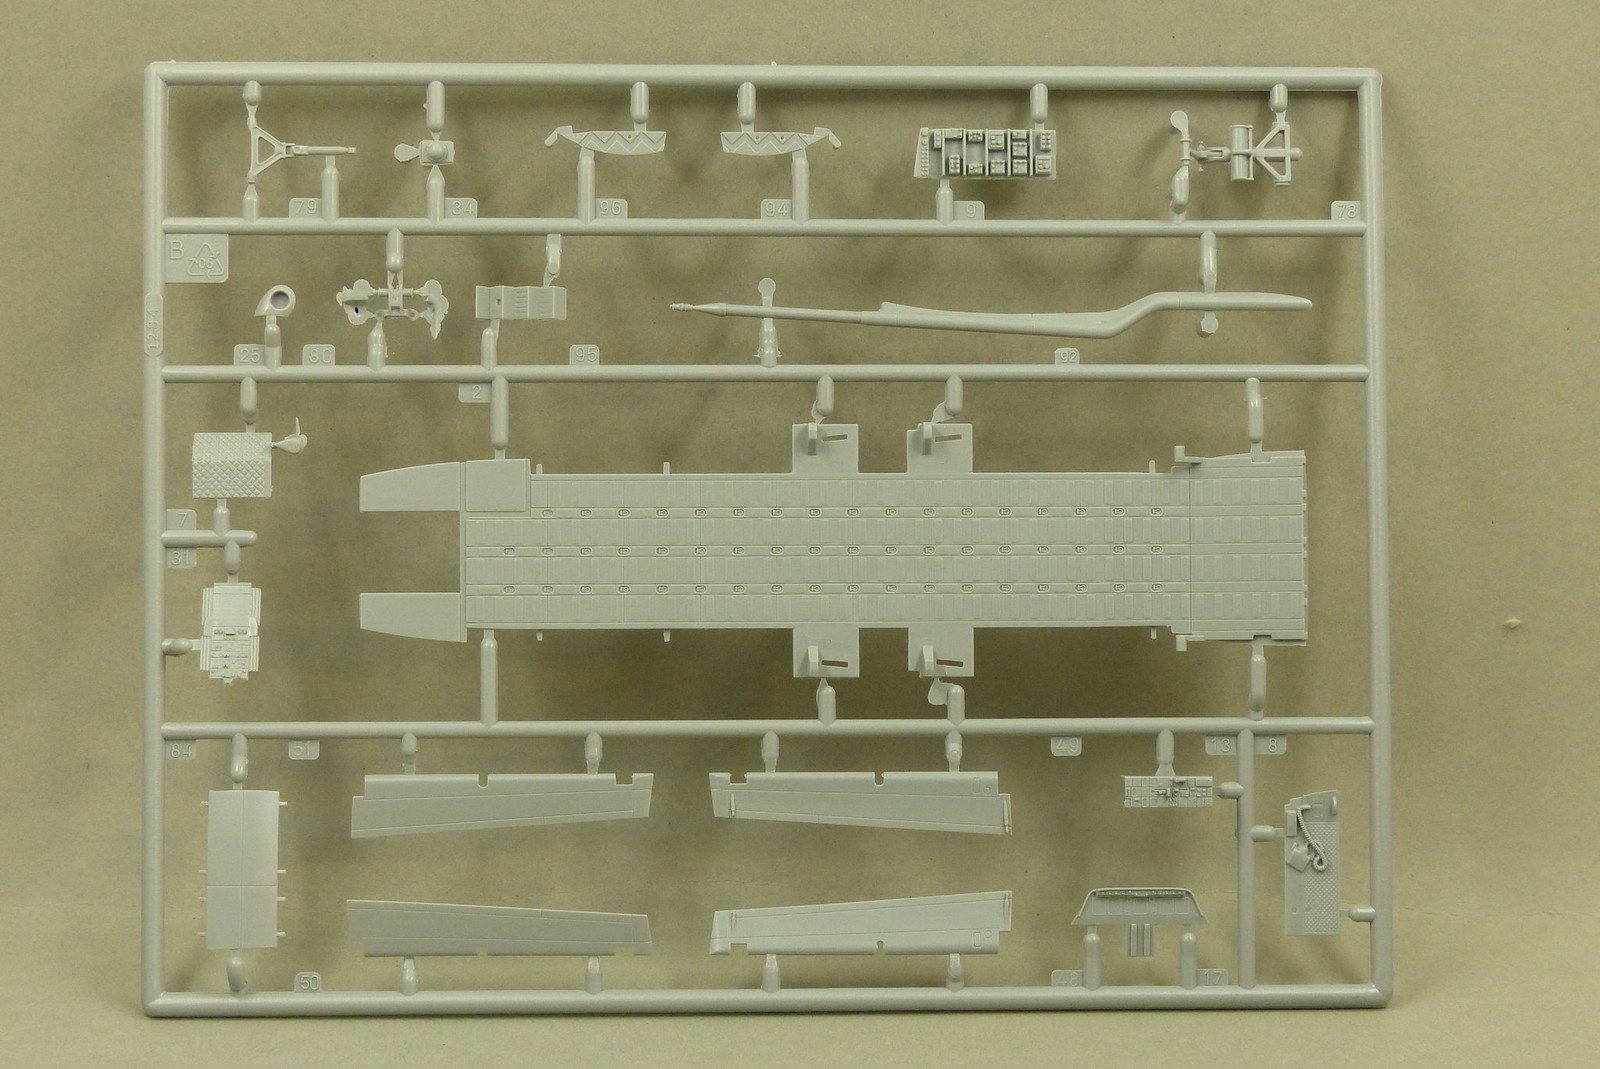
The kit comes in a sturdy and quite large carton (for a 1/72 kit).
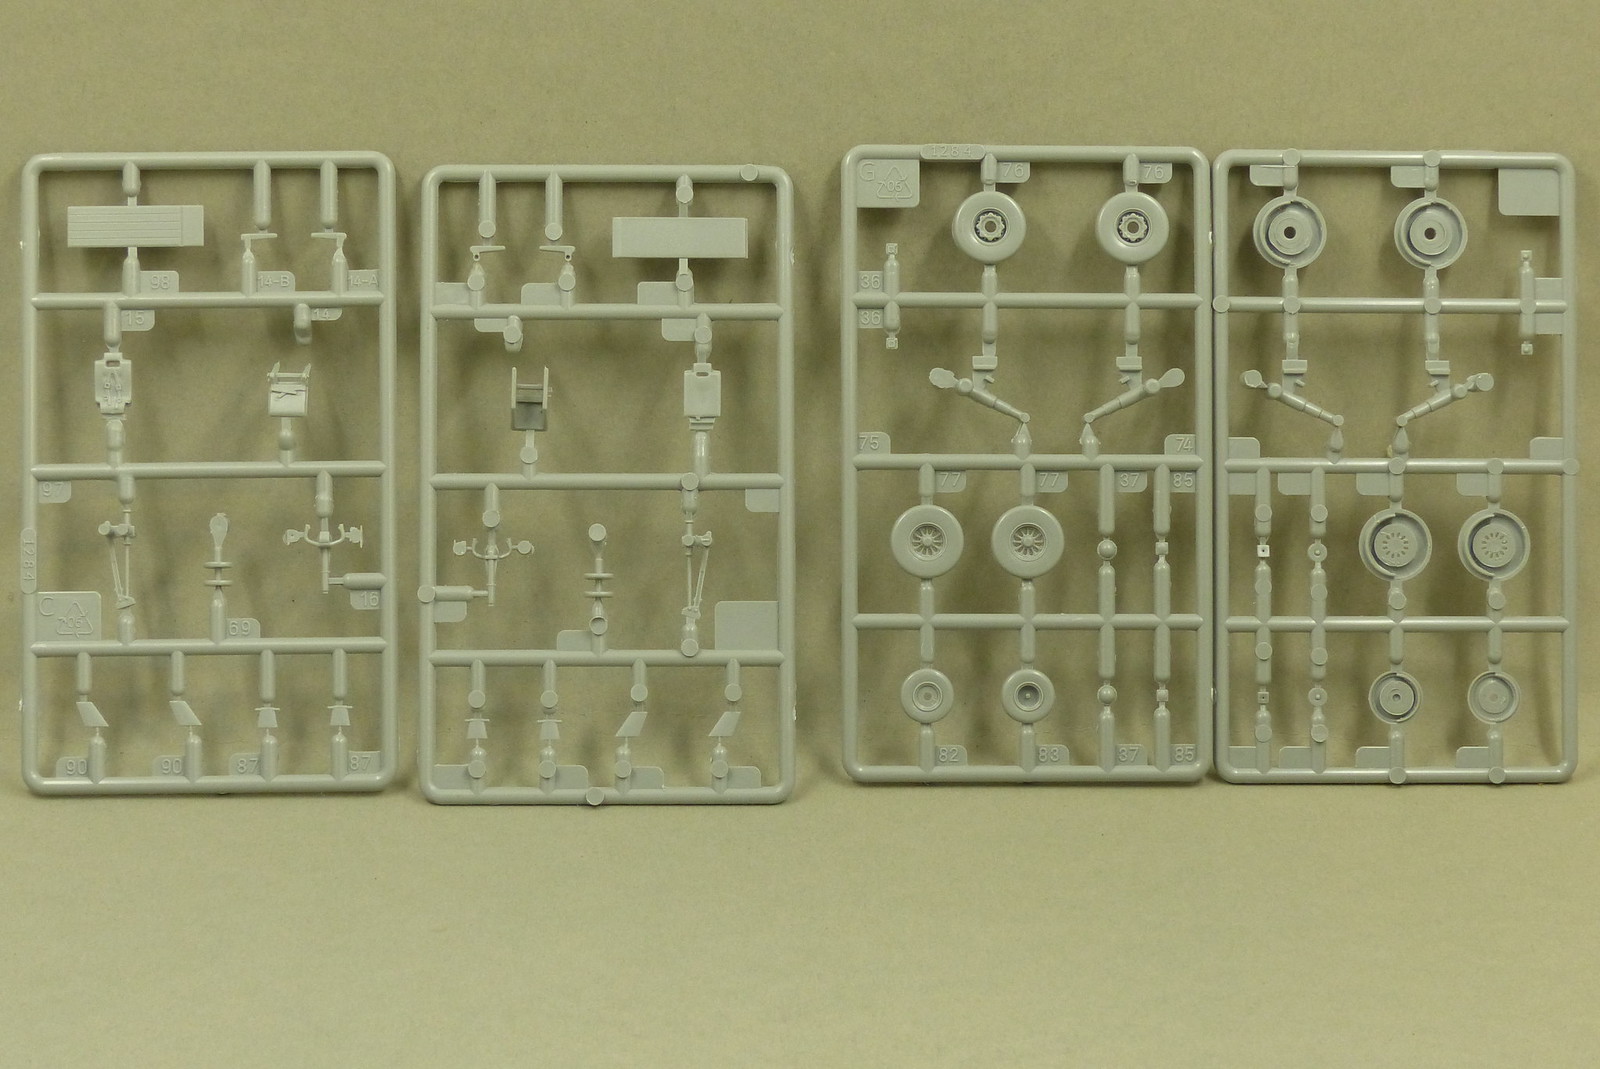
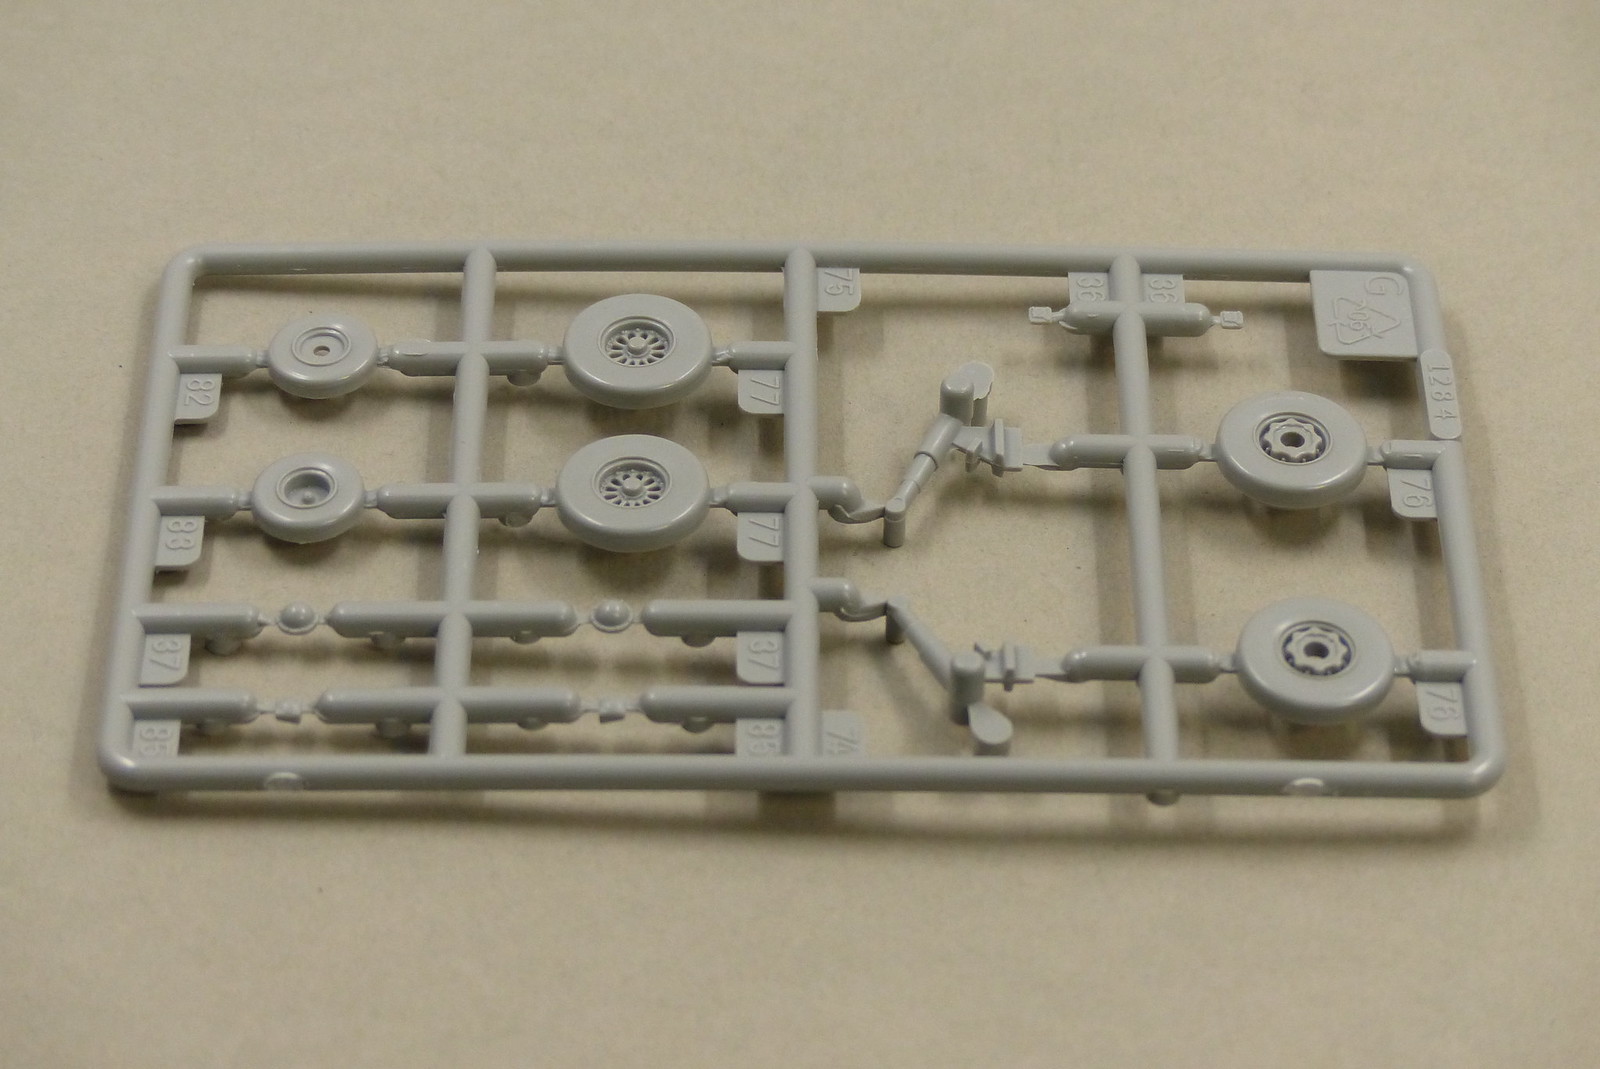
All the sprues are packed separately in a PE bag.
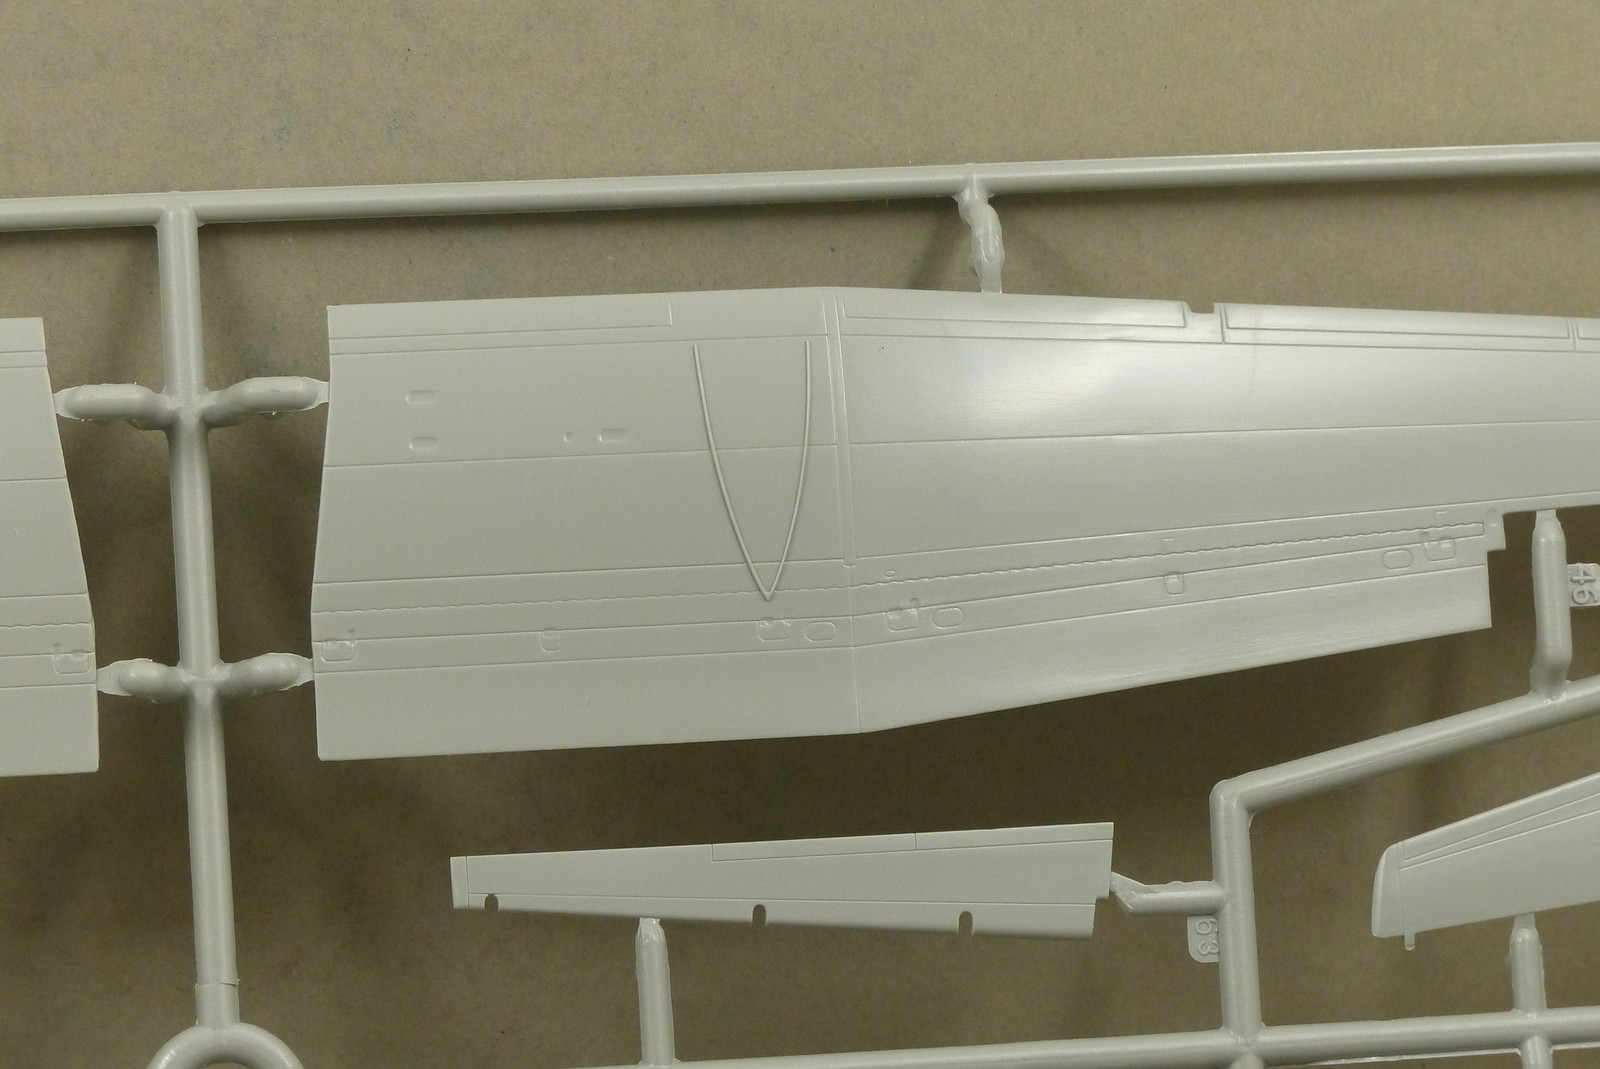
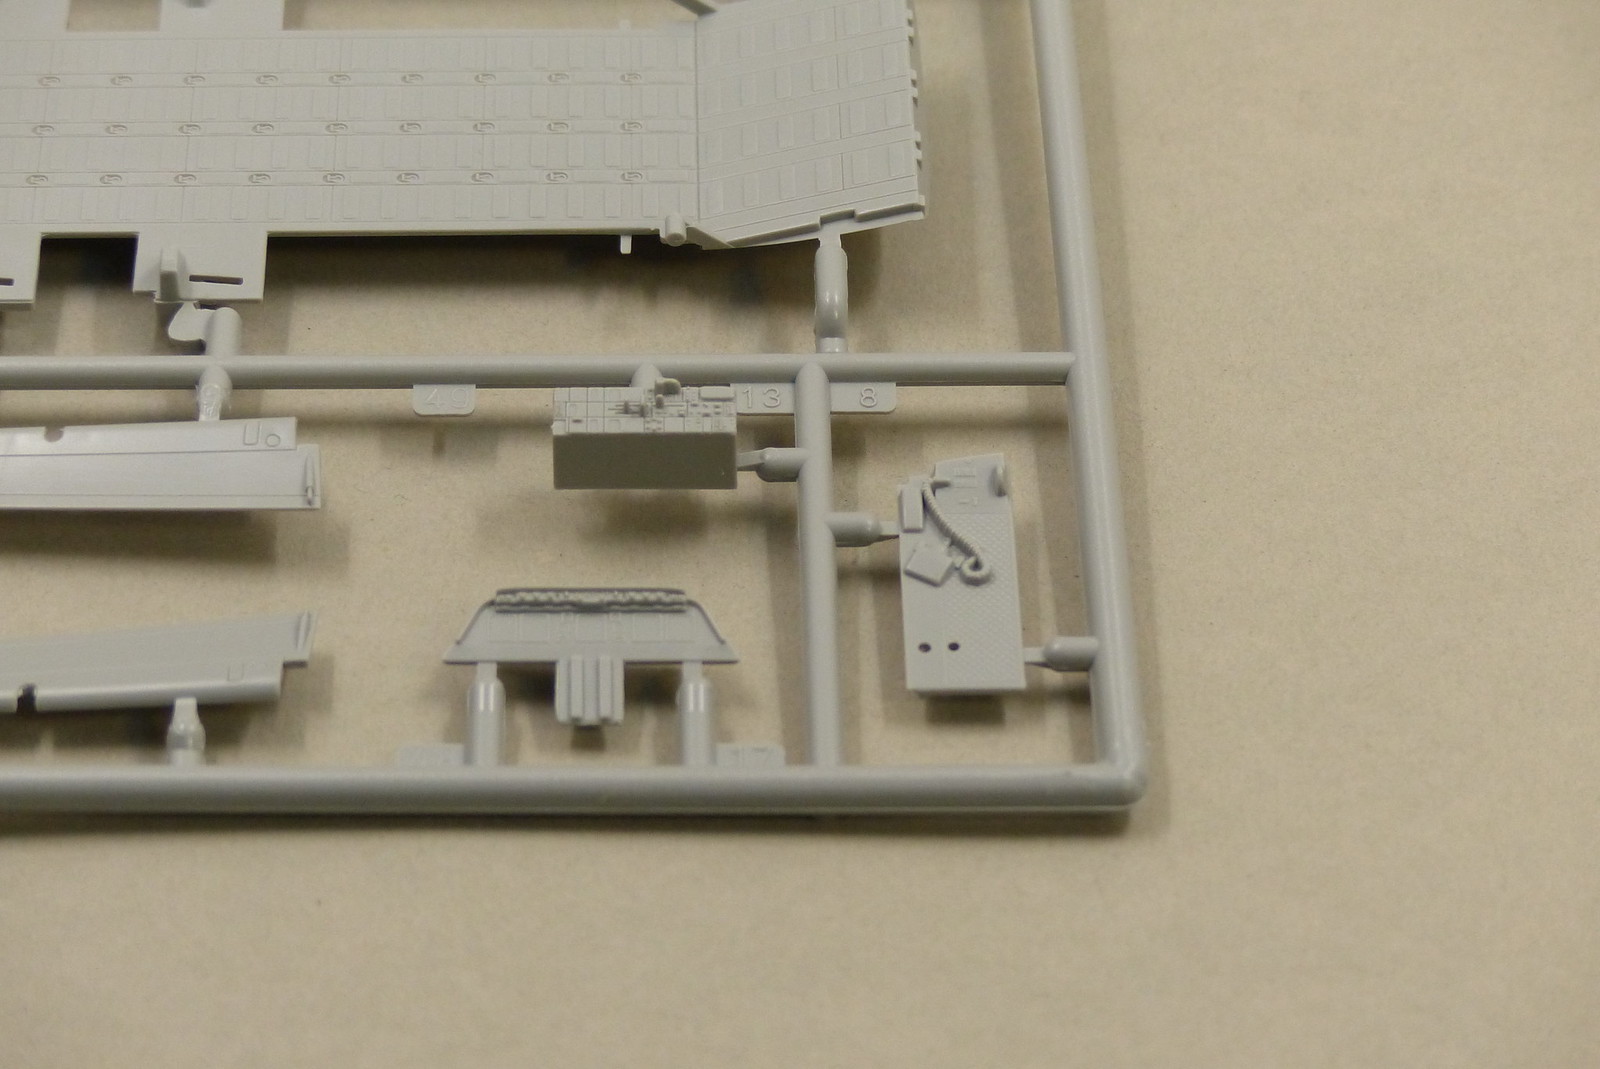
Surface detail is very fine and delicate. I hope not too delicate once there's paint on the model.
There's quite a lot of detail on some of the smaller parts. Really impressive.
Just a minimum of flash is visible on a few parts. Some sink marks are present too. Sadly on quite visible places, so that will take some work.
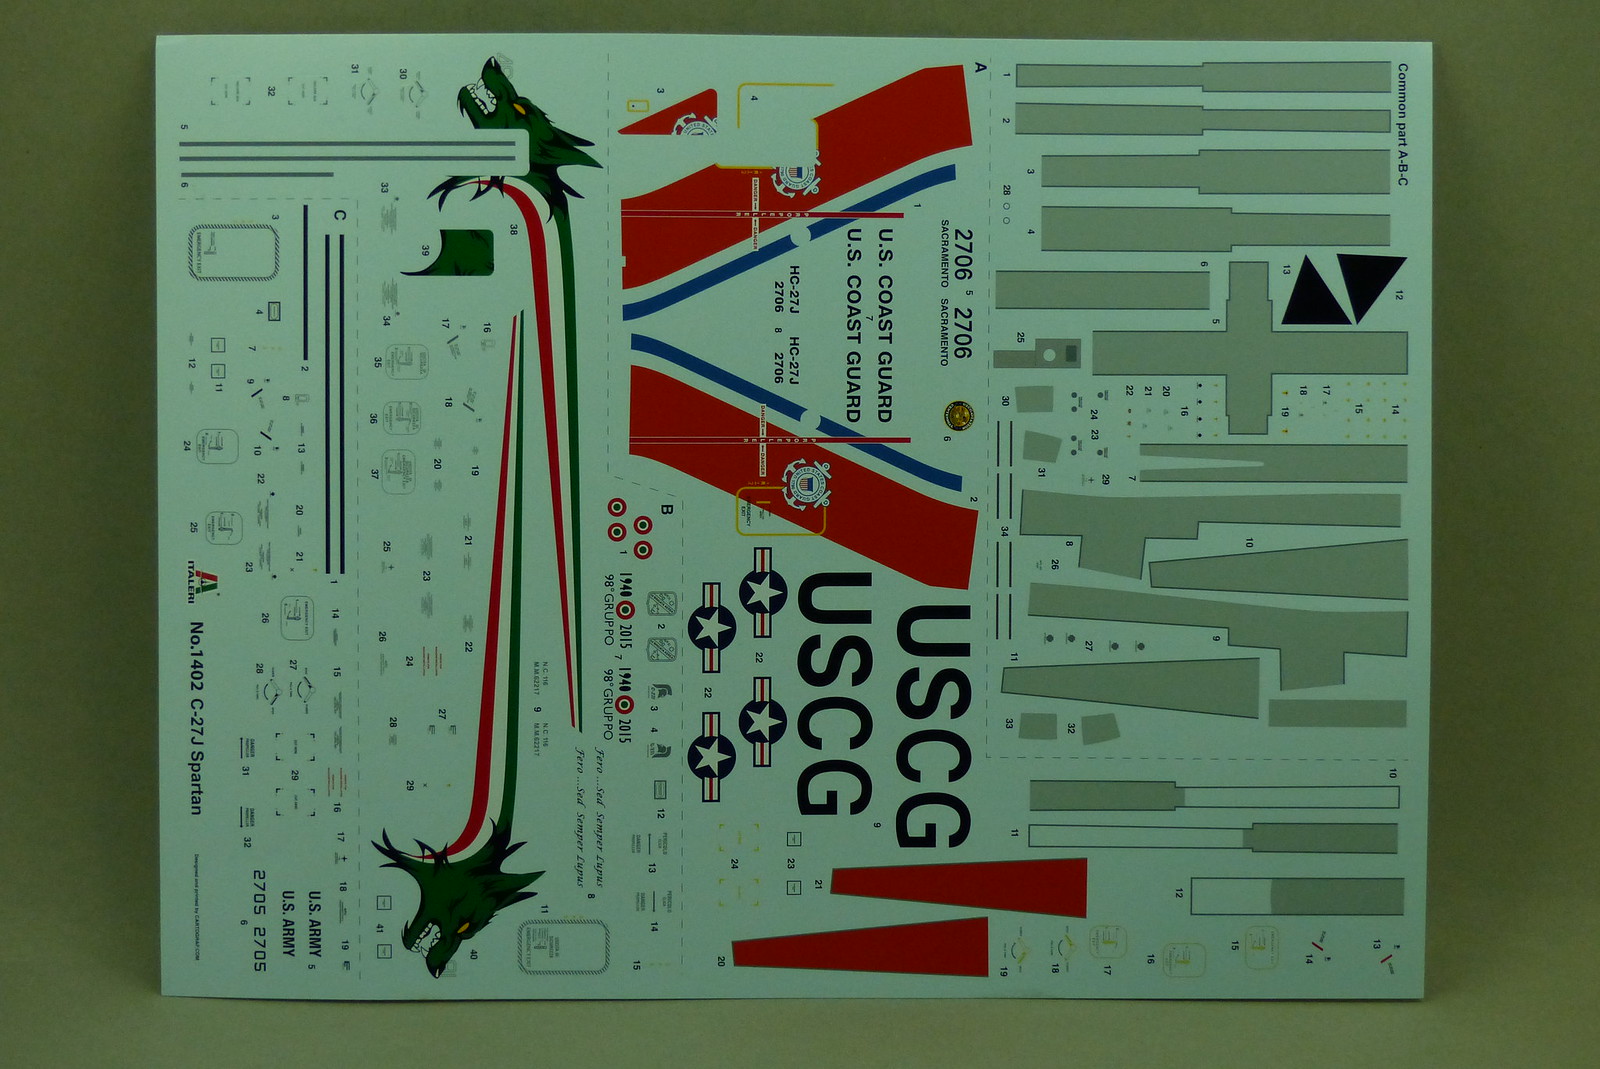
The decal sheet looks great (and is big), with vibrant colours and seems in register on first inspection. Printed by Cartograf I'd expect no less.
The instructions are very clear. You'll have to decide quite soon which version you want to build as there are different steps to follow depending on the version you're planning to build.
A neat touch is the way the fuselage of the plane is built up with an inner and outer fuselage.
The inner fuselage has the padding detail visible on the inside which can also be seen clearly on the image above.
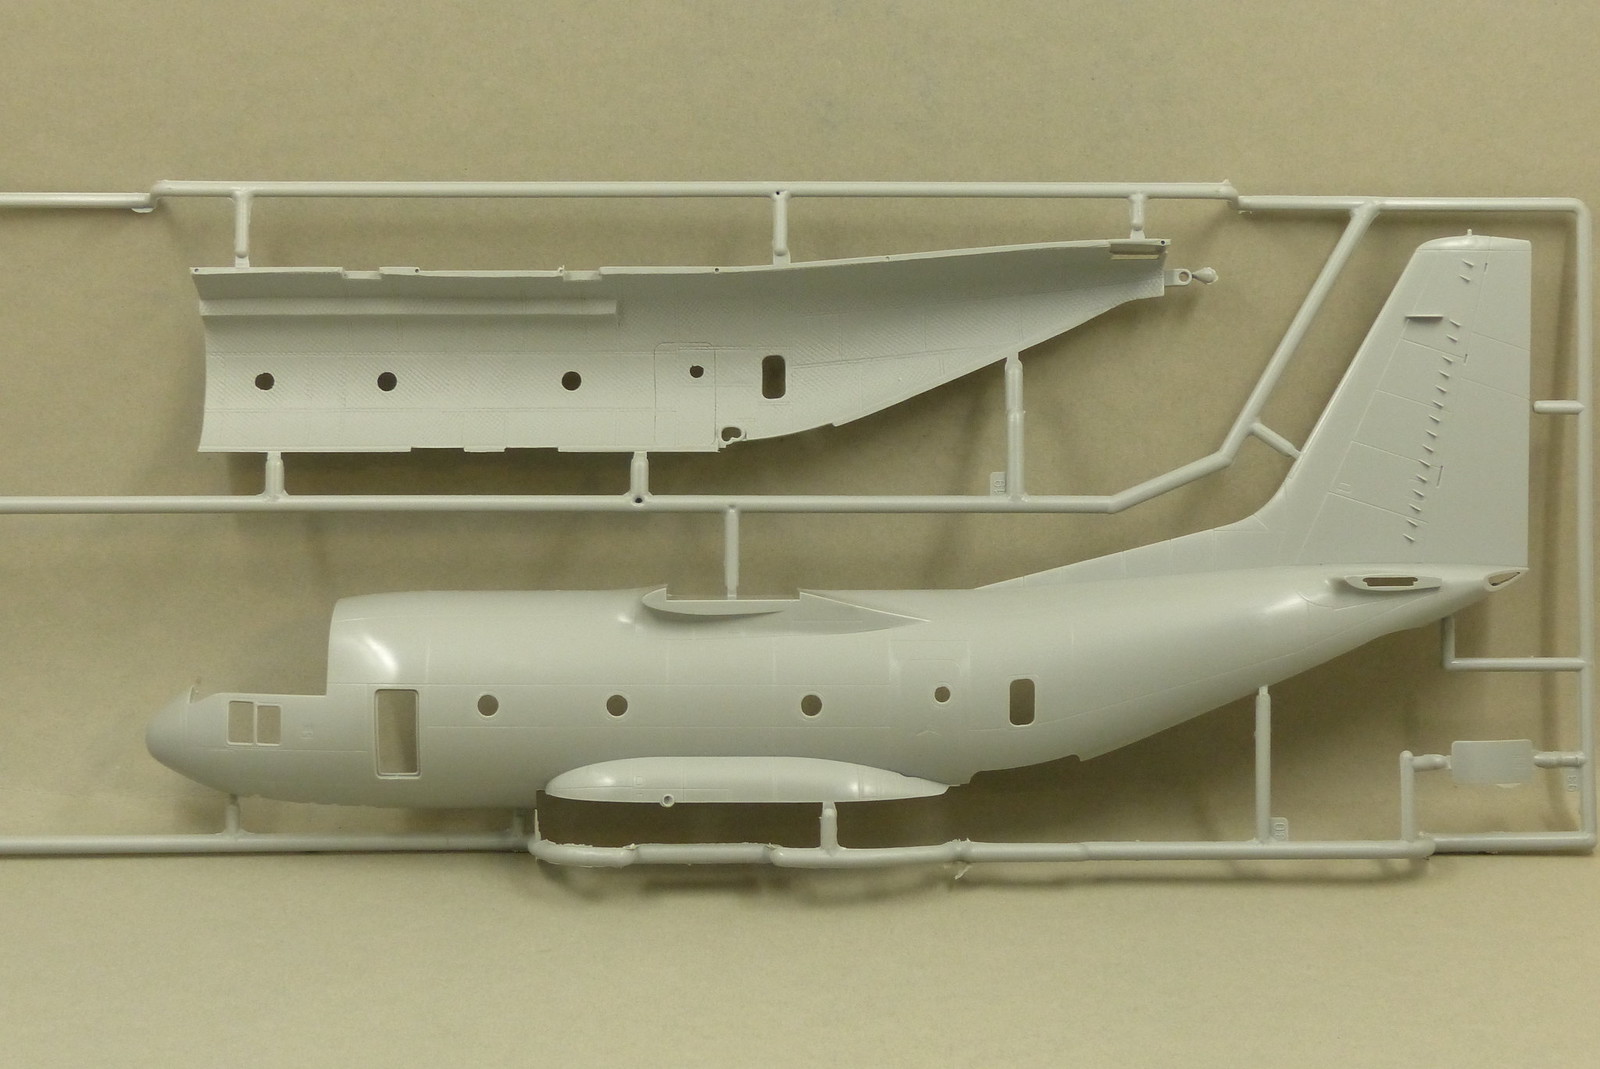
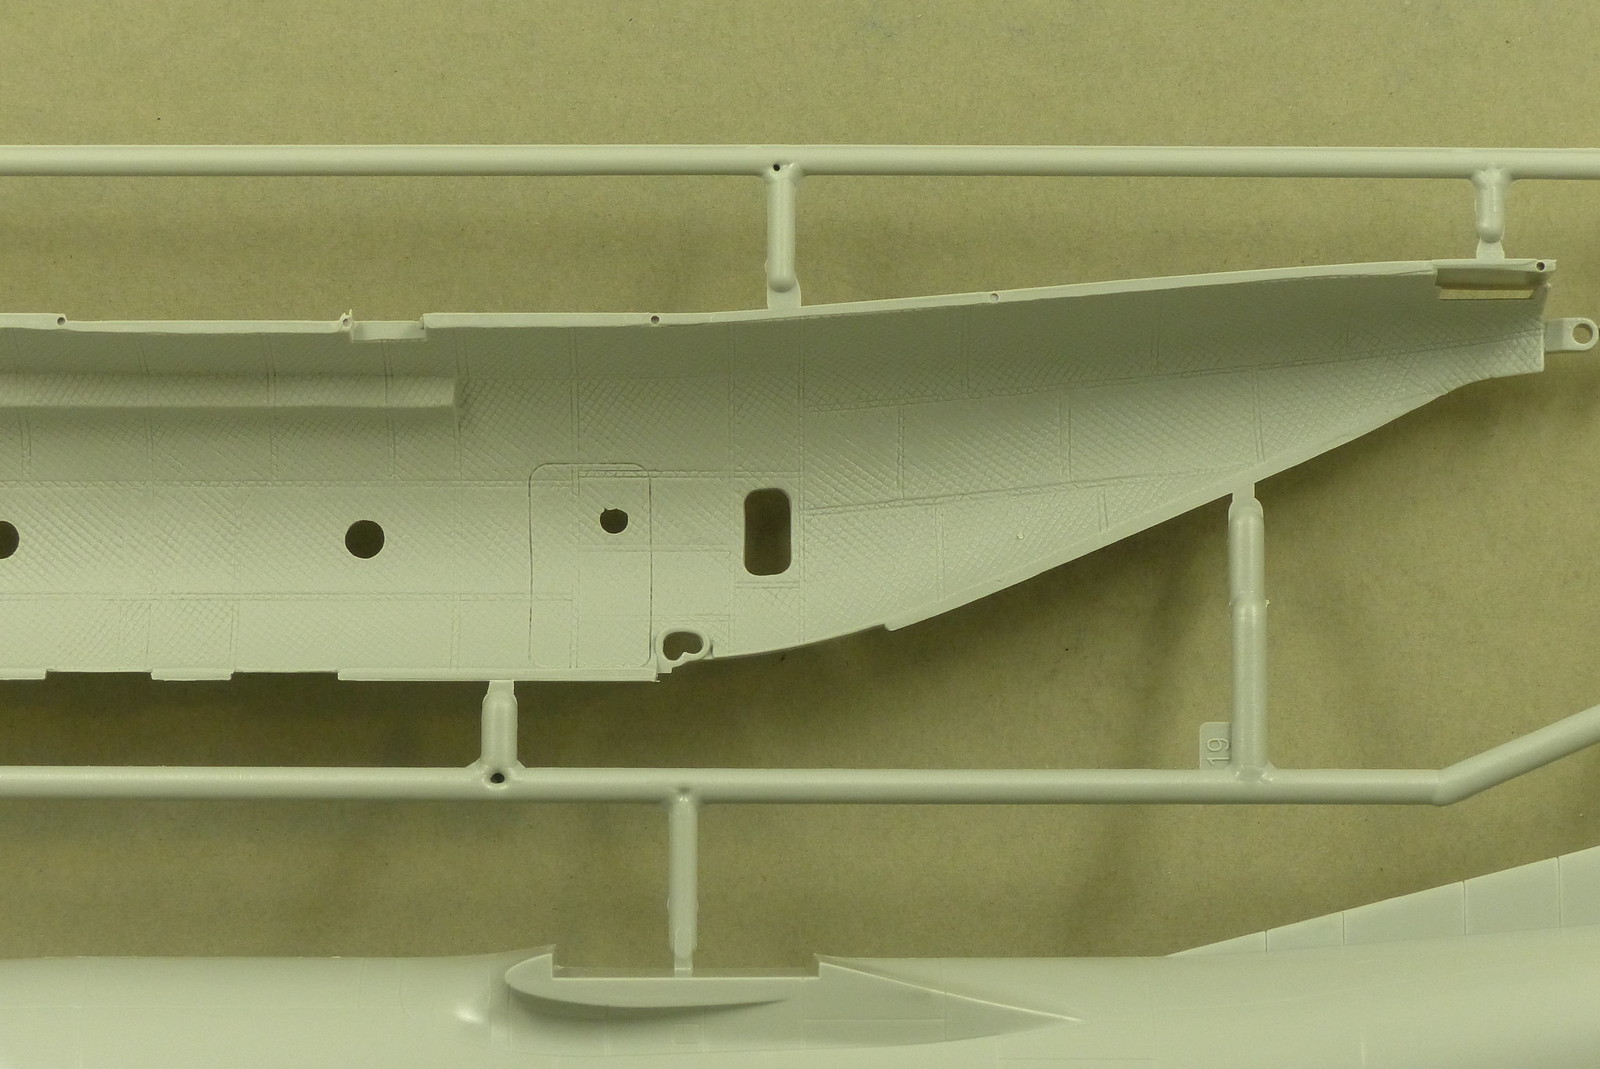
Below are some pictures of the sprues and decal sheet to get a bit of an idea of the detail present.

Building has already commenced, so the next update won't be long.
But different this time. At least, that's the plan.
No thrills - no frills, just out of the box...
When I first started modelling (a long time ago) I mainly built 1/76 and 1/72 Matchbox kits as they were easy to come by.
There was also a good selection of Revell kits, but I didn't like them back then. Too much flash to clean up and soft detail. At least that's what I can remember now.
Planes soon became the main staple in modelling for me, before I discovered the 1/20 F1 cars from Tamiya...
Although my main interest lies still with car kits, the occasional plane will find its way into my stash.
And this happened too with this particular kit.
When I first saw this kit in the new kits section of an issue of Airfix Model World I was intrigued.
I never heard of this plane type before (not that I now all plane types by heart, mind you). When searching Google for this plane I discovered a great special livery for it. And that's when I decided that I was going to build this plane.
(image taken from scalemates.com)
As it turned out, this kit wasn't new. Italeri first released it in 2011.
This particular release (from 2017) has three possible liveries. To my joy the livery I was planning to build was included in this release.
picture by Sven Zimmermann, taken from Airfighters.com
The kit comes in a sturdy and quite large carton (for a 1/72 kit).
All the sprues are packed separately in a PE bag.
Surface detail is very fine and delicate. I hope not too delicate once there's paint on the model.
There's quite a lot of detail on some of the smaller parts. Really impressive.
Just a minimum of flash is visible on a few parts. Some sink marks are present too. Sadly on quite visible places, so that will take some work.
The decal sheet looks great (and is big), with vibrant colours and seems in register on first inspection. Printed by Cartograf I'd expect no less.
The instructions are very clear. You'll have to decide quite soon which version you want to build as there are different steps to follow depending on the version you're planning to build.
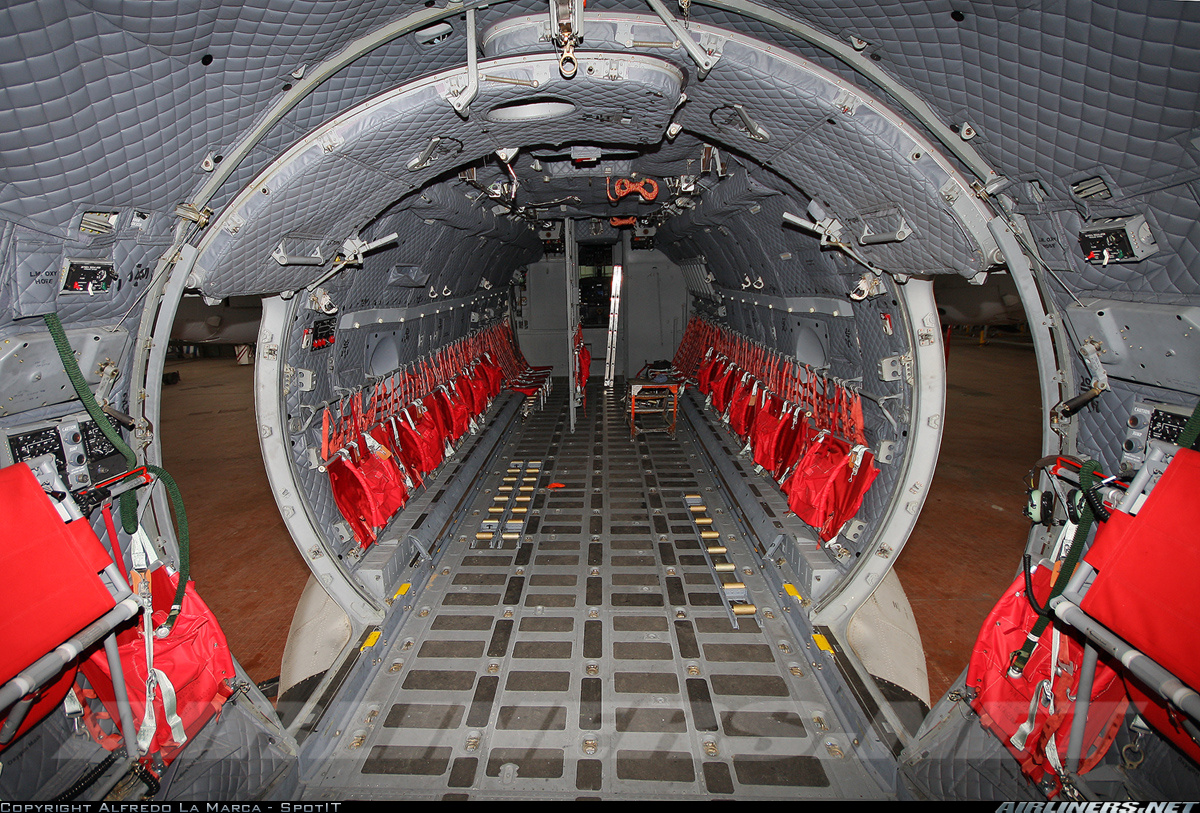
(picture by Alfredo La Marca, taken from airliners.net)
A neat touch is the way the fuselage of the plane is built up with an inner and outer fuselage.
The inner fuselage has the padding detail visible on the inside which can also be seen clearly on the image above.
Below are some pictures of the sprues and decal sheet to get a bit of an idea of the detail present.
Building has already commenced, so the next update won't be long.
Comments
Post a Comment