
Ferrari F430 (part 3)

It's been a while since my the last update. I've been working on this model for quite some time now and it's now nearing completion.
I only spend about 3-4 hours per week on modelling so progress is quite slow. But there is progress. And in this update I'll show you how far I've gotten with this model.

The first part I want to show you is the dashboard of this car. Most of the interior had been finished already, but the dashboard and steering wheel were still some way from completion.
The dashboard and steering wheel were first painted black (semi gloss) with Tamiya X18.
After that I sprayed several fine coats of satin clear (a mix of Tamiya X22 clear and X21 flat base) on the dashboard and steering wheel to give it a kind of leathery look.
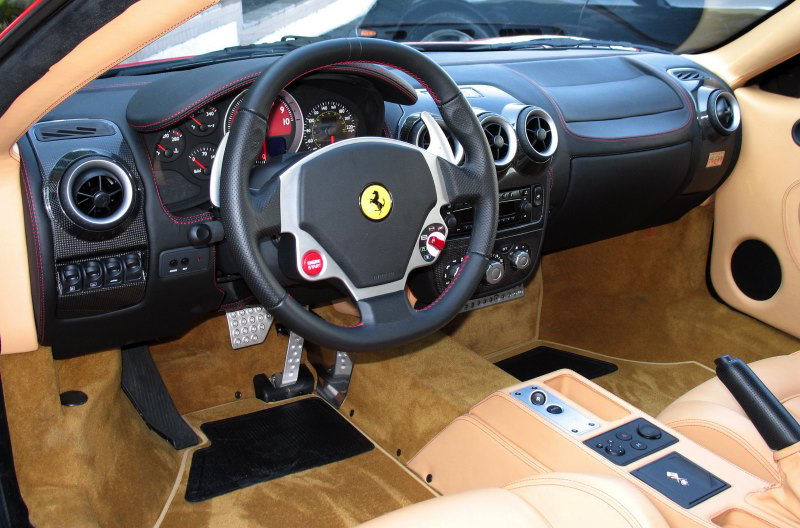
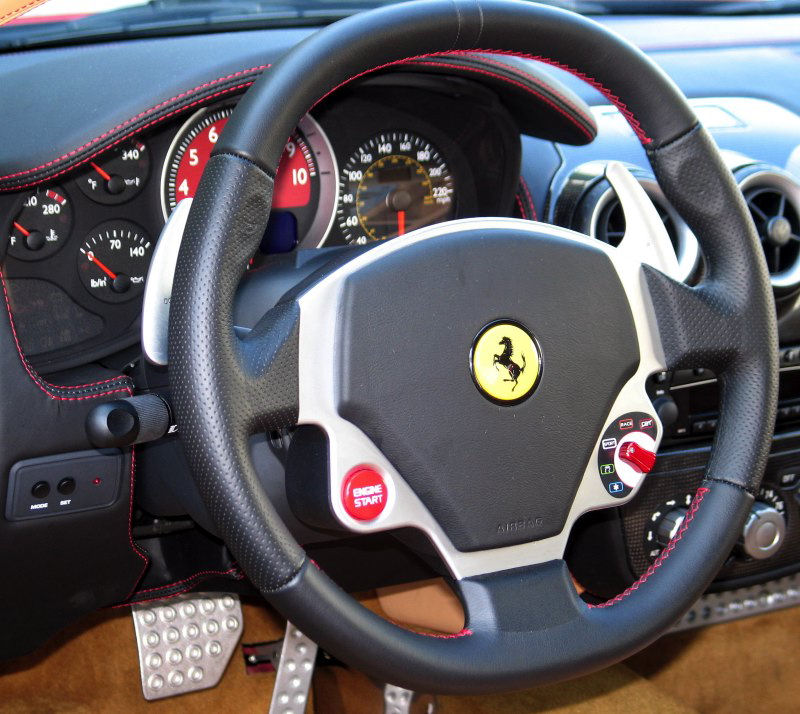
I wanted to model the dashboard according to this example:


As can be seen on the image above, there are several sections of carbon fiber on the dashboard.
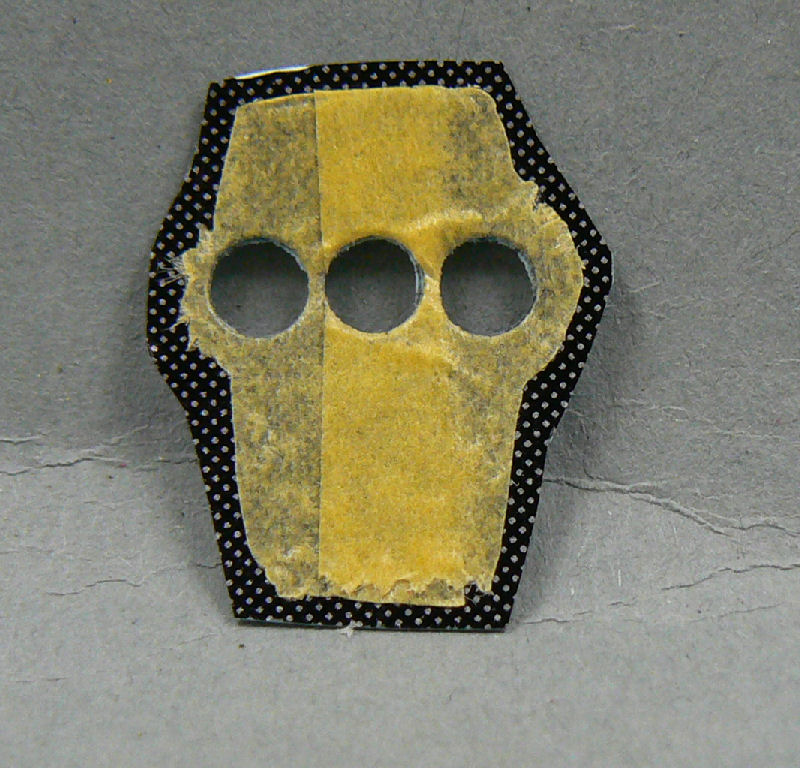
I intended to simulate the pattern with composite fiber decals from Scale Motorsport. The pattern I used was 'plain weave pewter'.
I made templates of the parts I wanted to cover with Tamiya masking tape. And with these templates I cut out the required pieces from the Scale Motorsports decal sheet, and glued them on the dashboard using MicroScale decal Sol and Set.
Great stuff for getting the decals to conform to the curved shapes of the dashboard.

As can be seen in the last image, the application of the decals went not without some problems.
I had cut the decals slightly oversized, so I could trim the excess after application and thus guarantee that the decals would cover the intended parts completely. If you cut it exactly to size, I've noticed that for some reason the decals often don't fit perfectly. It's like they shrink slightly during application.
But in this case I let the decals dry slightly too long before cutting them to size. So I damaged the paint on the dashboard on several spots. The protective layer of clear didn't help much I'm afraid.
But luckily, the damaged spots could easily be repaired. After the decals had cured for several days, I brushpainted some MicroScale gloss clear on the carbon fiber decals to give it some shine.
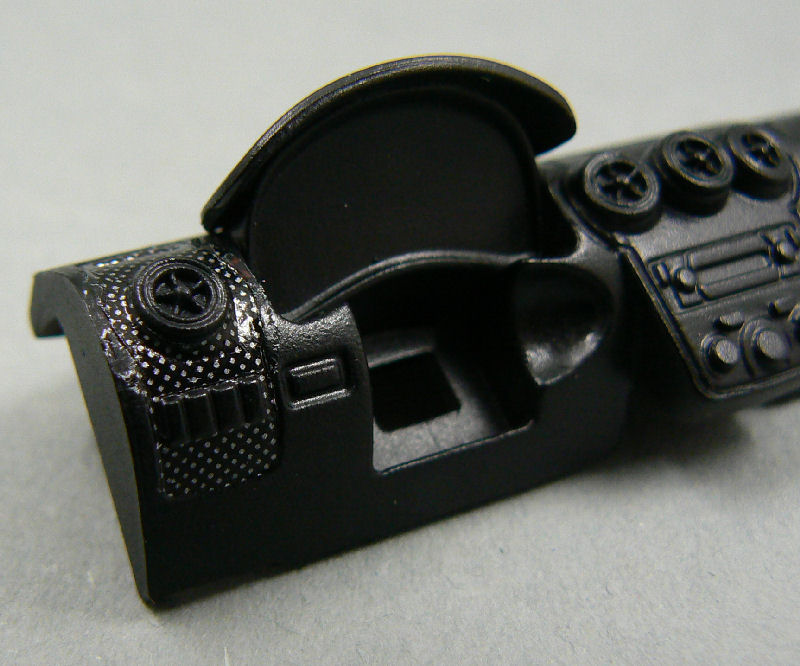
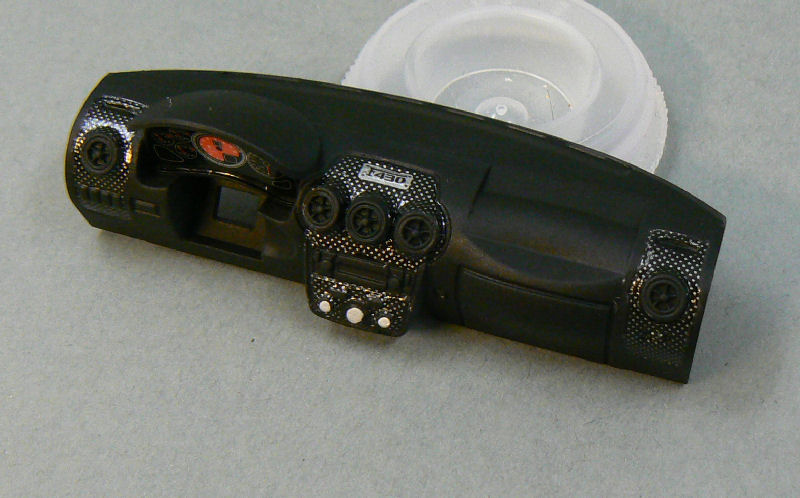
Below is a picture of the, almost finished, dashboard. I only have to add some etched parts to the 5 ventilation ducts on the dashboard.


After I finished the dashboard I turned my attention to the steering wheel. The steering wheel has been nicely detailed by Fujimi. But it could have been better. For instance, the starter button was missing from the steering wheel. So I had to simulate the button with some red painted.
I used unthinned red paint from the Revell aquacolor range. As the paint is quite thick unthinned, it was the perfect solution for this smalle omission from Fujimi.
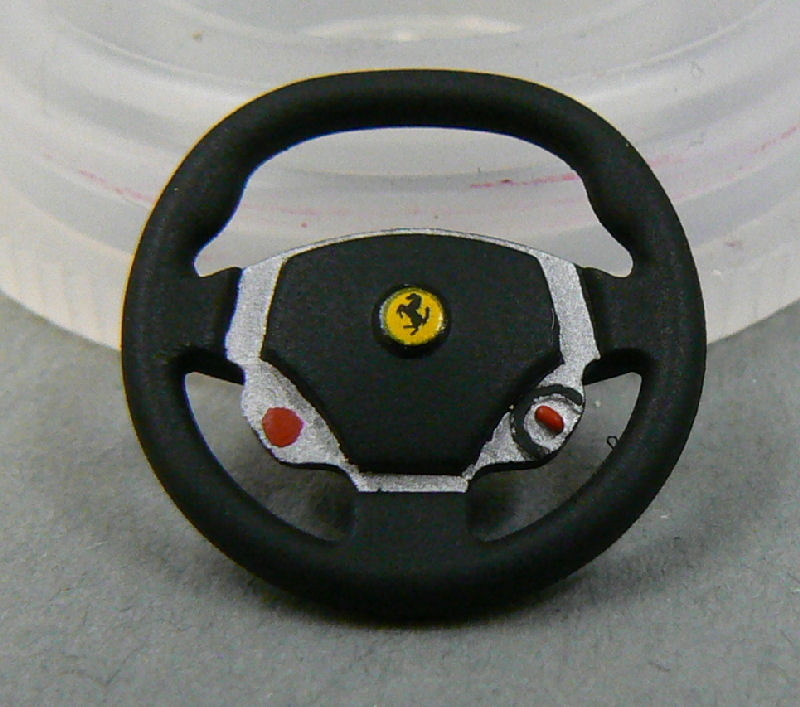
I tried to model the steering wheel according to the following example:
Note: Second picture is the steering wheel from the model...

Lights
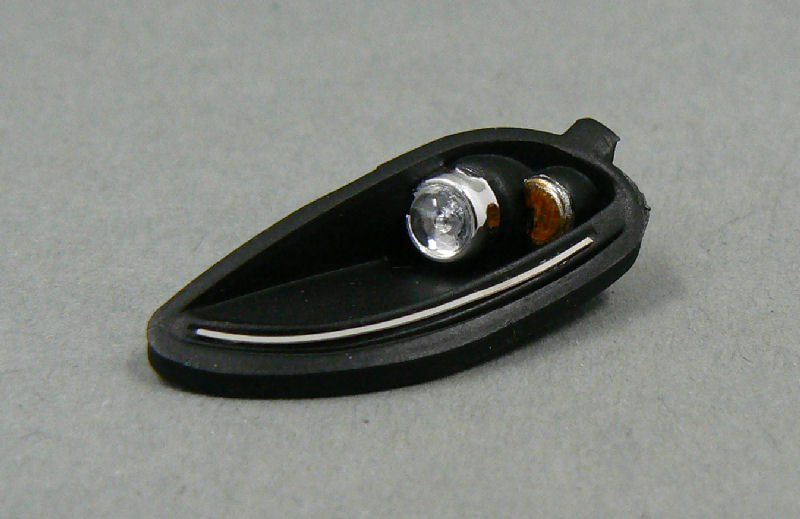
With work on the interior almost finished I turned my attention next to the lights of the car.
This is how the front lights look on the real car:


I had already painted the lightpods for the front semi gloss black and put a few layers of satin clear on them.
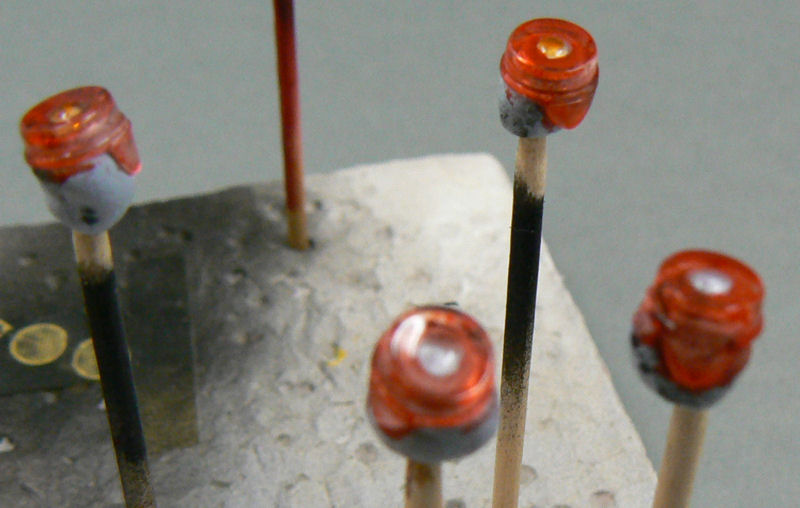
Next I painted the indicatorlights orange with clear orange from Tamiya (X26) and painted the rim of the indicator lights chrome, using Alclad II chrome.
Final step was glueing all the parts together. For this I used MicroScale Kristal Klear, a glue that dries clear. Very convenient because some parts of the lightpods are made of clear plastic and if I had used regular modelling glue the parts would have become fogged.


Next in line were the rear lights. Pretty straightforward, they had to be painted with clear red and clear orange. In this case I again used clear paints from Tamiya (X26 and X27).

Windows
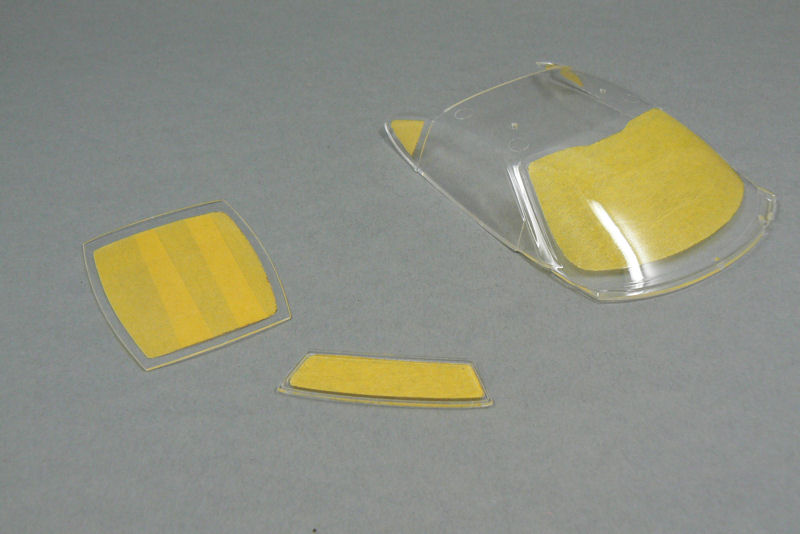
The most recent parts I've worked on were the windows of the car.
The outer rims of the windows should be painted (semi gloss) black. The windows themselves have some thin lines molded into them, denoting the boundaries for the black areas.
Normally that would have been sufficient for masking of the windows for airbrushing the black on.
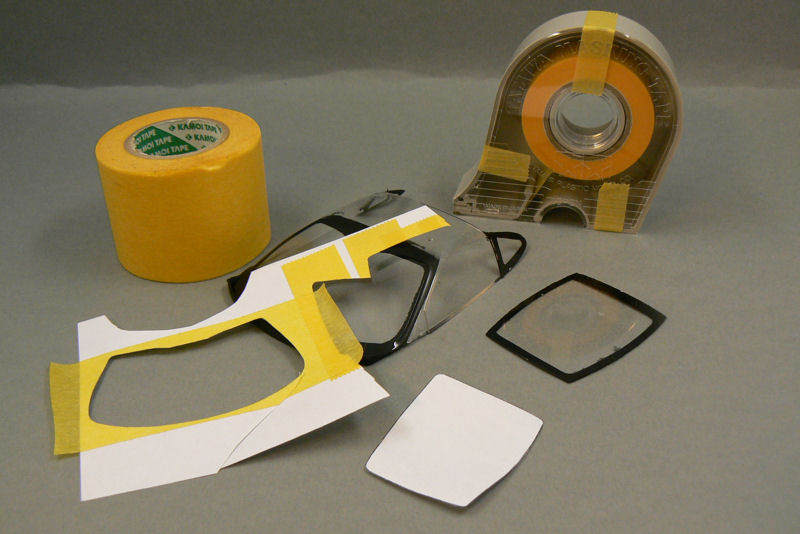
But in this case I created the masks (from Tamiya masking tape) with the templates that were provided in the Crazy Modeler detail set I've been using in this build.
With these templates I created the masks, stuck them to the windows, masked of the rest of the windows and painted the required areas semi gloss black using Revell aquacolor.

And the final result was very pleasing:


I still have to remove some tape residue from the windows here and there and touch up a few spots, but otherwise the windows are finished.
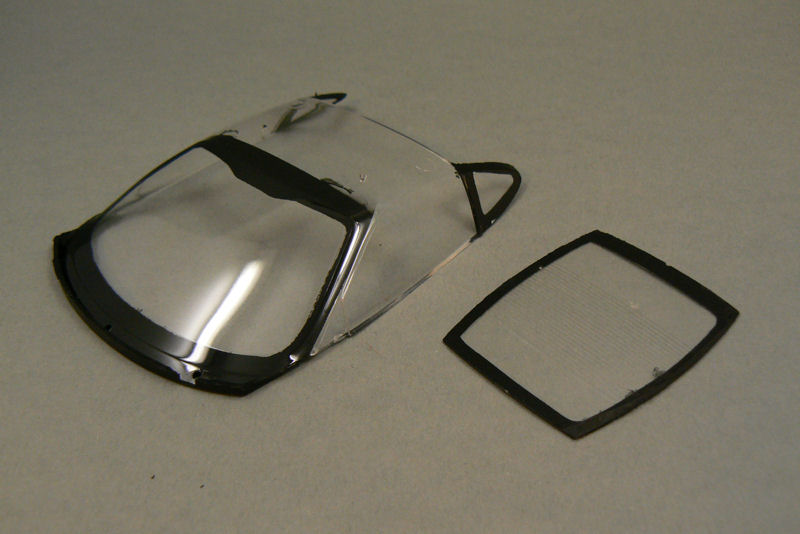
Next taks to tackle will be the final preparation of the car body. After that, I'll paint the window seals, glue the windows to the body and wax the body to give it a nice shine.
Pictures of this step will be shown in the next update.

Comments

Popular posts from this blog

Citroën Xsara WRC - Francois Duval, ADAC Rallye Deutschland 2007 (part 2)

As promised, only a few days since the first part, here's the second part of this build. Once in a while I tend to keep a promise... As mentioned in the previous part I have been studying the manual to figure out what needs to be modified for this build. A few things were already shown in the previous part. Here I will discuss the other modifications I'm planning. This will be a nice exercise for when I'm going to build Gigi Galli's slightly beaten Xsara WRC from rally Portugal 2007... Renaissance transkit 24/96 contains a PE sheet with mesh sections for the vents in the hood and the main grille in the front bumper. Renaissance tells you to glue the mesh over the appropriate sections of the body. But I'm intending to remove the plastic and create some sort of box under/behind the openings to suggest depth. The body needs some parts removed and filled. The molded quick-release bonnet and boot pins need to be removed as they will be replaced with PE items. The holes

Citroën Xsara WRC - Francois Duval, ADAC Rallye Deutschland 2007 (part 1)

And off we go on another project. When modelling WRC subjects, you cannot ignore the Citroën Xsara WRC as it is some kind of legend. Especially in the hands of a certain French driver. That's why I have 3 Xsara kits in my stash. None of said driver, that is. But rest assured, he is also present in my WRC collection. With this particular build I'm going to build the car that Francois Duval drove so expertly to the runner-up spot in the 2007 ADAC Rallye Deutschland. Sadly, where the Citroën Xsara WRC is a bit of a legend, the same thing can not be said of the only injection moulded kit if the same car... As said, there's not much choice, as Heller is the only kit manufacturer for this car (although the same kit has also been released by Airfix and Italeri). For this build I'll be using Heller kit no. 80769. Let's just say,it's not a Tamiya kit... By far. For several reasons I chose this particular car because I like the livery and I like Francois Duval too beca

Euro Model Expo 2015

Last weekend I went to the Euro Model Expo event in Heiden, Germany. The event was spread over 2 days. I visited on the first day, Saturday March 28th. Just like last year the location was packed with stands occupied by a good mix of vendors and modelling clubs. The quality of the models on show, it being on the club stands or the competition area, was once again very high. During the day members of the Belgian modelling club KMK-Scaleworld were giving demonstrations of several modelling techniques. I decided to visit the demonstration of Jeroen Veen who showed the public several aircraft painting and weathering techniques. For me, as a n00b on aircraft, it was a very interesting and entertaining demonstration and I hope to apply some of the techniques I saw to my coming build of the 1/48 Tamiya Lancaster I got waiting. It was also a nice occassion to talk to some fellow modellers. Amongst others I had a nice chat with Sascha Müller who had a stunning diorama of a Le M