A minor mishap
This build was quietly moving towards completion. Which was nice, because I want to take this car to the ESM contest at the end of November.
But when I took the bodyshell out to commence the polishing and waxing of the body, I noticed a small white spot on the front of the hood of the car.
Hmm, nothing serious I thought and tried to remove the offending spot swiftly, but carefully.
Yes, I got it removed. Oh no, the underlying paint too !!! Very nice.
 Out came the sanding paper and micromesh clothes. I gave the car a good
sanding, masked the vents of the engine room and airbrushed the whole
car again.
Out came the sanding paper and micromesh clothes. I gave the car a good
sanding, masked the vents of the engine room and airbrushed the whole
car again.
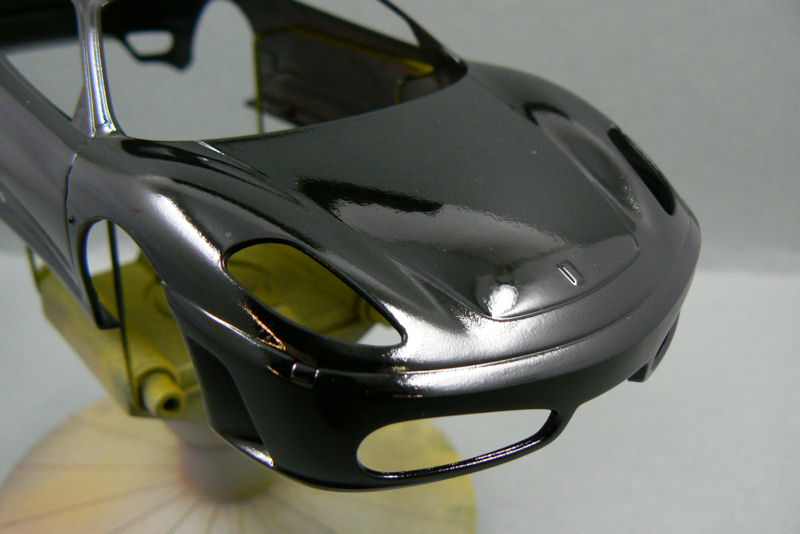
And it turned out quite fine. This action gave me also the opportunity to repair the minor damage on the rear bumper.
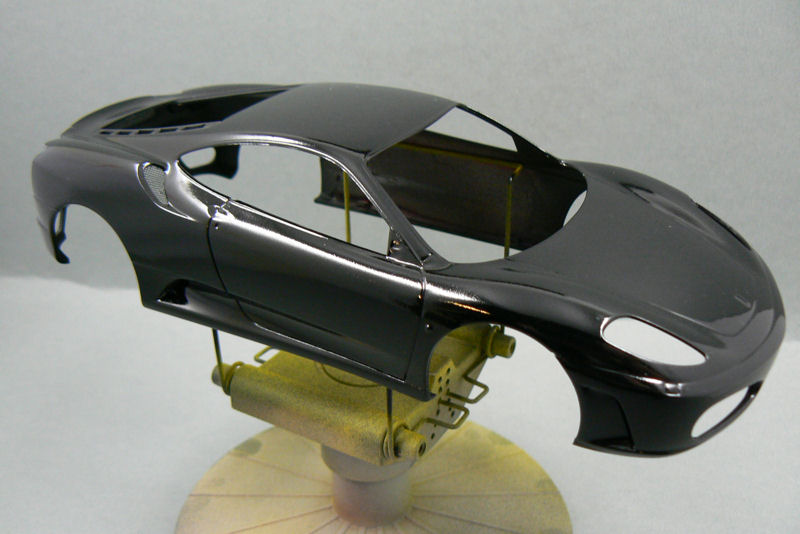
On the pictures below is the current state. As can be seen on the right picture, there's still some sanding to do. But in general the paint is looking very good and I'm confident that I'm going to get this car ready in time for the ESM event.
 Engine compartment
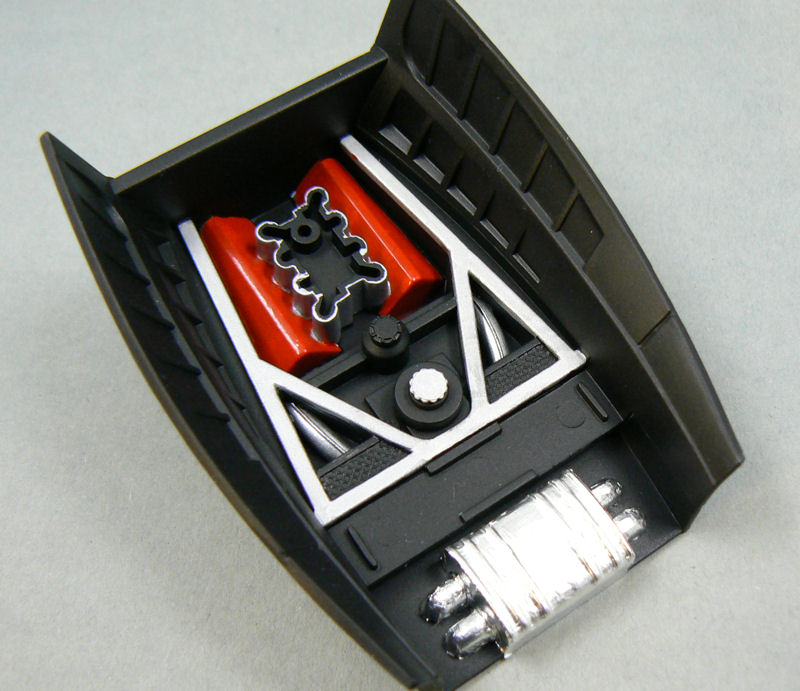
I've already started to make some additional parts for detailing the engine room. But before I start with that task, I had to do some painting first.
I noticed that I'd forgotten to paint the exhausts, which are visible between the aluminum coloured triangles. As a colour I used chrome silver from the Revell Aquacolor range.
I'm still contemplating whether to paint a second layer, because the exhaust looks a bit dark now.
And I've also put some Bare Metal Foil onto the muffler (?). It's the first time that I used BMF. And I must admit that I'm not totally happy with how it looks. But as the part will be largely onscured when the car is put together, I won't do anything about it.
Looking back, it might have been better to paint that part. But as I said, it'll stay this way.
 Other things
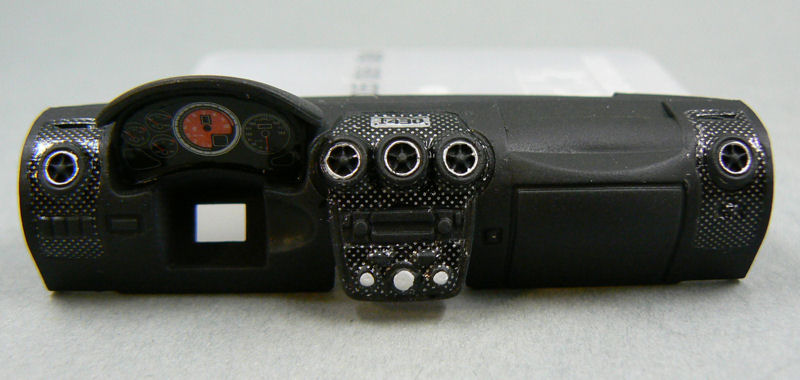
Apart from painting the body (again), I've also been doing some detail work on the dashboard.
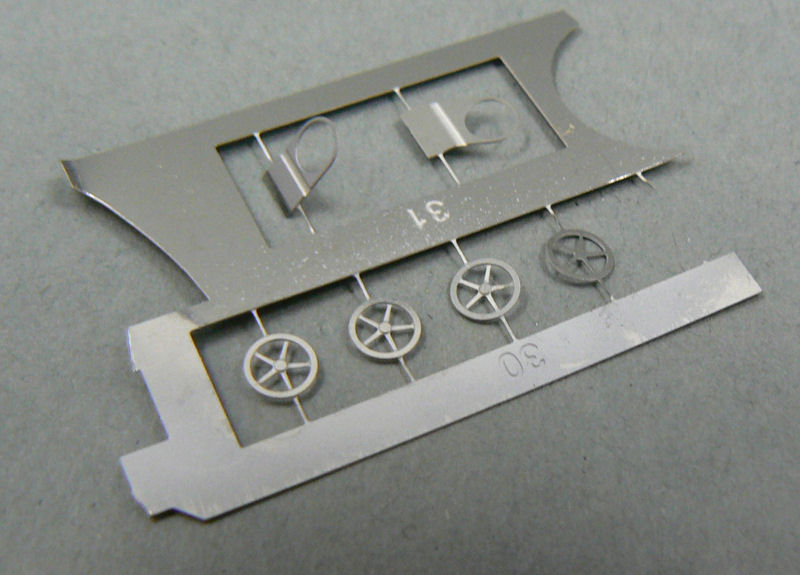
In the Crazy Modeler PE set there were some items included that should go onto the vents in the dashboard (third picture below). But to get them to fit correctly I had to sand some parts from the vents. As the dashboard was already completely painted, I decided to paint the borders of the vents.
And as it turned out, I think it looks just like the real thing. I don't think I could have achieved the same result with the PE parts.
 End of this update.
This build was quietly moving towards completion. Which was nice, because I want to take this car to the ESM contest at the end of November.
But when I took the bodyshell out to commence the polishing and waxing of the body, I noticed a small white spot on the front of the hood of the car.
Hmm, nothing serious I thought and tried to remove the offending spot swiftly, but carefully.
Yes, I got it removed. Oh no, the underlying paint too !!! Very nice.
And it turned out quite fine. This action gave me also the opportunity to repair the minor damage on the rear bumper.
On the pictures below is the current state. As can be seen on the right picture, there's still some sanding to do. But in general the paint is looking very good and I'm confident that I'm going to get this car ready in time for the ESM event.
I've already started to make some additional parts for detailing the engine room. But before I start with that task, I had to do some painting first.
I noticed that I'd forgotten to paint the exhausts, which are visible between the aluminum coloured triangles. As a colour I used chrome silver from the Revell Aquacolor range.
I'm still contemplating whether to paint a second layer, because the exhaust looks a bit dark now.
And I've also put some Bare Metal Foil onto the muffler (?). It's the first time that I used BMF. And I must admit that I'm not totally happy with how it looks. But as the part will be largely onscured when the car is put together, I won't do anything about it.
Looking back, it might have been better to paint that part. But as I said, it'll stay this way.
Apart from painting the body (again), I've also been doing some detail work on the dashboard.
In the Crazy Modeler PE set there were some items included that should go onto the vents in the dashboard (third picture below). But to get them to fit correctly I had to sand some parts from the vents. As the dashboard was already completely painted, I decided to paint the borders of the vents.
And as it turned out, I think it looks just like the real thing. I don't think I could have achieved the same result with the PE parts.
Comments
Post a Comment