Almost reached the end
In the previous update you could see that I had repaired all the bad spots I had discovered in the bodyshell of the Ferrari.
After that I washed the model in lukewarm soapy water with an old toothbrush to remove all the sanding residue and my fingerprints (hah, eat that CSI).
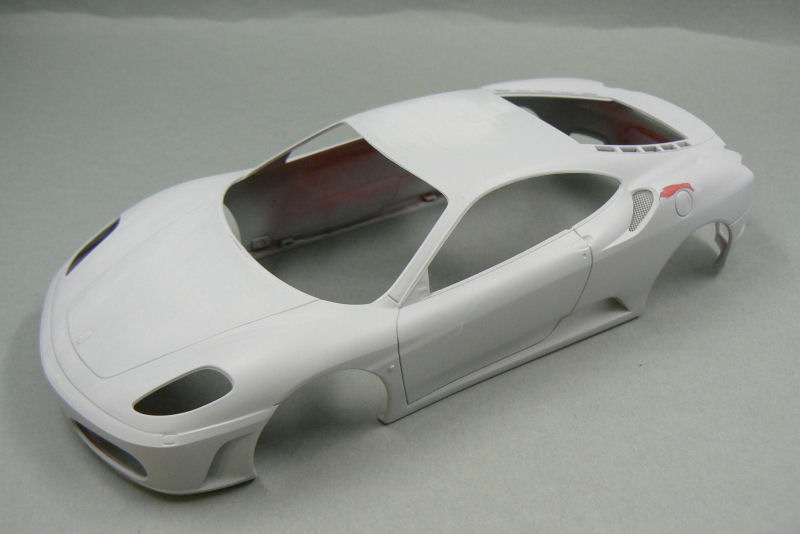
After I had let the model dry in the air I sprayed the first coat of primer. This was necessary as a precaution, to prevent the Zero Paints paint I bought from "attacking" the plastic of the body.

 After the first coat of primer I noticed several small spots which still
needed to be repaired. An example can be seen in the pictures above.
After the first coat of primer I noticed several small spots which still
needed to be repaired. An example can be seen in the pictures above.
So out came the putty again, to repair those final spots.
After that had been done, I sprayed a few more coats of primer to get good coverage.
 After the final coat of primer I carefully restored and deepened several
panellines of the car and after that was done I did wash the body again
and it now was ready to receive the colour coat.
After the final coat of primer I carefully restored and deepened several
panellines of the car and after that was done I did wash the body again
and it now was ready to receive the colour coat.
After the body had dried, I applied 4 coats of Nero and let the paint thoroughly dry.
As this paint dries semi-gloss it was necessary to cover the body with clearcoat. To that end I had purchased 2 component clear coat from Zero Paints.
And after applying two layers of clear the car looks like this:

 As can be seen on the right picture above, several spots remain in the
clear. This was mostly due to the fact that the fans used in the
spray-booth setup aren't powerfull enough and the fact that it might
have been better to cover the model with a box, to prevent dust from
settling on the model.
As can be seen on the right picture above, several spots remain in the
clear. This was mostly due to the fact that the fans used in the
spray-booth setup aren't powerfull enough and the fact that it might
have been better to cover the model with a box, to prevent dust from
settling on the model.
The spots will be sanded flat and after that I will use compound to smooth the layer of clear further as a very slight hint of orange peel is also visible on some parts of the body.
After the body has been smoothed out, I will paint the windowrubbers and air-vents of the engine room and than I will wax the model.
And hopefully for next update I will have finished this car and be able to show you how it finally turned out.
In the previous update you could see that I had repaired all the bad spots I had discovered in the bodyshell of the Ferrari.
After that I washed the model in lukewarm soapy water with an old toothbrush to remove all the sanding residue and my fingerprints (hah, eat that CSI).
After I had let the model dry in the air I sprayed the first coat of primer. This was necessary as a precaution, to prevent the Zero Paints paint I bought from "attacking" the plastic of the body.
So out came the putty again, to repair those final spots.
After that had been done, I sprayed a few more coats of primer to get good coverage.
After the body had dried, I applied 4 coats of Nero and let the paint thoroughly dry.
As this paint dries semi-gloss it was necessary to cover the body with clearcoat. To that end I had purchased 2 component clear coat from Zero Paints.
And after applying two layers of clear the car looks like this:
The spots will be sanded flat and after that I will use compound to smooth the layer of clear further as a very slight hint of orange peel is also visible on some parts of the body.
After the body has been smoothed out, I will paint the windowrubbers and air-vents of the engine room and than I will wax the model.
And hopefully for next update I will have finished this car and be able to show you how it finally turned out.
Comments
Post a Comment