Building a car
Now that (almost) all the parts have been painted, it's about time to start assembling so that the jumble of parts I have lying around can finally start to look like a real car.
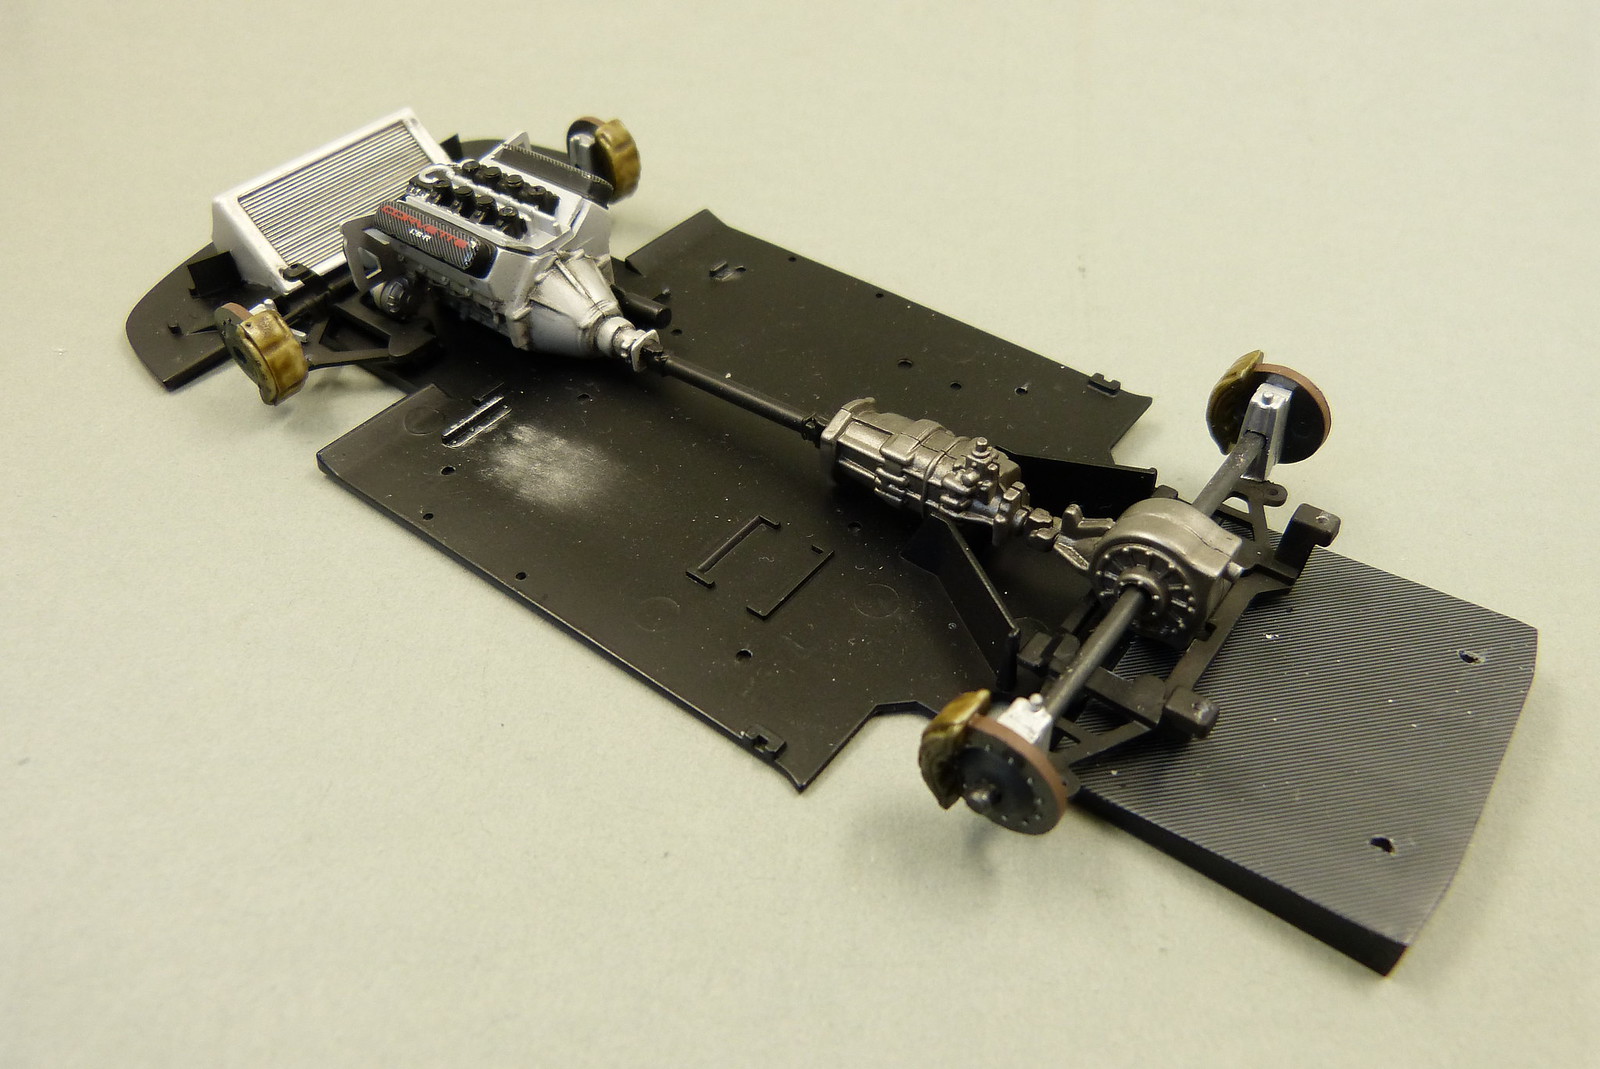
After clearcoating the diffusor (again), the floor of the car was finally finished and ready to receive some parts.
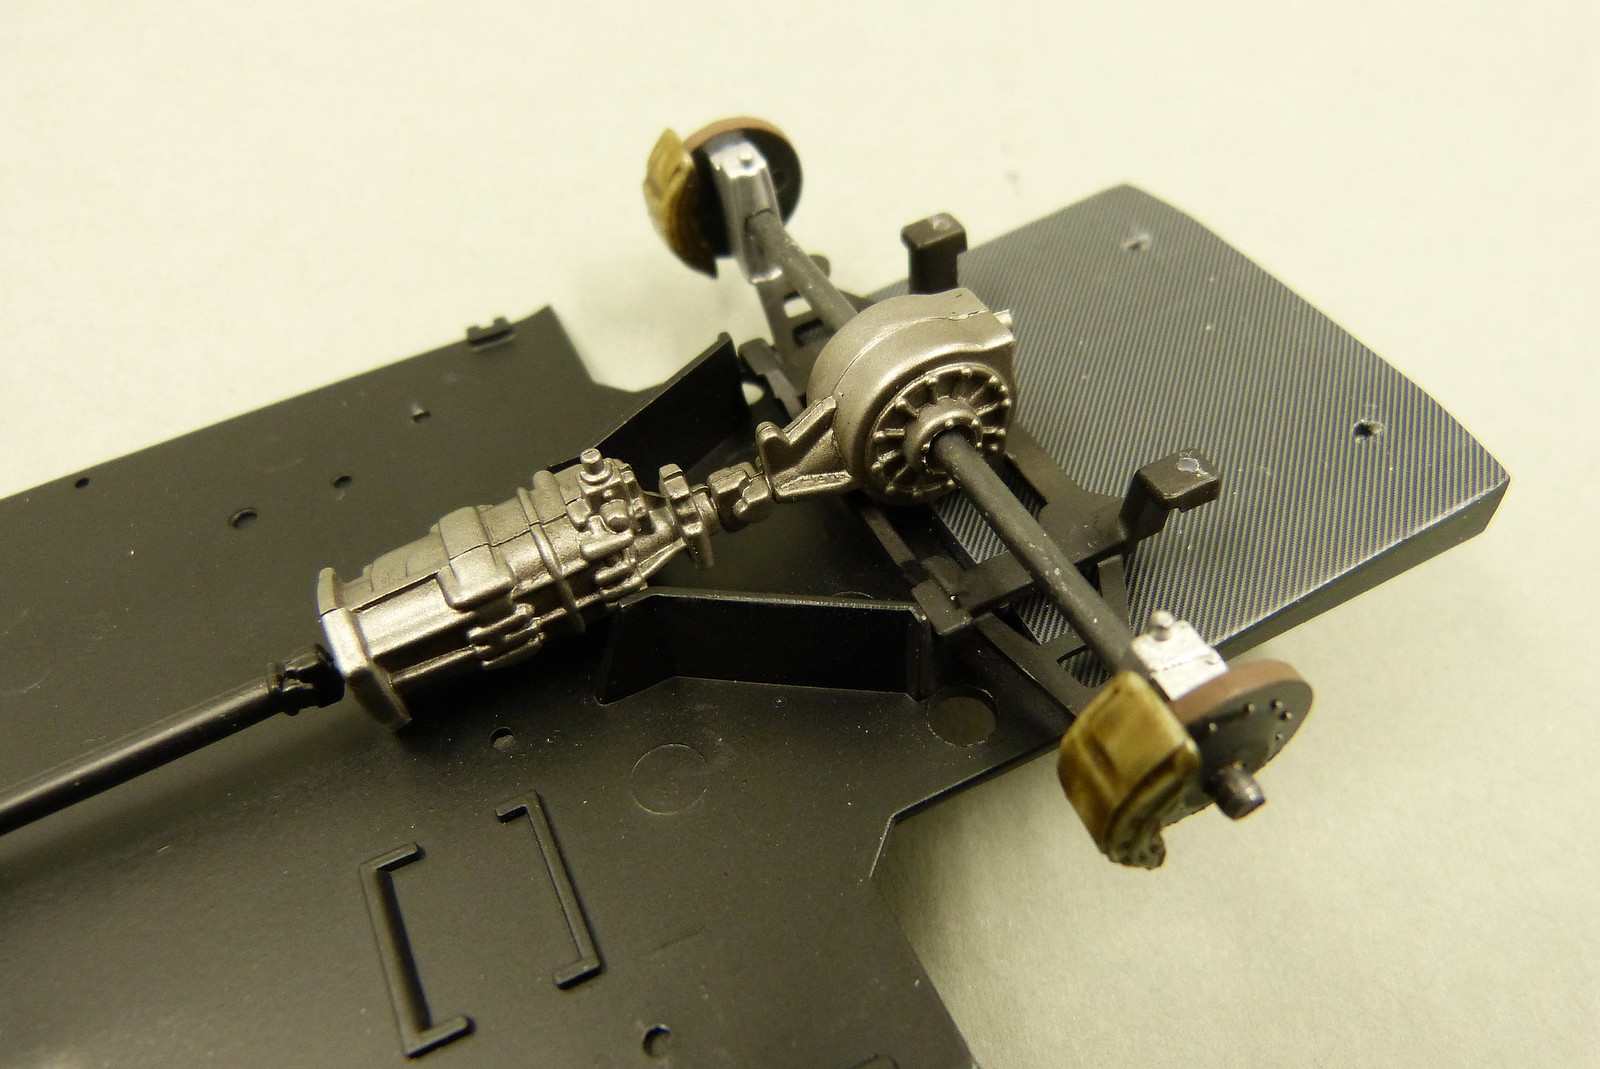
First up were the suspension parts. Where the glue had to be applied I scraped away the layer of paint to create the strongest bond possible. During curing of the glue I clamped the suspension parts to the floor.
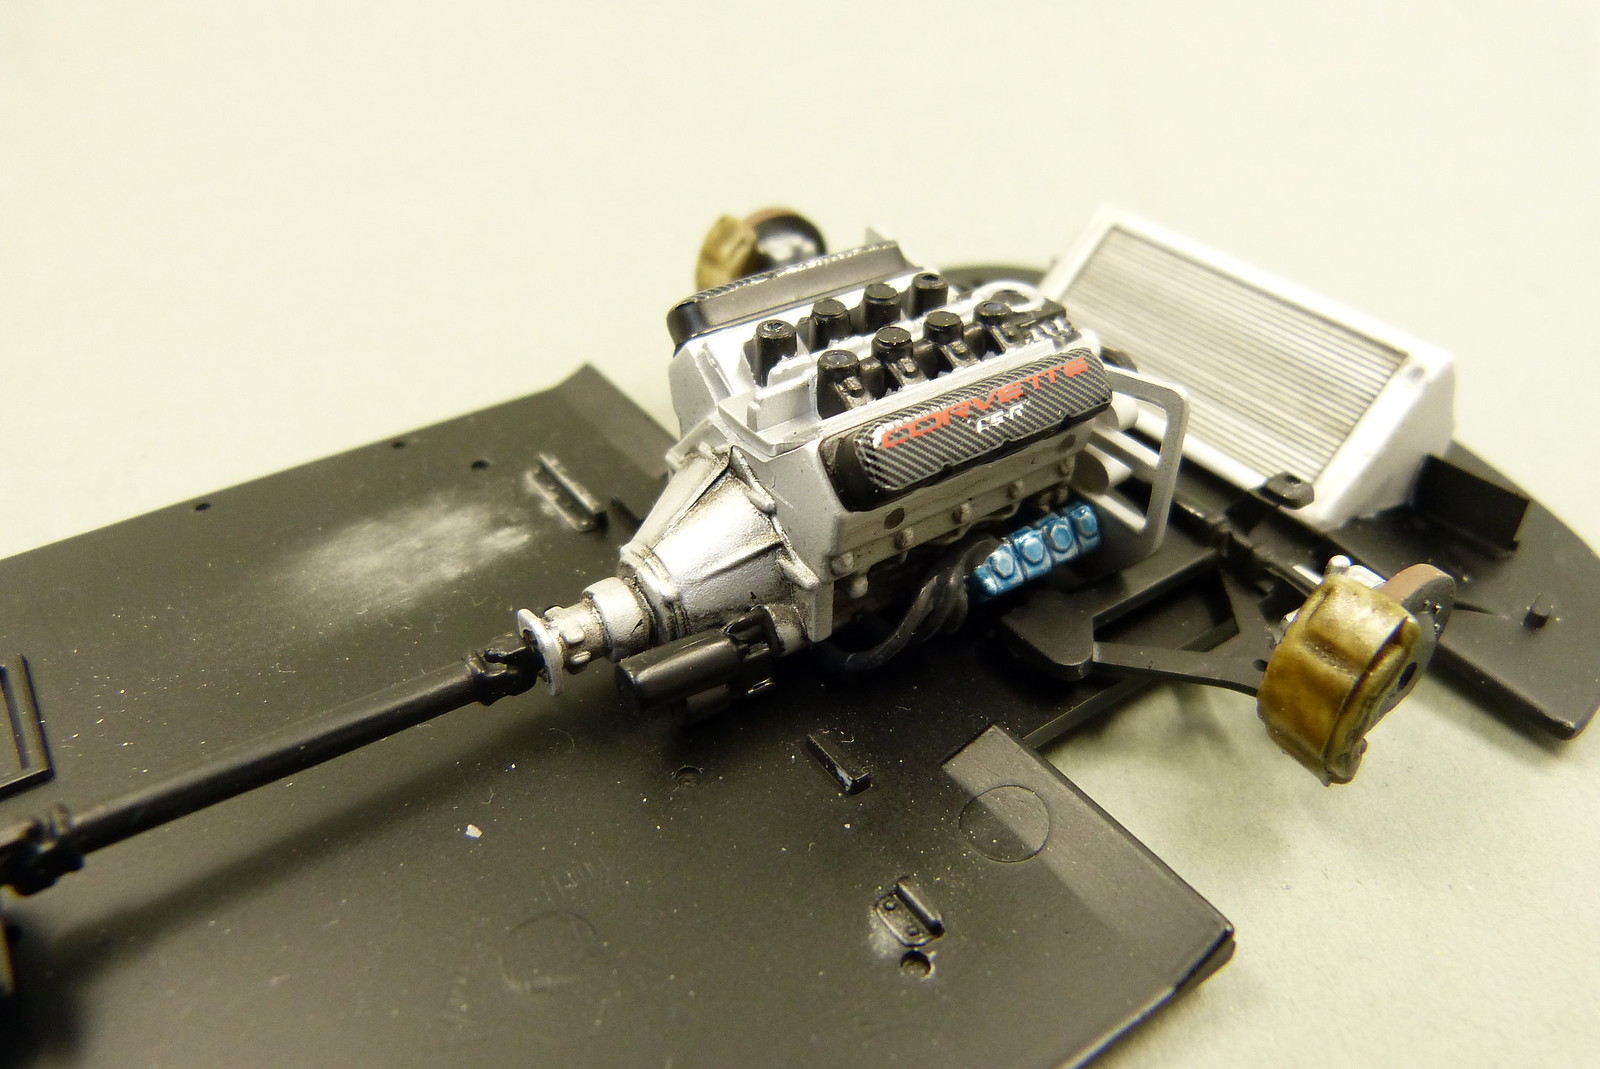
Next were the engine and driveshaft with rear differential.
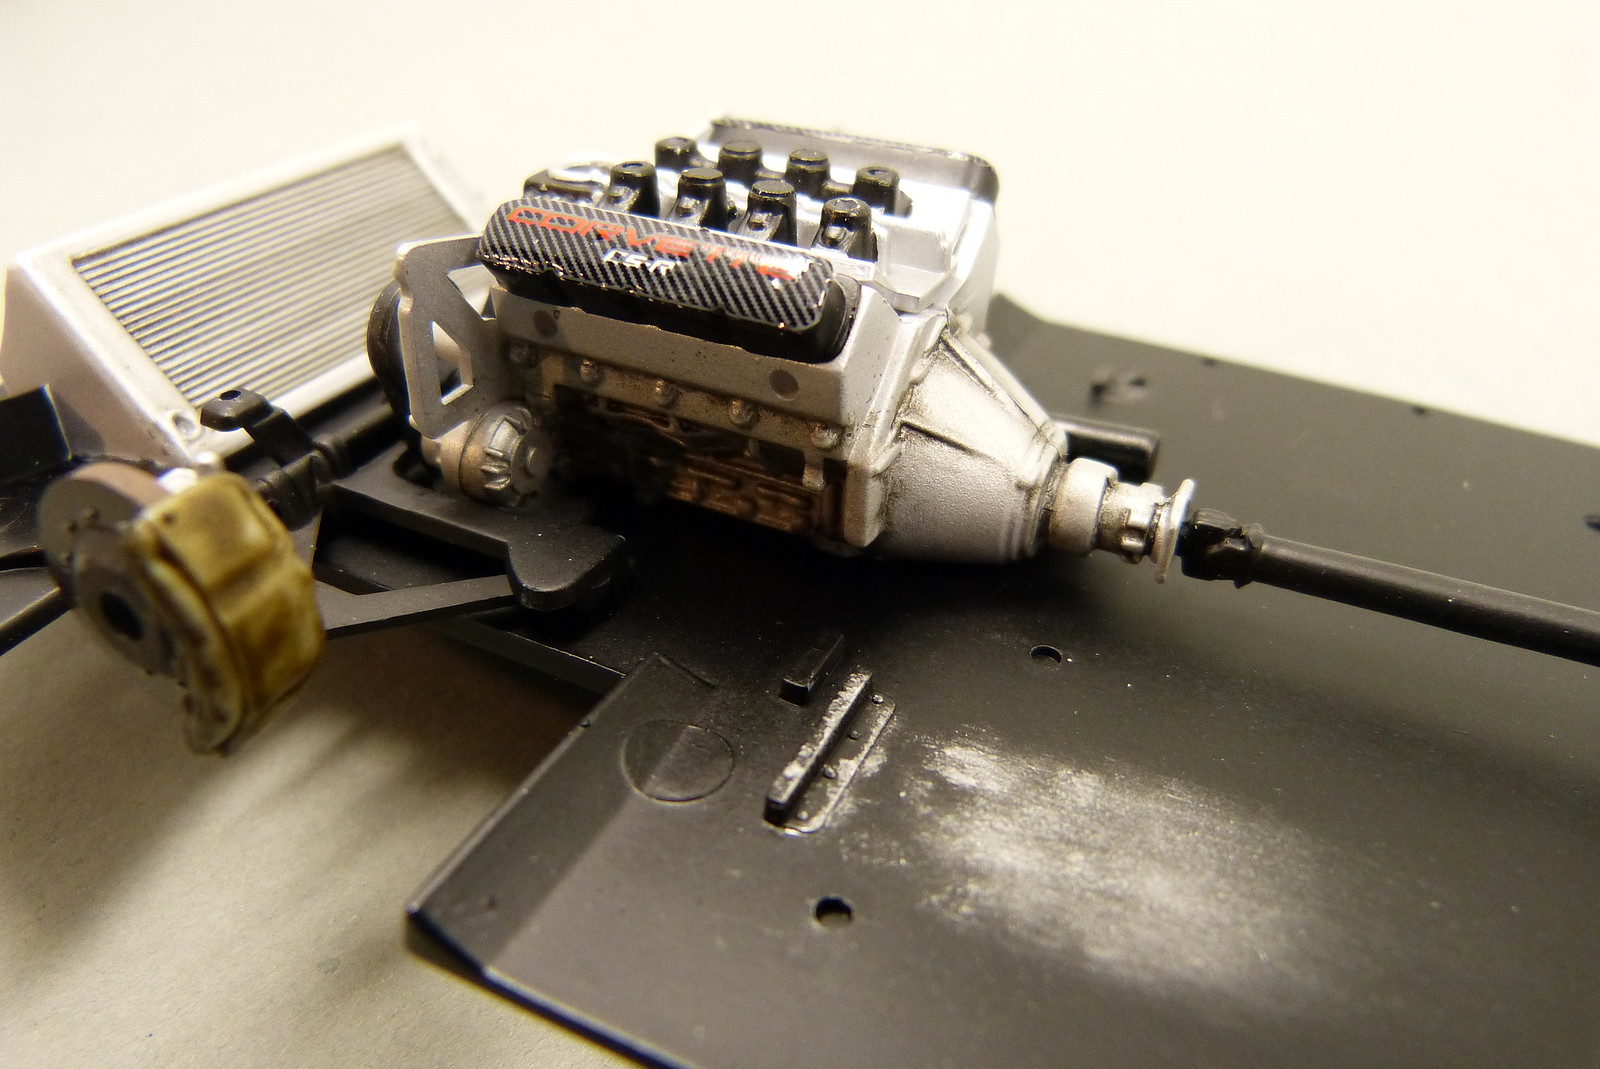
As a bit of practice object I gave these parts a slight wash made of oil-paints. I used black and brown oil paints.
After the oil paints had dried for a few minutes, I used a Q-tip wetted with turpentine to soften the wash a bit.
I'm actually quite happy with how the engine turned out and see a lot potential for future applications (yes, this was my first wash...). For the future I think I'll invest in some better quality oil paints, because the pigments seem rather coarse in my cheap oil paints...
The wash on the differential can hardly be seen at all though. I think the dark colour of the differential hides the wash a bit.

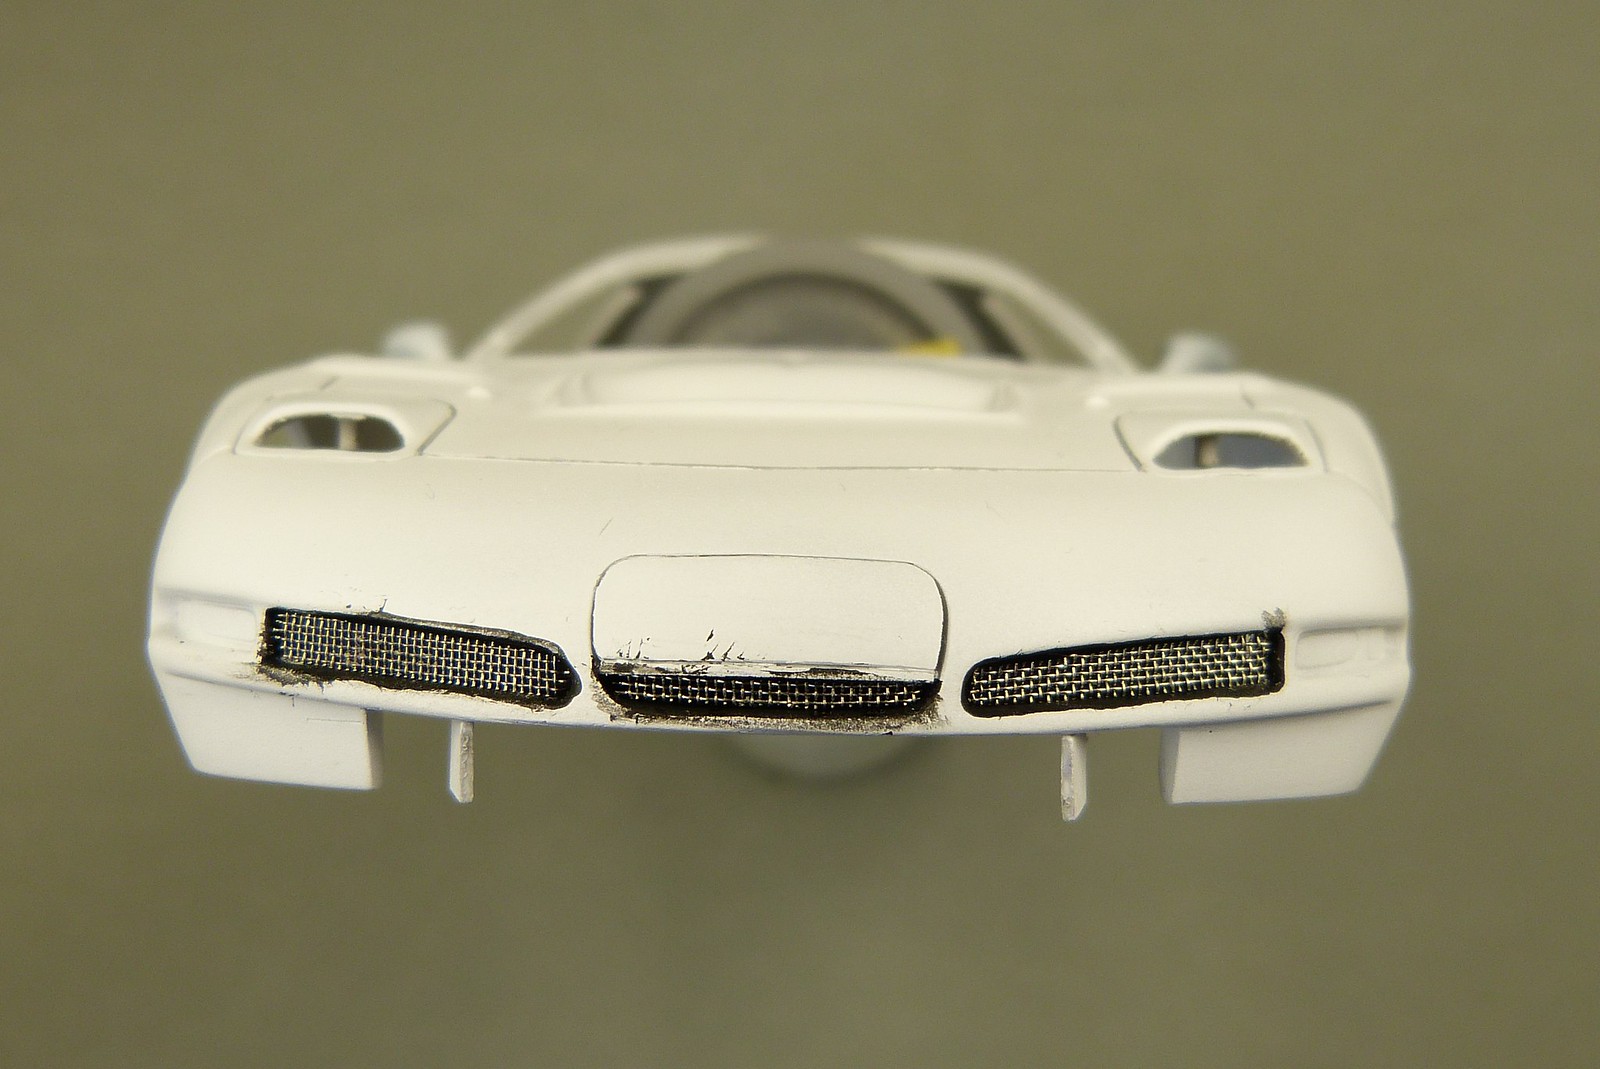
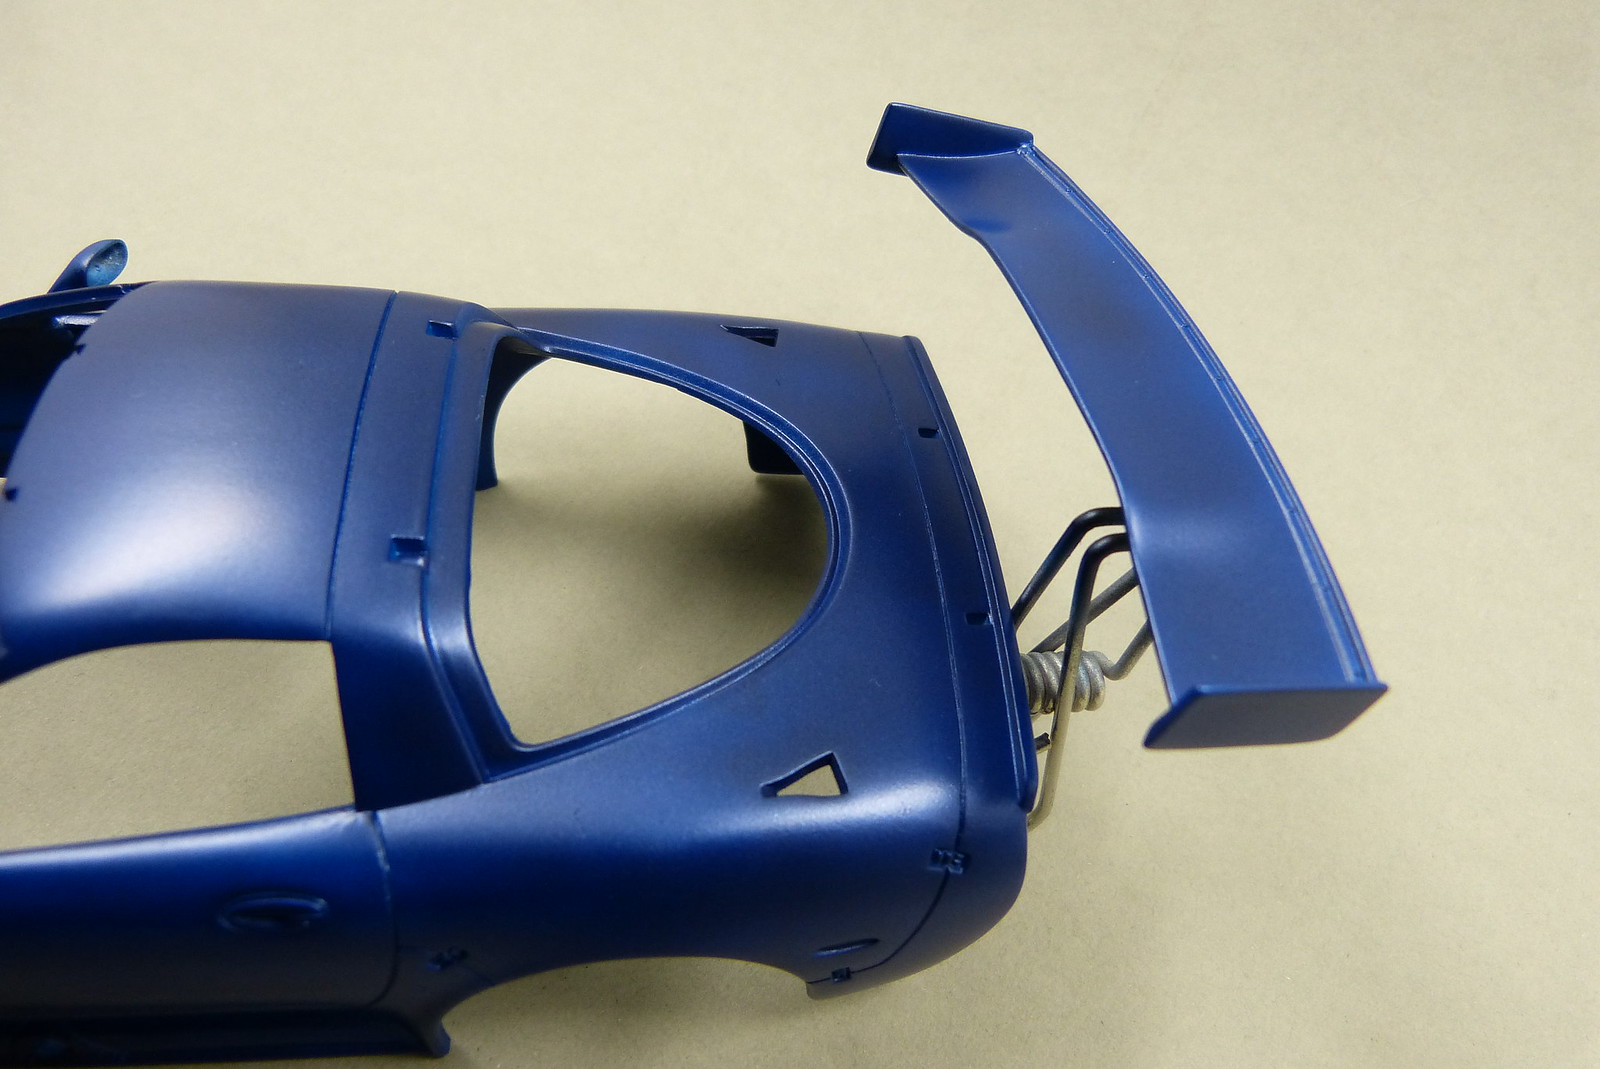
As a final preparation before spraying the colour the body has received a white coat of primer and everything looks fine.I deepened the panel lines a bit as I noticed that some sanding residue from earlier sanding sessions was stuck inside the panel lines.
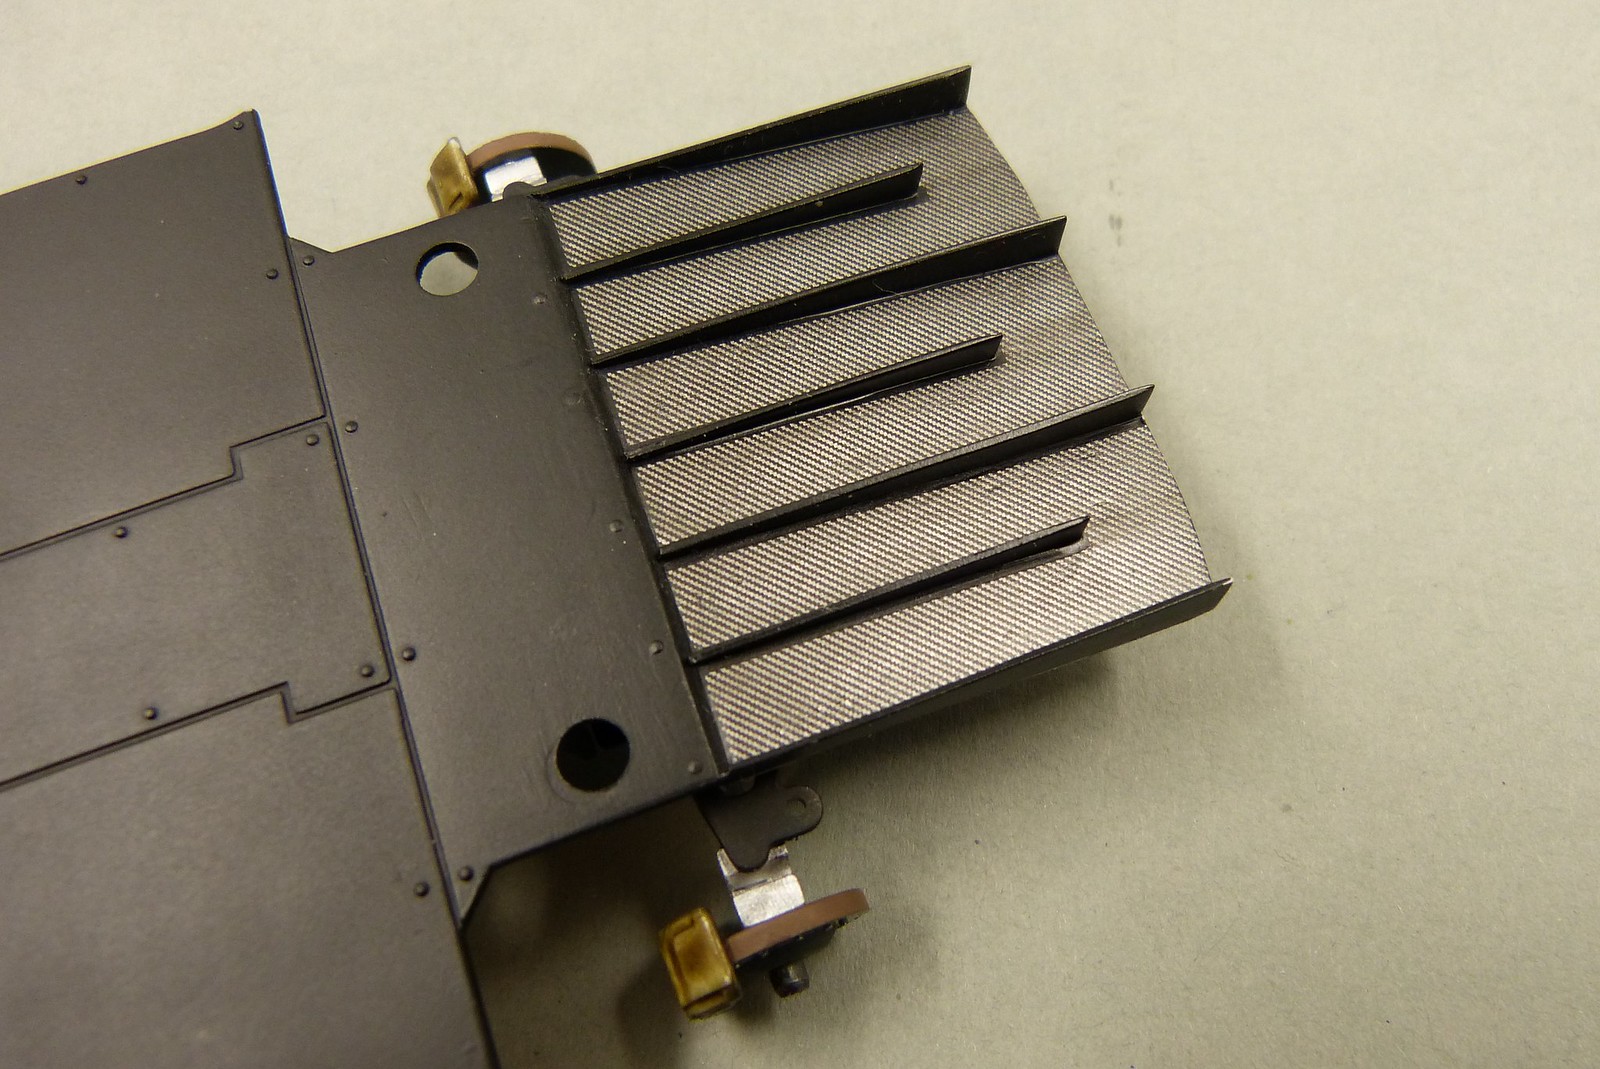
I also blanked off the air intakes to prevent people from looking "through" the car. After the glue was set on the blanking plates I painted the inner parts of the intakes black in anticipation of the mesh that will be placed.
Speaking of mesh. Some time ago I purchased several sizes of mesh. And the time has finally arrived to use it.
In this particular case I choose item MM3003 (mesh 60) from Mr. Model.
Cutting the mesh to fit the three smaller air intakes provided a nice exercise in patience and perseverance. It took some effort, but it looks a whole lot better than the solid mouldings.
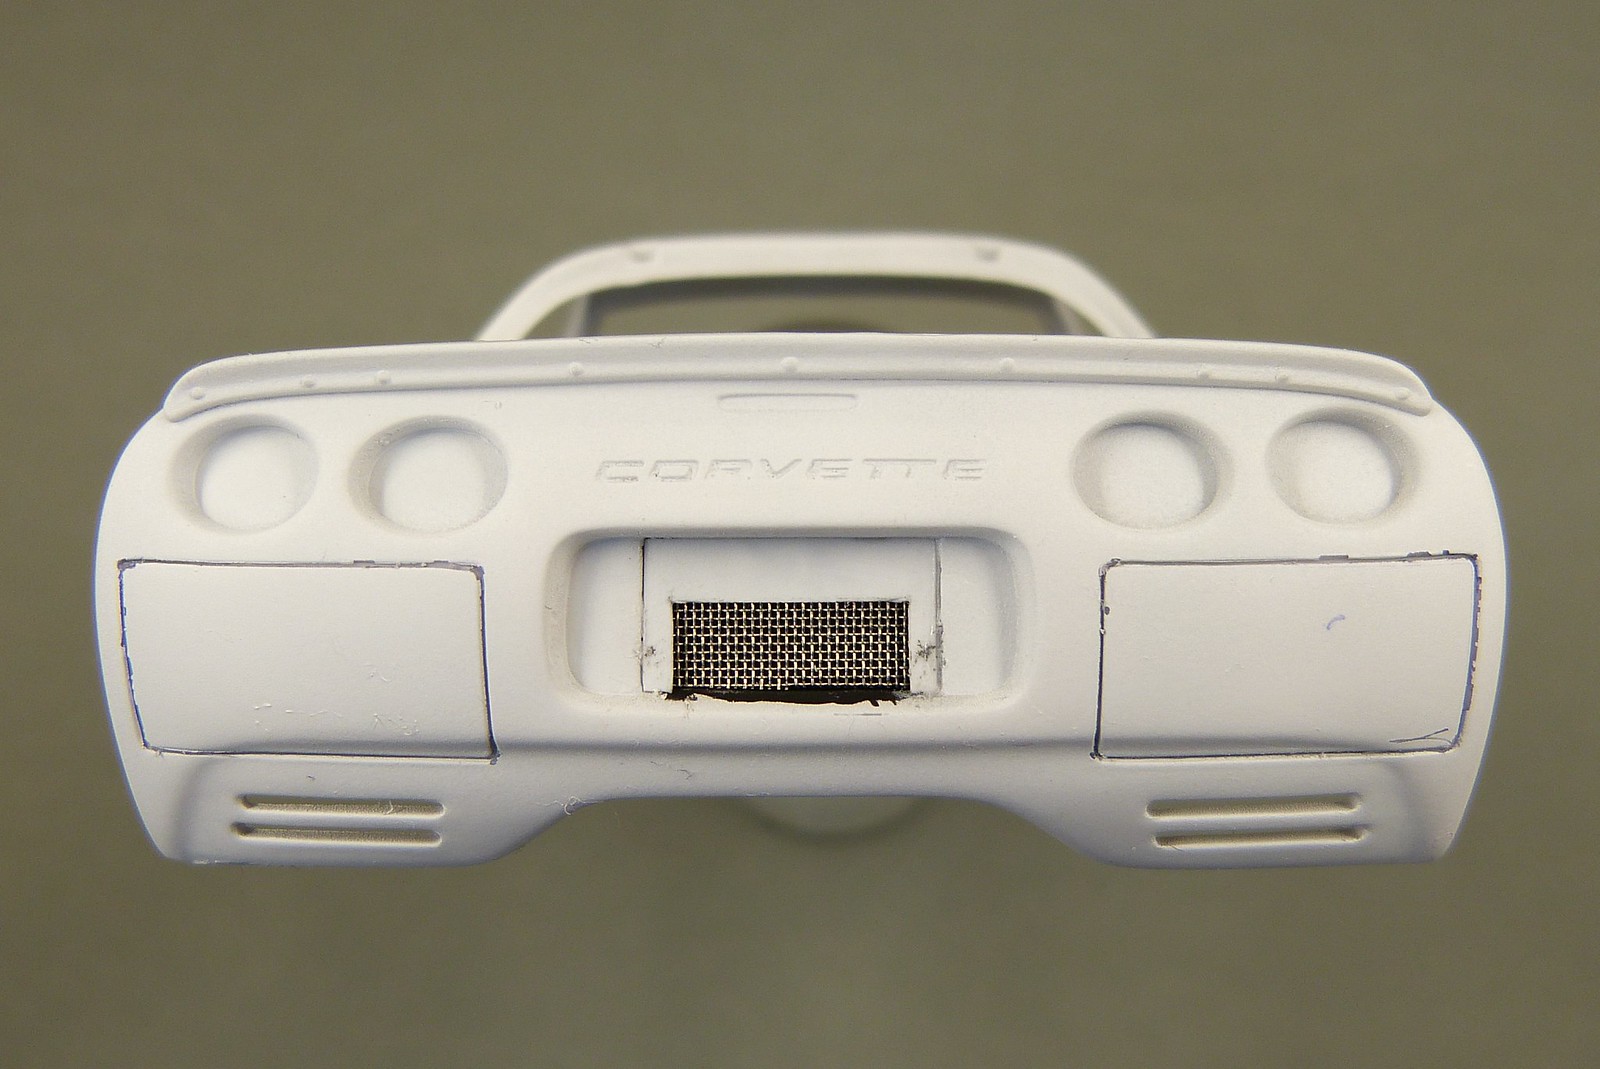
I also used this mesh at the rear.
Now that all the parts are fitted the body was given a light sanding with micromesh clothes 4000-6000-8000-12000.
After that I washed the body in soapy water in preparation for the painting.
The Revell instructions do not indicate which colour the interior of the body should be, so I turned my attention to the reference images.
As far as I could see on my reference images, the inside of the car seems to be the same colour as the outside.
To aid painting I painted the inside first. After sufficient drying time I mounted the body onto a paint stand so I could paint the outside.
The colour I used was from Zero Paints from the UK. I sprayed several thin layers on the outside.
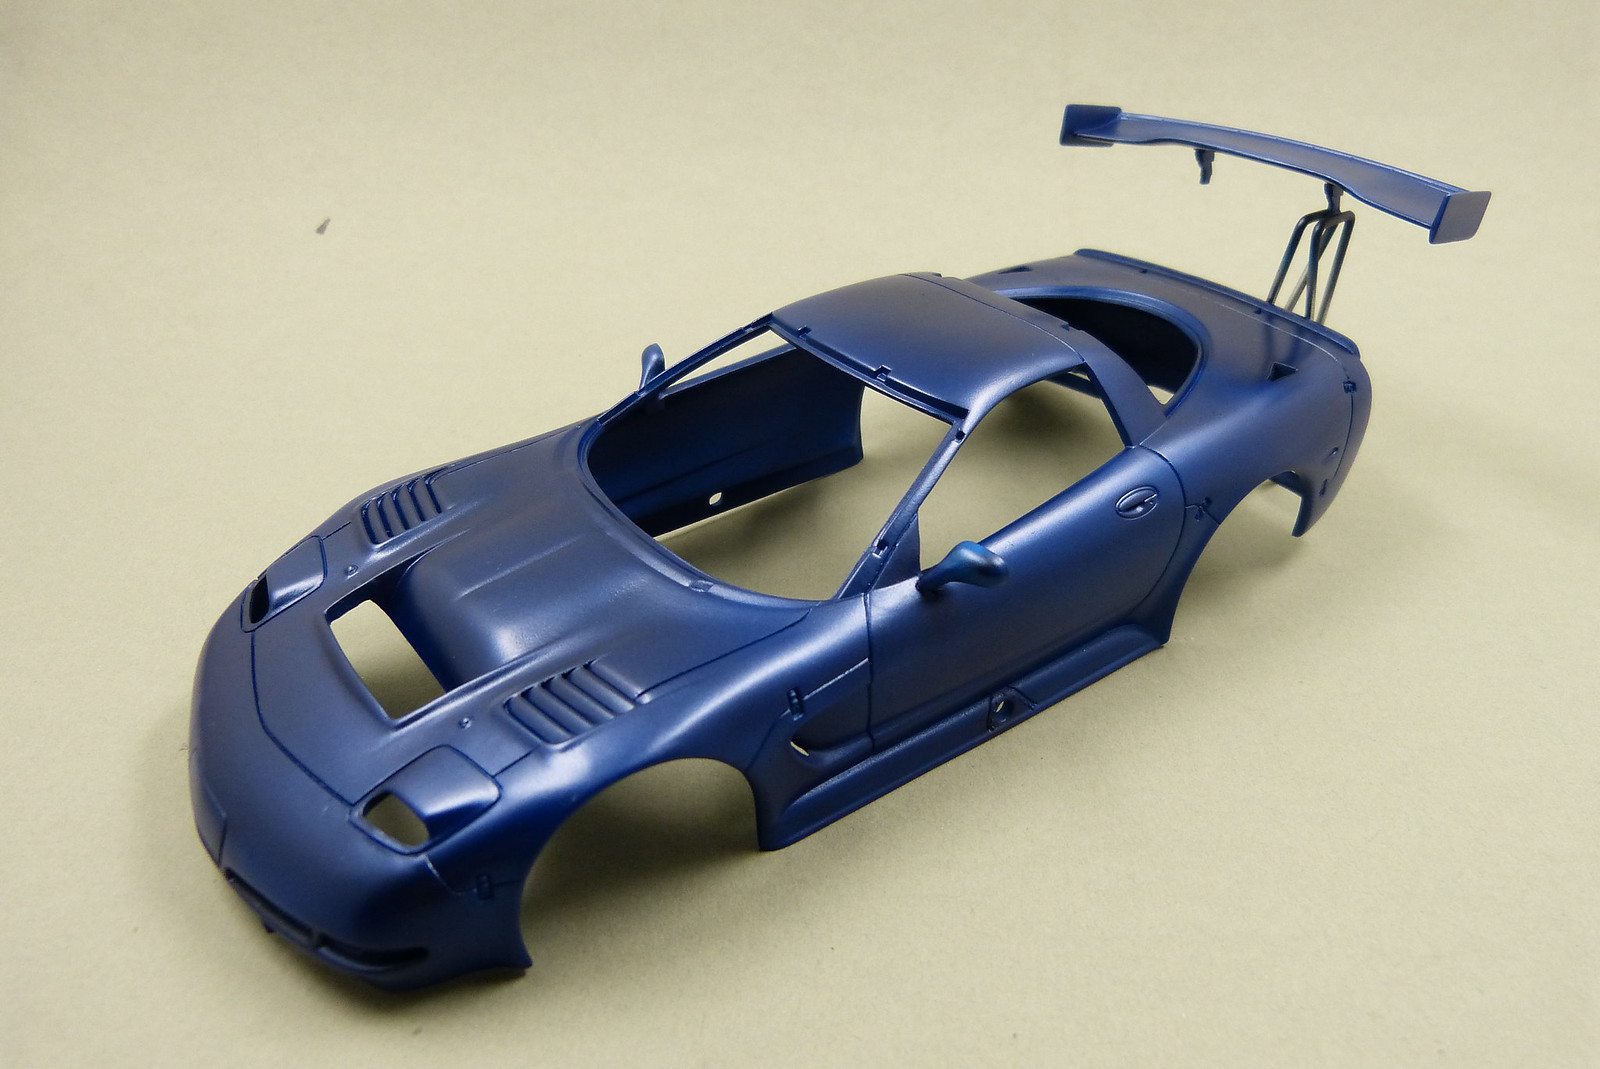

After the first paint session I sanded some minor imperfections (dust mainly) out of the paint in preparation for the next (and probably final) layer of paint.
This next layer is necessary not only because of the sanded spots but I also noticed that the coverage of the paint isn't uniform. I thought I had paid attention to it, but it's clearly visible that certain areas appear lighter, as if the white primer is shining through.
Comments
Post a Comment