
Witcher : EE finished

Back to normal?


Taking a break from my regular scale modelling related posts I'd like to share a memorable moment with my audience.

Yesterday evening I finally finished the PC game The Witcher: Enhanced Edition.

image source : IGN

I've been playing it on and off for several years and with the imminent release of the Witcher 3: The Wild Hunt, I finally was motived enough to finish the first game.

As I'm not really into action games (actually, I more or less suck at action games) I regularly got stuck in the more action oriented sequences in this game.
I was more interested in the story that unfolds during the game, but to experience the whole story I had to get past the action sequences.
More than once I got stuck and the game was left lingering on my HDD without playing it for months or once even more than a year.
But with the hype and expectations surrounding the third and final game in the Witcher series I finally got to grips with the first game.

I had to resort to some tips found on the internet for the final chapter of the game, but had to do all the fighting myself nonetheless. Which went surprisingly well (once I knew what to do...).

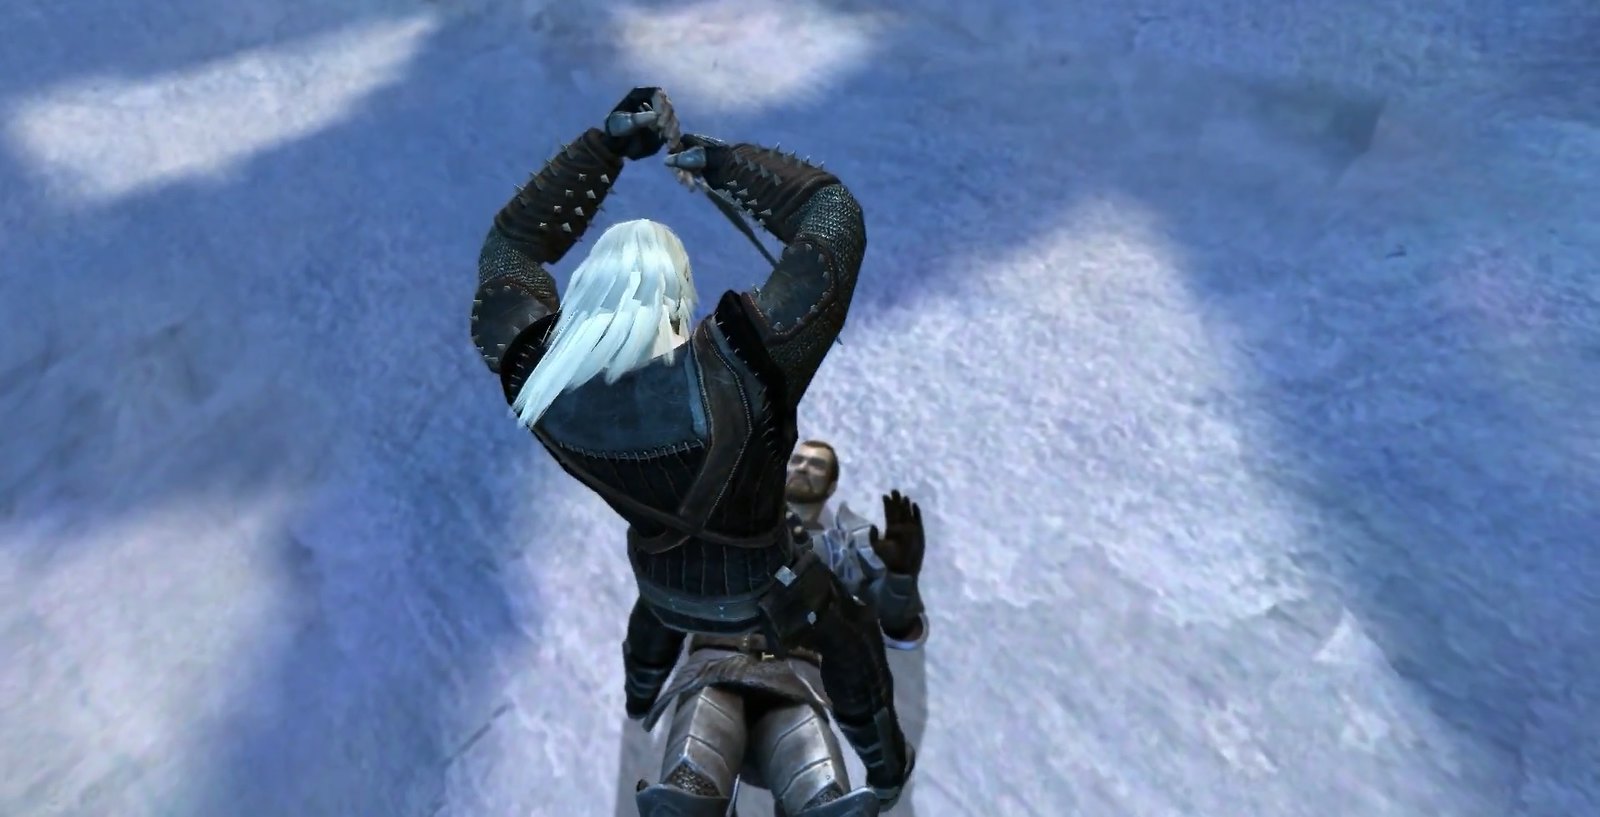
Still from the cut-scene of the final fight. Jacques de Aldersberg gets it good !

Now the game is finished I can finally devote my limited free time again to modelling.
And it's about time too, the Corvette needs to be finished as it's been on the workbench for long enough now.

Or should I get gaming again on the Witcher 2: the Assasins of Kings instead?

Comments

Popular posts from this blog

Citroën Xsara WRC - Francois Duval, ADAC Rallye Deutschland 2007 (part 6)

Welcome to the next part of this build report. I left you last time (or should I say long, long ago...) with the images of the primed body, floor and roll cage, showing that there was some work to do to get everything ready for some color. In this update I will show you how far I got with these parts. I'll start with the body and floor. Sanding everything back turned out to be quite a bit of work. And of course there were several areas still in need of attention. Especially around the wheel arches there was a lot of additional work left. Luckily, with the car in tarmac setup, there's not much room left to see the remaining rough spots that have survived the clean up process... Which leads me to the conclusion that I could have cut some corners in this particular area by only cleaning up the most visible sections. It's a good lesson to check beforehand what is actually visible when the car is built together. I'll definitely be cutting some corners for the other two ...

Citroën Xsara WRC - Francois Duval, ADAC Rallye Deutschland 2007 (part 5)

As promised in the previous part in this update I'll show what I changed on the roll cage. The roll cage as included in the kit is far from complete. When looking at on-board footage and reference images found on the internet the roll cage needs some extra tubing added.  Over the years the roll cage of the Xsara WRC has had several variants as I've noticed studying my reference images. Which isn't that strange as the crash test and safety regulations have changed over the years.  The reference images I have of the specific chassis (#28) which Duval raced during the 2007 ADAC Rallye Deutschland are sadly inconclusive about which version of the roll cage was fitted. Which means that the adaptations I made are at best a good "guesstimate"... As long as it looks and feels right, it is right I guess... I used Evergreen styrene rod of 1.6 mm in diameter for the added sections for the rollcage.  The added sections are highlighted in the images below. Another section I...

Benetton Ford B190B, F1 season 1991 (part 5)

Well. I can hardly believe how long I've been silent here on this blog. Not counting the two show reports I posted earlier this week, the last posting here being from November 2021... But, since I went from a 5 to a 4 day work week at the beginning of this year, there is finally some more spare time to spend. Oh, and a good cleaning of the modelling "cave" did also help in motivating me to dive into the cellar and do some building again. To start a (fingers crossed) longer stint of modelling activities, I decided to (finally) continue with this particular kit. It's been lying around for almost 10 years, so you can say it's desperately in need of some attention. Luckily all parts are still accounted for as I had the parts nicely packed away (for a change). Upon inspecting my work I couldn't quite look past a few things that weren't so neatly done. Especially the engine/gearbox and rear wing assemblies were a bit wanting. Also, upon cross-checking ...