Although I (still) haven't finished any of the other ongoing projects, I'd like to introduce a new project.
This is more of a commissioned build, in this case for the HVH, a local historical society.
To mark their 30th anniversary (which was actually in 2012) the HVH decided to release a book documenting the crash of Lancaster bomber ME858 (which will be a separate modelling project somewhere in the - probably distant - future) and other linked stories.
It was soon discovered that there was a whole lot of additional information available in the local community and it was decided that the book should not only cover the crash of the aforementioned plane but that it should cover the whole period of World War 2 as it was experienced in the former municipality of Hunsel, although the emphasis would still lie with the crash of the Lancaster.
With the amount of information available it would be impossible to bundle all these stories in one book, so the decision was made to split the stories and articles over three themed books.
Book number one, with the main theme of (allied pilot) escape routes, has been released at the end of 2013, book number two, in which the crash of the Lancaster is the main theme, is scheduled for June (2016) and the release date for the third book has yet to be decided.
One of the things that will be covered in the third book is the way the Germans intercepted and tracked transmissions of incoming (bomber) flights and the way the Germans directed their planes towards the incoming allied planes.
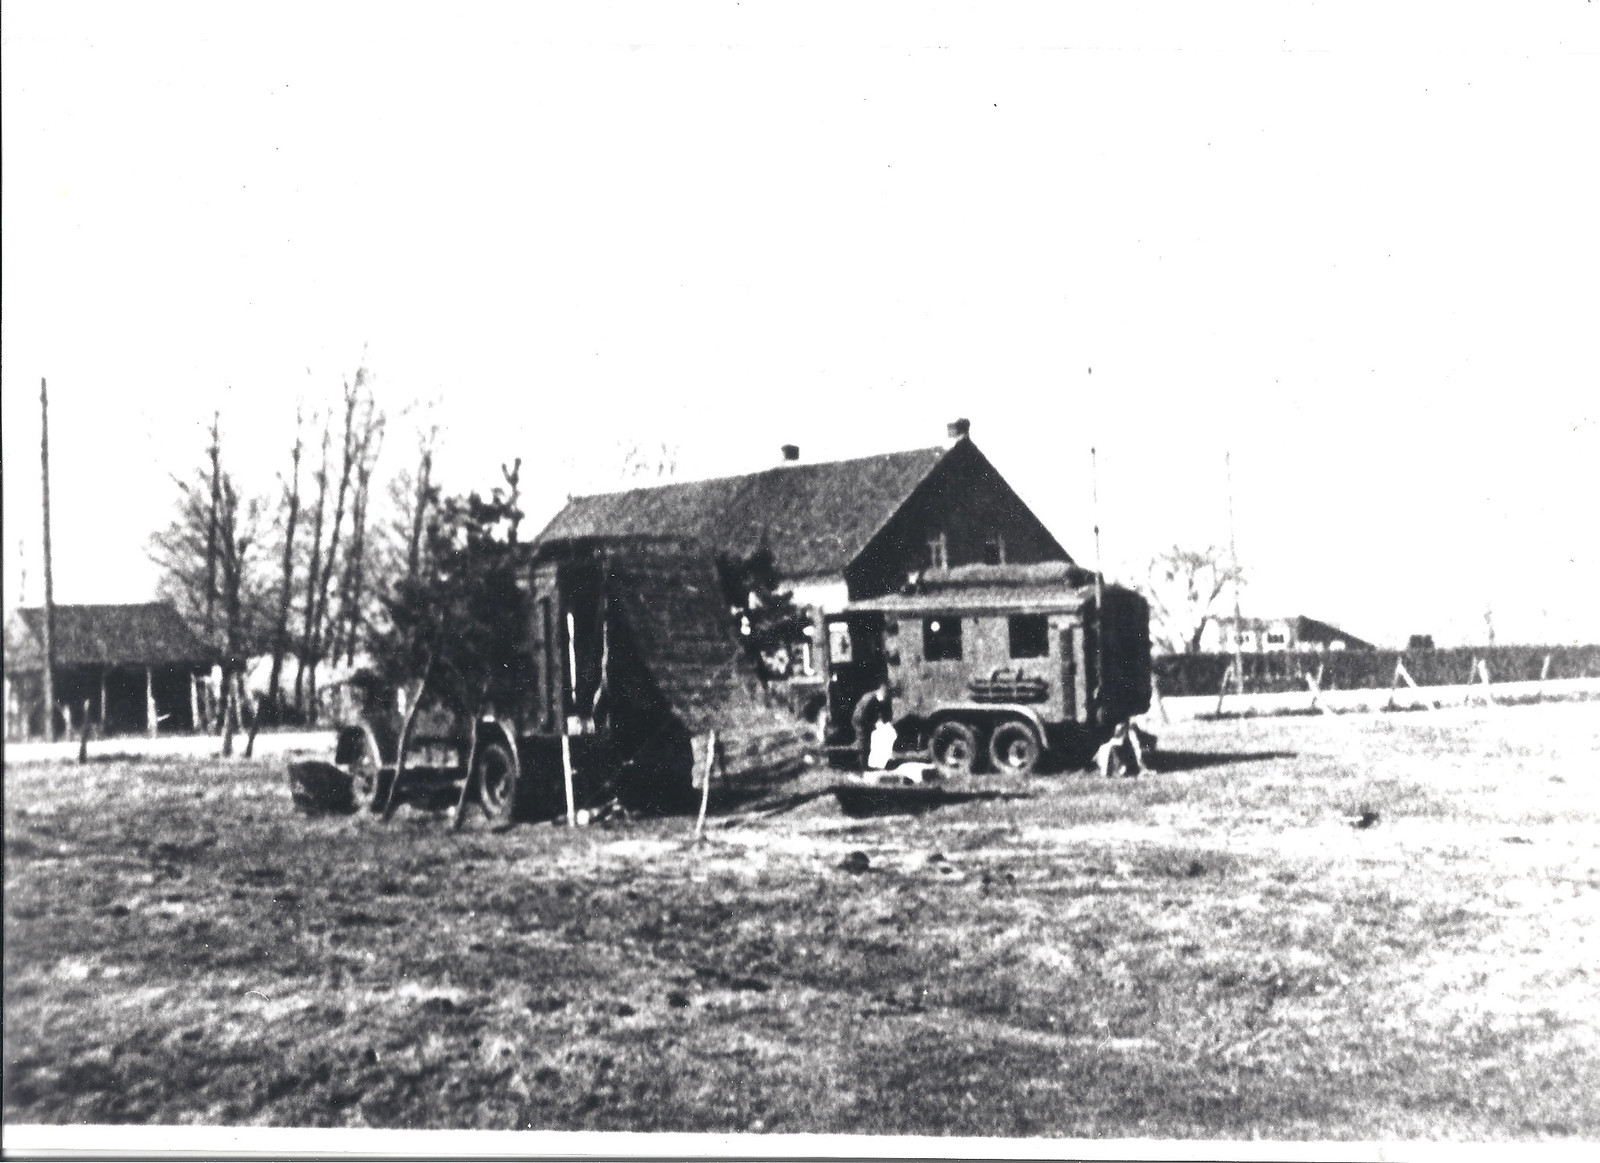
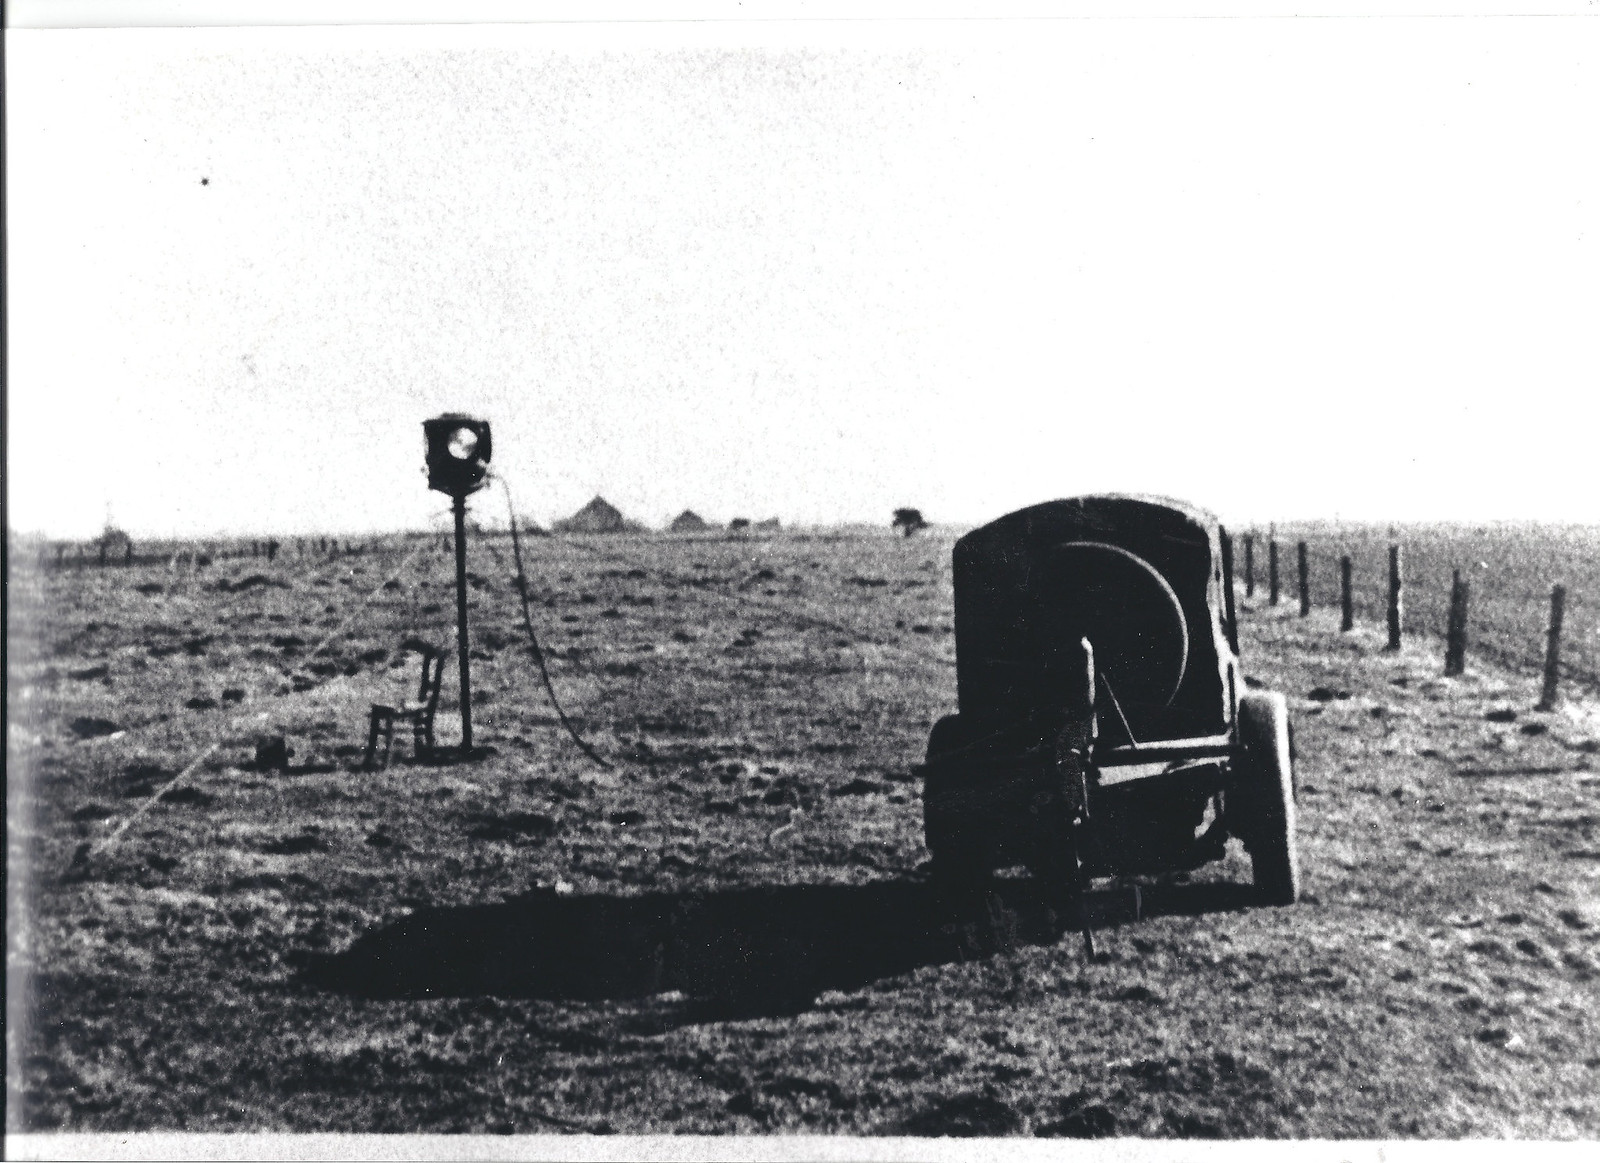
Near the village of Ell in Limburg (the southern-most province of the Netherlands) the Germans had stationed a (temporary) so-called Funkfeuer and Leuchtfeuer setup to provide a homing signal (audio and visual) for the German (night)fighters.
Below are some images of said setup near Ell (images reproduced with the permission of the HVH).
My father, as chairman of the HVH, has asked me to make a dio of this setup to try and visualize the scene a bit better, as the images are of poor quality.
To start off I analyzed the images to decide which vehicles I should use in this dio.
Because of the availability of kits I decided upon the "regular" AFV scale of 1/35.
The following kits will be used for this dio (pictures taken from scalemates.com):


Apart from the aforementioned kits I'll have to do some scratchbuilding too, because the Leuchtfeuer is not available as a kit, as far as I know.
If you paid close attention to the original image, you'll notice that the Einheitsdiesel Kfz. 61 kit does not depict the correct vehicle for this dio.
In the image a Mercedes G3a with Field Radio equipment can be seen, but this wasn't available as a kit, at least not with the radio equipment. I have contemplated to combine 2 or more kits to have a Mercedes Kfz. 61, but after speaking with the HVH about it, they opted to keep the Einheitsdiesel from the IBG Models kit.
Which is actually fine by me, as the kitbashing would involve using a resin G3a kit chassis combined with the body of the IBG Models kit. I don't mind a bit of a challenge, but I'd like to finish something once in a while, so I'll bend the rules a bit for this one.
That's it for now.
The next post will follow shortly with the start of the build of the German Heavy Generator kit from Plus Model.
This is more of a commissioned build, in this case for the HVH, a local historical society.
To mark their 30th anniversary (which was actually in 2012) the HVH decided to release a book documenting the crash of Lancaster bomber ME858 (which will be a separate modelling project somewhere in the - probably distant - future) and other linked stories.
It was soon discovered that there was a whole lot of additional information available in the local community and it was decided that the book should not only cover the crash of the aforementioned plane but that it should cover the whole period of World War 2 as it was experienced in the former municipality of Hunsel, although the emphasis would still lie with the crash of the Lancaster.
With the amount of information available it would be impossible to bundle all these stories in one book, so the decision was made to split the stories and articles over three themed books.
Book number one, with the main theme of (allied pilot) escape routes, has been released at the end of 2013, book number two, in which the crash of the Lancaster is the main theme, is scheduled for June (2016) and the release date for the third book has yet to be decided.
One of the things that will be covered in the third book is the way the Germans intercepted and tracked transmissions of incoming (bomber) flights and the way the Germans directed their planes towards the incoming allied planes.
Near the village of Ell in Limburg (the southern-most province of the Netherlands) the Germans had stationed a (temporary) so-called Funkfeuer and Leuchtfeuer setup to provide a homing signal (audio and visual) for the German (night)fighters.
Below are some images of said setup near Ell (images reproduced with the permission of the HVH).
My father, as chairman of the HVH, has asked me to make a dio of this setup to try and visualize the scene a bit better, as the images are of poor quality.
To start off I analyzed the images to decide which vehicles I should use in this dio.
Because of the availability of kits I decided upon the "regular" AFV scale of 1/35.
The following kits will be used for this dio (pictures taken from scalemates.com):
- Opel Blitz Einheitskoffer "Field Radio Truck", Italeri, kit no. IT368

- Einheitsdiesel Kfz. 61, IBG Models, kit. no. 35004

- German Heavy Generator A, Plus Model, kit no. 259

- German Soldiers at rest, MiniArt, kit no. 35062

- German Panzergrenadier - Italy 1943-45, Dragon, kit no. 6348

Apart from the aforementioned kits I'll have to do some scratchbuilding too, because the Leuchtfeuer is not available as a kit, as far as I know.
If you paid close attention to the original image, you'll notice that the Einheitsdiesel Kfz. 61 kit does not depict the correct vehicle for this dio.
In the image a Mercedes G3a with Field Radio equipment can be seen, but this wasn't available as a kit, at least not with the radio equipment. I have contemplated to combine 2 or more kits to have a Mercedes Kfz. 61, but after speaking with the HVH about it, they opted to keep the Einheitsdiesel from the IBG Models kit.
Which is actually fine by me, as the kitbashing would involve using a resin G3a kit chassis combined with the body of the IBG Models kit. I don't mind a bit of a challenge, but I'd like to finish something once in a while, so I'll bend the rules a bit for this one.
That's it for now.
The next post will follow shortly with the start of the build of the German Heavy Generator kit from Plus Model.
Comments
Post a Comment