Finally several parts have received some colour.
First parts with colour were the wheels.
According to the instructions from Revell the wheels should be painted aluminium.
The Revell (and Tamiya) aluminium colour was a bit too light to my taste when compared to the colour in the reference images.
So I opted for Alclad 101 Aluminium over grey primer (Tamiya Fine Surface Primer).
I also drilled a hole in each wheel and inserted a piece of 0.8 mm wire to simulate the tire valve.
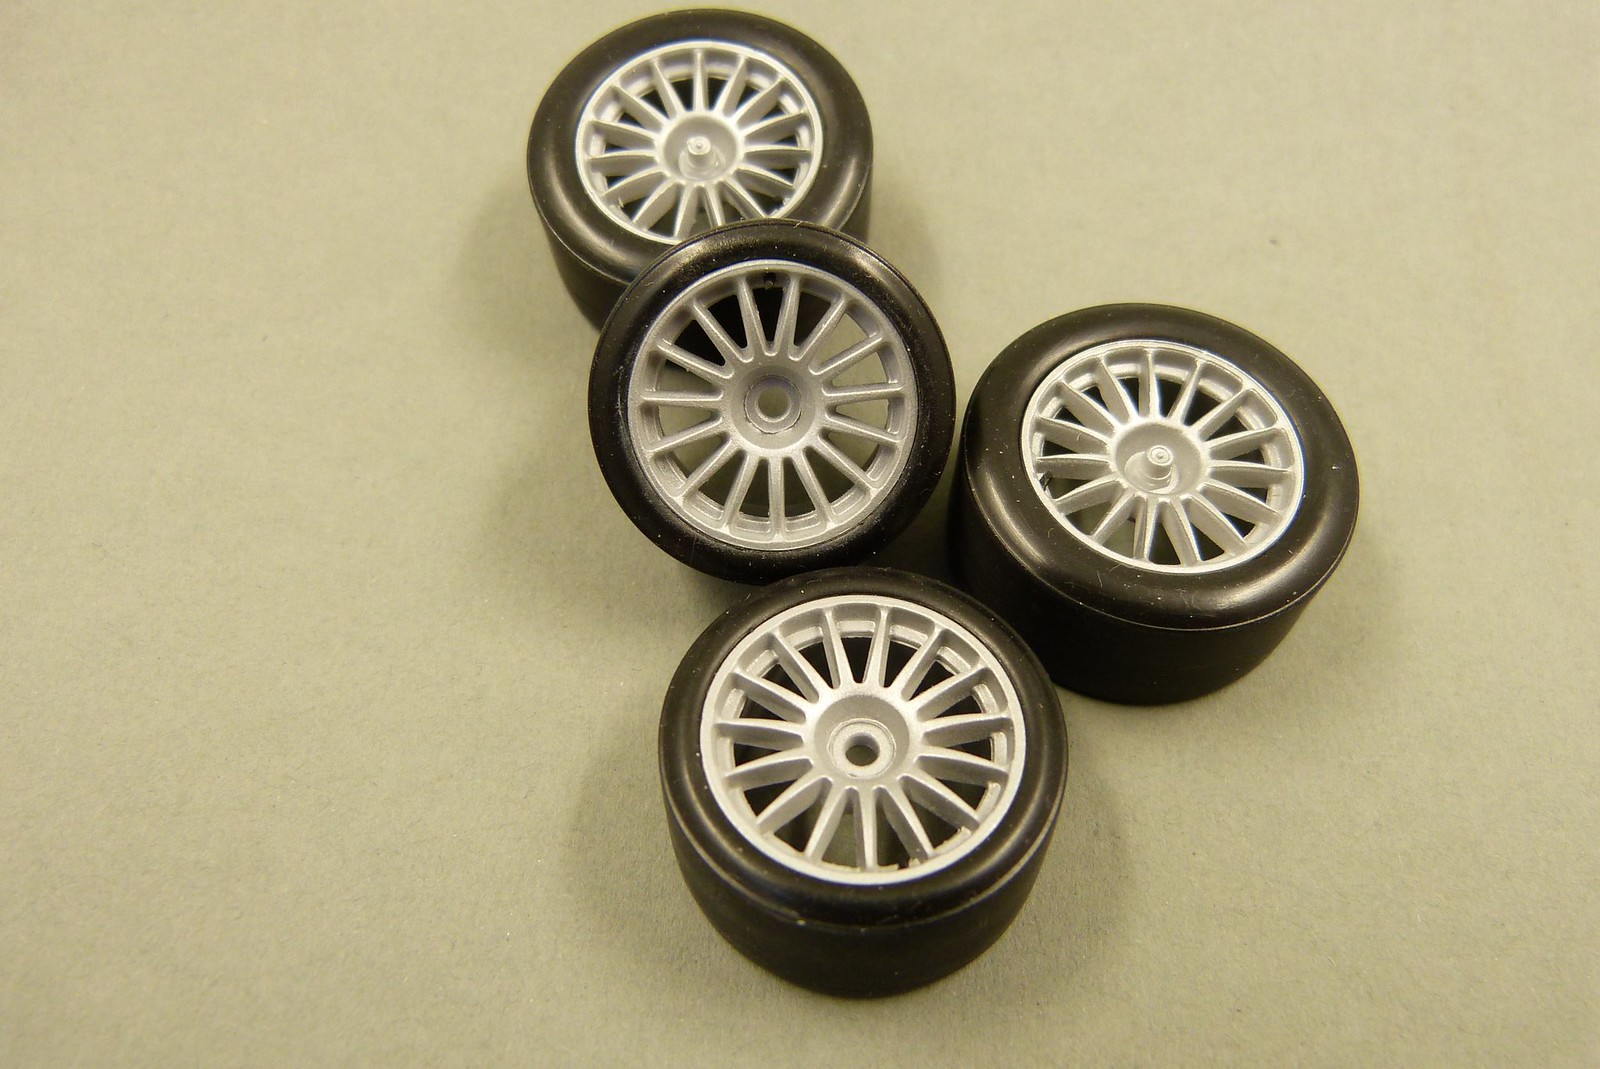
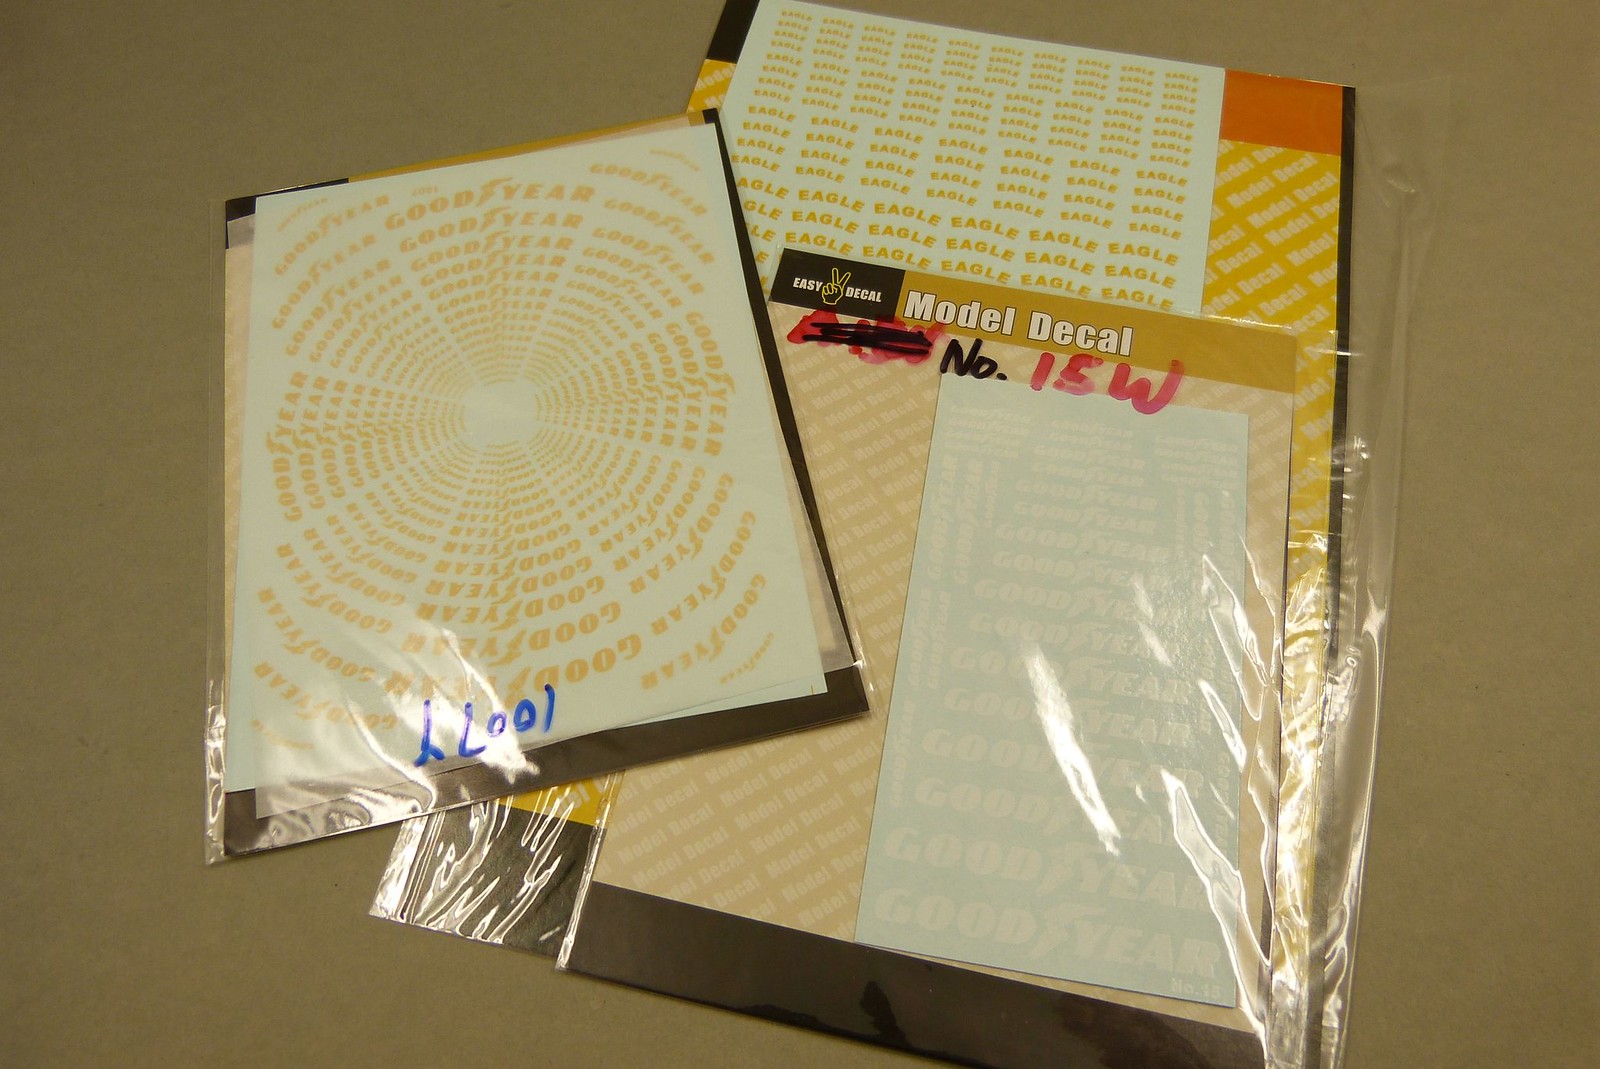
I already put the tires on the wheels. All I need to do now is put some tire decals on and give the wheels a light weathering.
As there are no tire decals present on the kit decalsheet (shame on you Good Year) I bought some aftermarket decals.
As I was on a roll, I also painted the exhausts.
According to the instructions they should be painted chrome silver.
I suppose that's correct for the end pipes, but I'm not so sure about the first part of the exhaust connected to the engine. But as I haven't any good reference images (apart from chassis no. 005 where the exhaust manifold is wrapped in some kind of insulating material) I decided to stick with the instructions.
I painted the exhausts at first with Pale Burnt Metal from Alclad (over grey primer). But that was a bit too dark to my taste. So I gave the exhaust a mist layer of Chrome from Alclad. I'm quite happy with the end result.


Next up was the rollcage. According to the instructions they should be painted aluminium. But when I look at the reference images the rollcage seems darker than standard aluminium.
So after some experiments I finally chose Dark Aluminium from Alclad for the rollcage, which to me comes quite close to the colour on the reference images.
As with the wheels, the Alclad was sprayed over grey primer.
From several parts the details could already be painted.
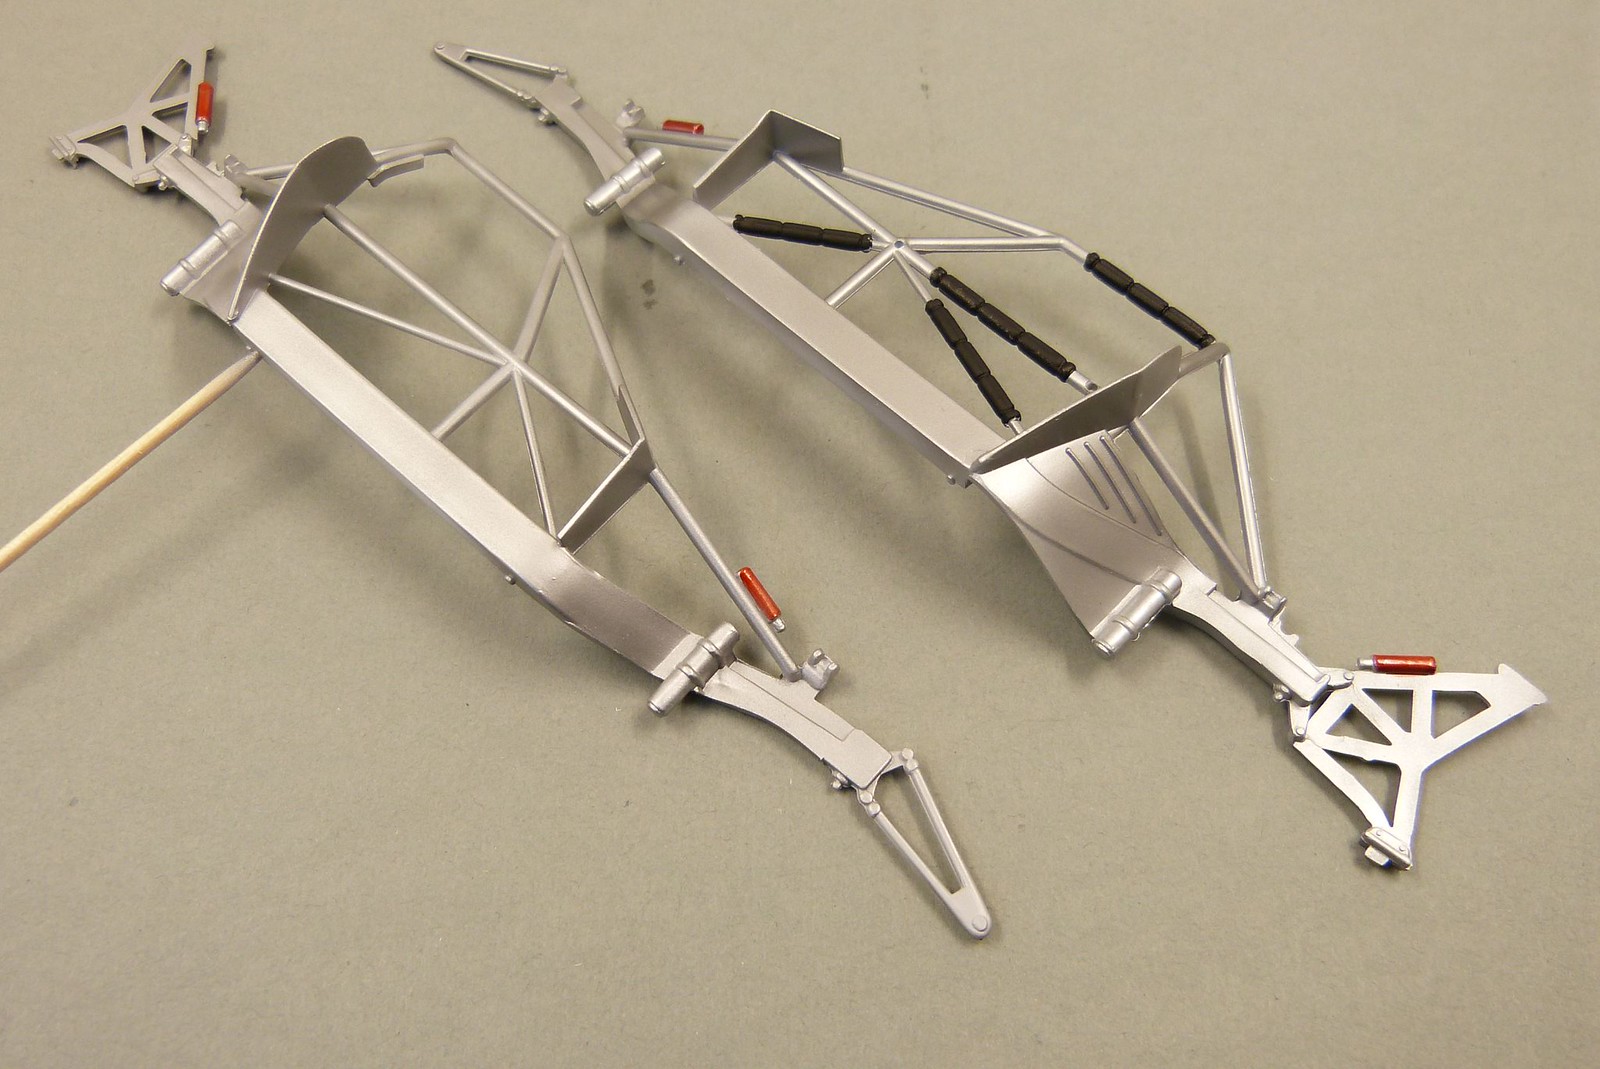
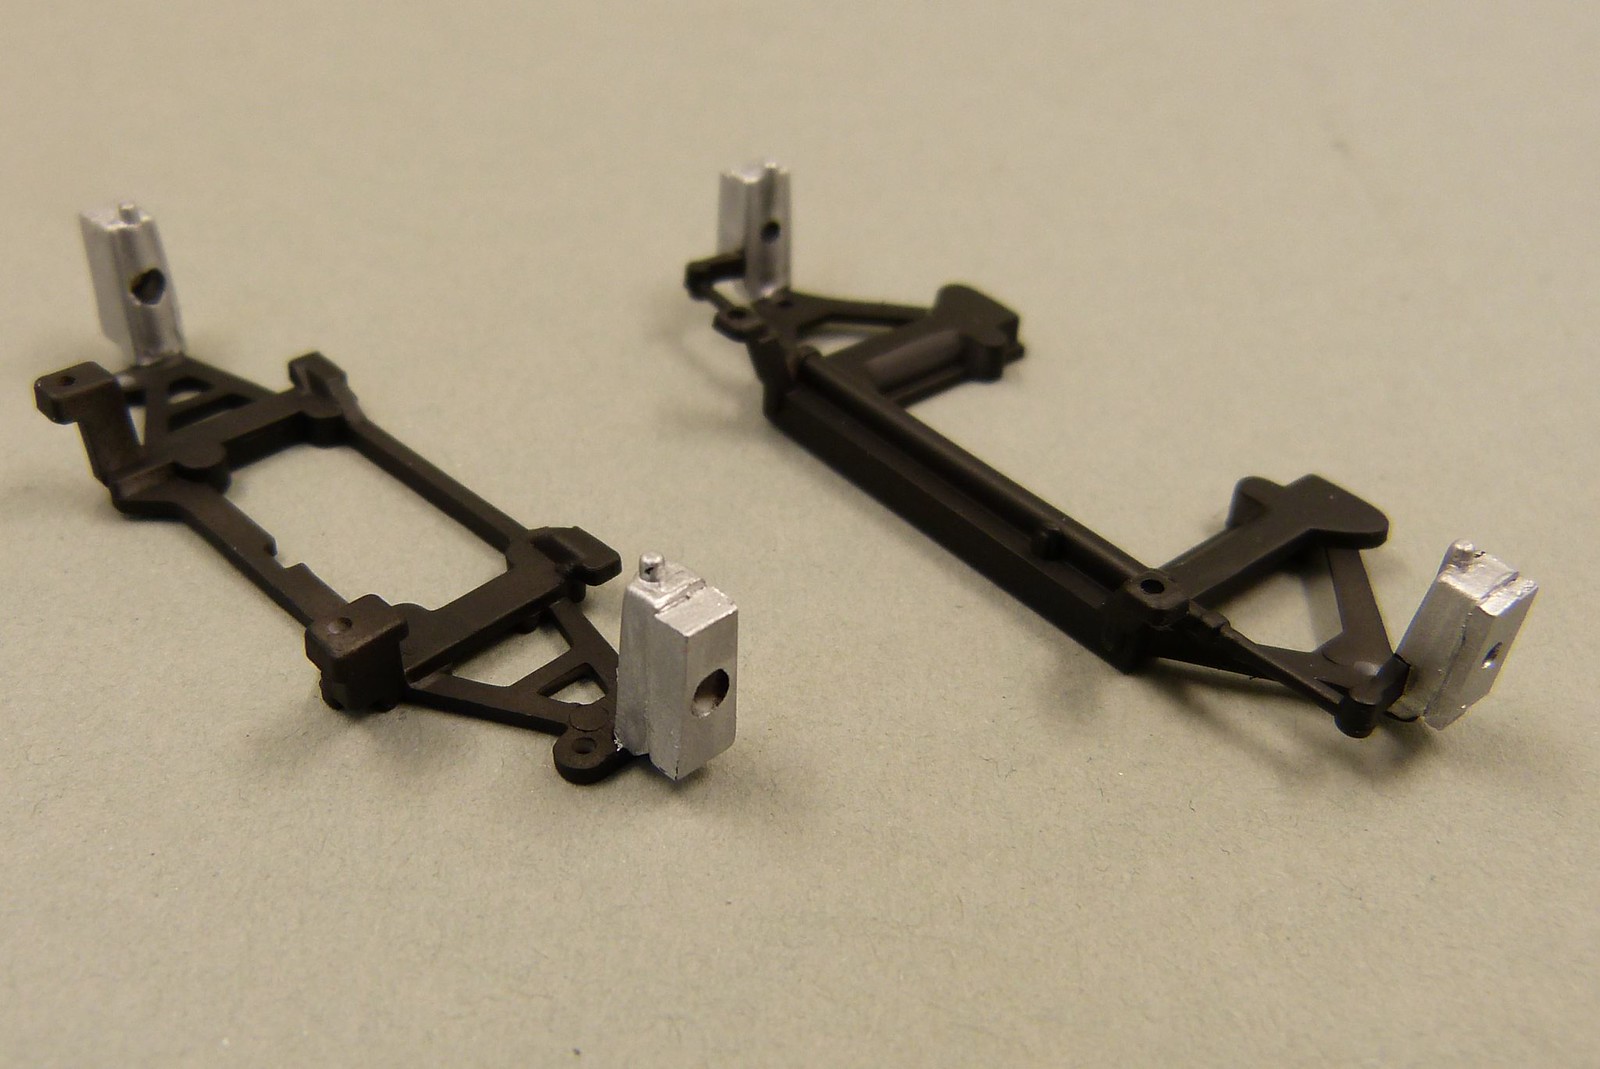
I started with the suspension parts. They'd already been painted black before (a personal mix of 80% X-18 SG Black and 20% XF-1 Flat Black from Tamiya) and I painted the outer parts, according the instructions from Revell, aluminium. For this I used the appropriate colour from the Revell Aqua Color range.
The rear suspension has been widened by 2 mm on each side, whereas the front suspension has been widened 0.8 mm on each side.
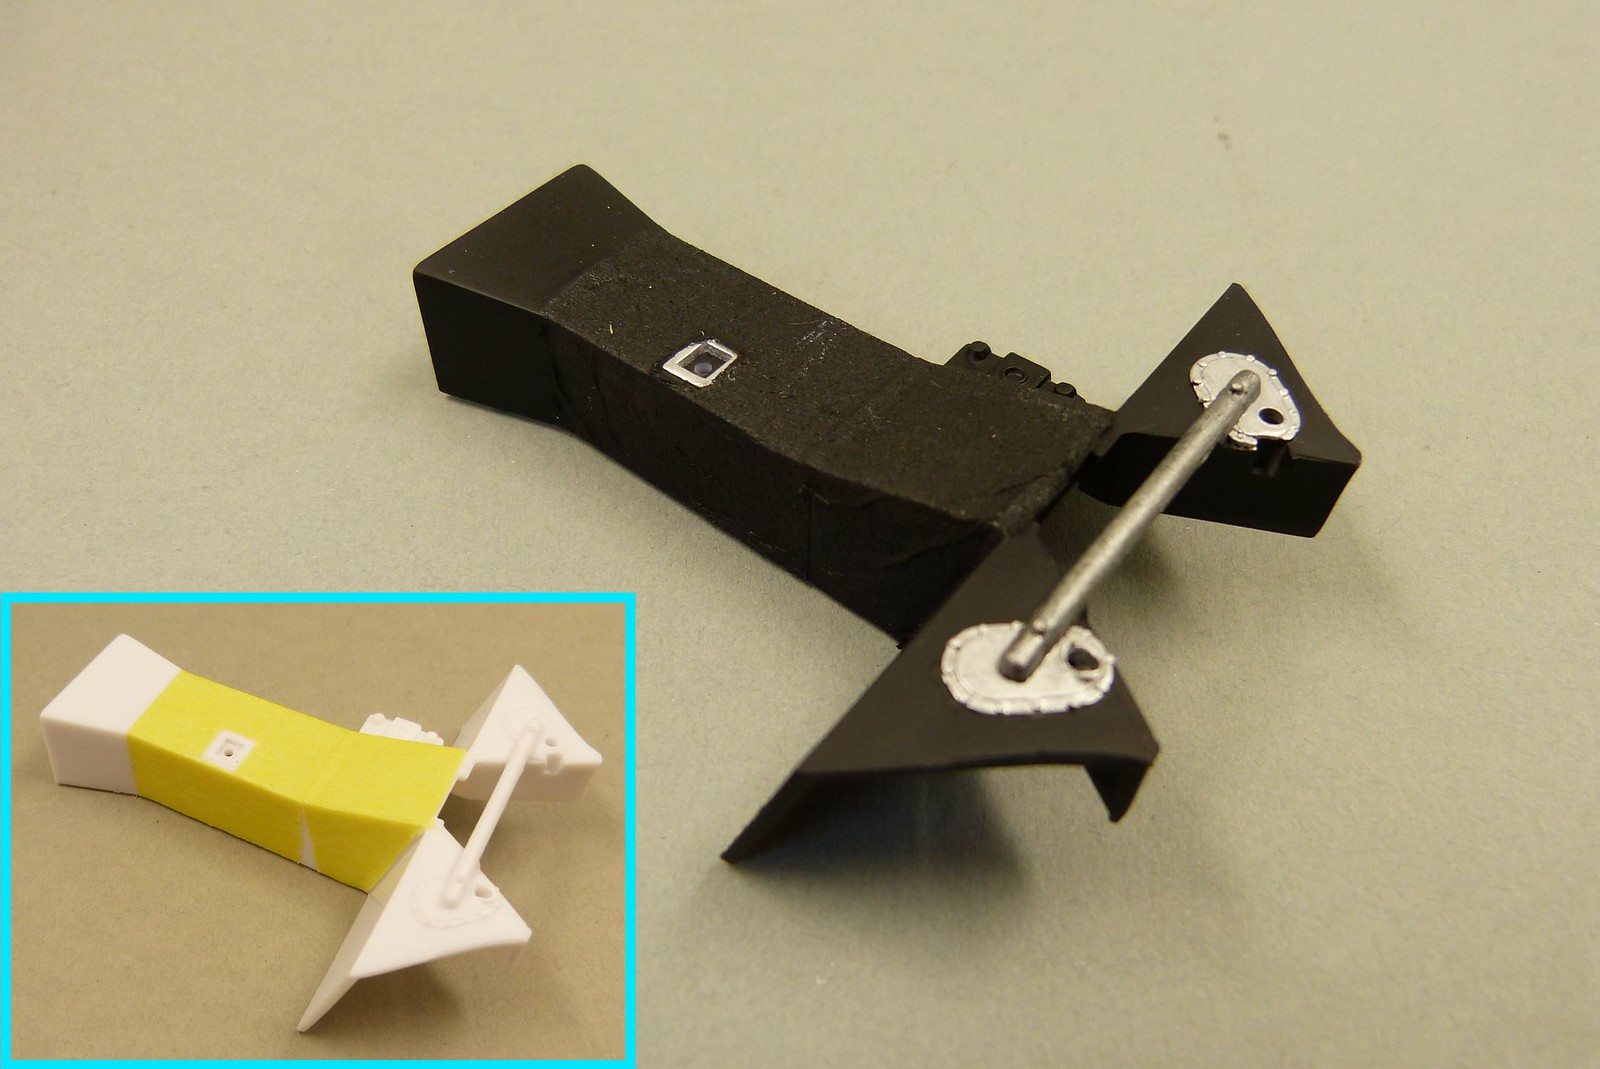
I've also been working on the interior.In the reference images it can be seen that the central console has some sort of lining. I've tried to reproduce the effect with some tissue paper.
First I made a template of the shape required. For this I used Tamiya masking tape. I used the template to cut the required piece of tissue to shape. Next I placed the tissue on the central console and applied thinned Kristal Klear glue from MicroScale.
The process actually went quite well. Next time though I think I'll split the tissue in more pieces as to cover only flat surfaces. Using a single piece has led to some folds in the tissue on several places. I tried to minimize this, but I didn't manage it everywhere. I think it won't be too visible once everything is build up, so I decided to leave it as it is.
The structure will be drybrushed lightly to give it a bit more contrast.
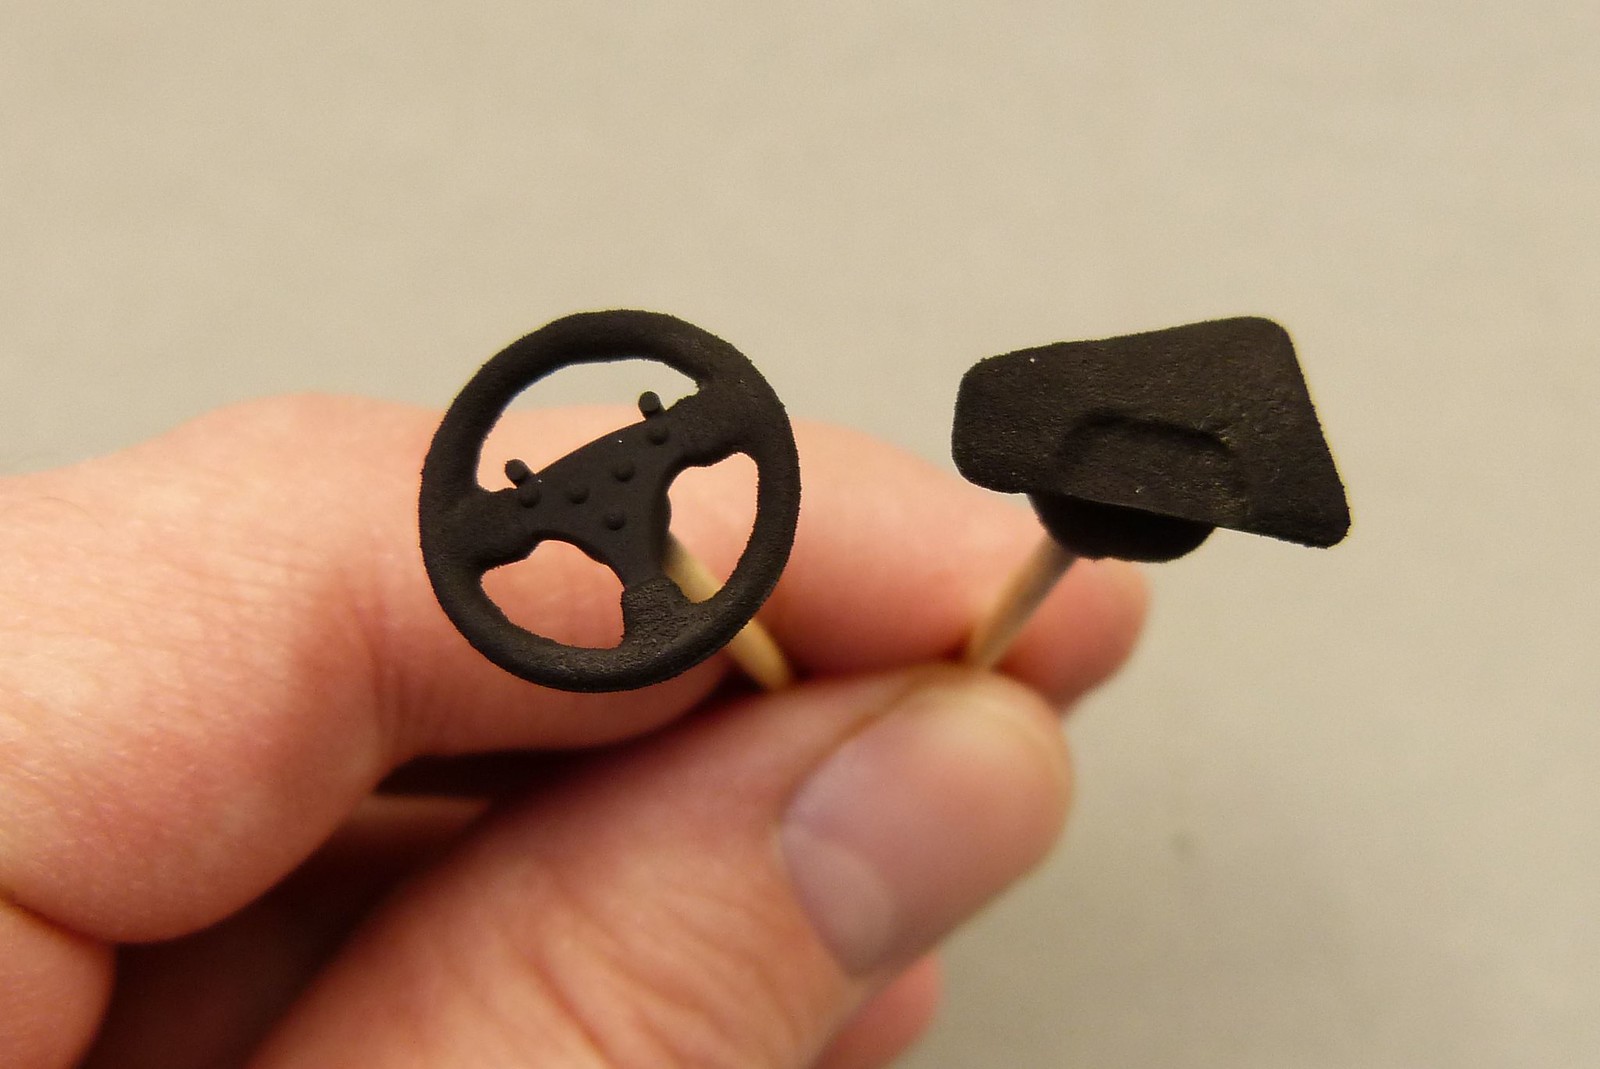
Looking at the steering wheel, headrest and driver's seat I think it might have been better to use microballoons to cover the central console.
But as a test object I'm actually quite pleased with the end result.
Detail painting will continue for now.
Apart from that, work also continues on the body and floor of the car.
More to follow in the next update.
First parts with colour were the wheels.
According to the instructions from Revell the wheels should be painted aluminium.
The Revell (and Tamiya) aluminium colour was a bit too light to my taste when compared to the colour in the reference images.
So I opted for Alclad 101 Aluminium over grey primer (Tamiya Fine Surface Primer).
I also drilled a hole in each wheel and inserted a piece of 0.8 mm wire to simulate the tire valve.
I already put the tires on the wheels. All I need to do now is put some tire decals on and give the wheels a light weathering.
As there are no tire decals present on the kit decalsheet (shame on you Good Year) I bought some aftermarket decals.
As I was on a roll, I also painted the exhausts.
According to the instructions they should be painted chrome silver.
I suppose that's correct for the end pipes, but I'm not so sure about the first part of the exhaust connected to the engine. But as I haven't any good reference images (apart from chassis no. 005 where the exhaust manifold is wrapped in some kind of insulating material) I decided to stick with the instructions.
I painted the exhausts at first with Pale Burnt Metal from Alclad (over grey primer). But that was a bit too dark to my taste. So I gave the exhaust a mist layer of Chrome from Alclad. I'm quite happy with the end result.
Next up was the rollcage. According to the instructions they should be painted aluminium. But when I look at the reference images the rollcage seems darker than standard aluminium.
So after some experiments I finally chose Dark Aluminium from Alclad for the rollcage, which to me comes quite close to the colour on the reference images.
As with the wheels, the Alclad was sprayed over grey primer.
From several parts the details could already be painted.
I started with the suspension parts. They'd already been painted black before (a personal mix of 80% X-18 SG Black and 20% XF-1 Flat Black from Tamiya) and I painted the outer parts, according the instructions from Revell, aluminium. For this I used the appropriate colour from the Revell Aqua Color range.
The rear suspension has been widened by 2 mm on each side, whereas the front suspension has been widened 0.8 mm on each side.
I've also been working on the interior.In the reference images it can be seen that the central console has some sort of lining. I've tried to reproduce the effect with some tissue paper.
First I made a template of the shape required. For this I used Tamiya masking tape. I used the template to cut the required piece of tissue to shape. Next I placed the tissue on the central console and applied thinned Kristal Klear glue from MicroScale.
The process actually went quite well. Next time though I think I'll split the tissue in more pieces as to cover only flat surfaces. Using a single piece has led to some folds in the tissue on several places. I tried to minimize this, but I didn't manage it everywhere. I think it won't be too visible once everything is build up, so I decided to leave it as it is.
The structure will be drybrushed lightly to give it a bit more contrast.
Looking at the steering wheel, headrest and driver's seat I think it might have been better to use microballoons to cover the central console.
But as a test object I'm actually quite pleased with the end result.
Detail painting will continue for now.
Apart from that, work also continues on the body and floor of the car.
More to follow in the next update.
Comments
Post a Comment