Tired of tires
And now for something special:Because of the challenge the tires have posed during this build I've decided to dedicate a seperate post to them.
First a short recap from post no. 7 of the Corvette build:
This whole particular story started with the fact that Revell (for copyright reasons) omitted the tire decals (Good Year in this case) from the decal sheet.
I sourced some generic Good Year and Eagle decalsheets on the internet to tackle this first hurdle.
Next I mounted the tires onto my Dremel tool to remove the moulding seam and give the tire a used appearance.
After that I coated the sidewalls of the tires to be decalled with gloss clear coat to give the decals a nice smooth layer to adhere to. For this I used gloss clear from the Revell Aqua Color range, thinned for brushpainting with some water.
After applying the decals (which went on with a few minor hiccups) the tires looked like this:
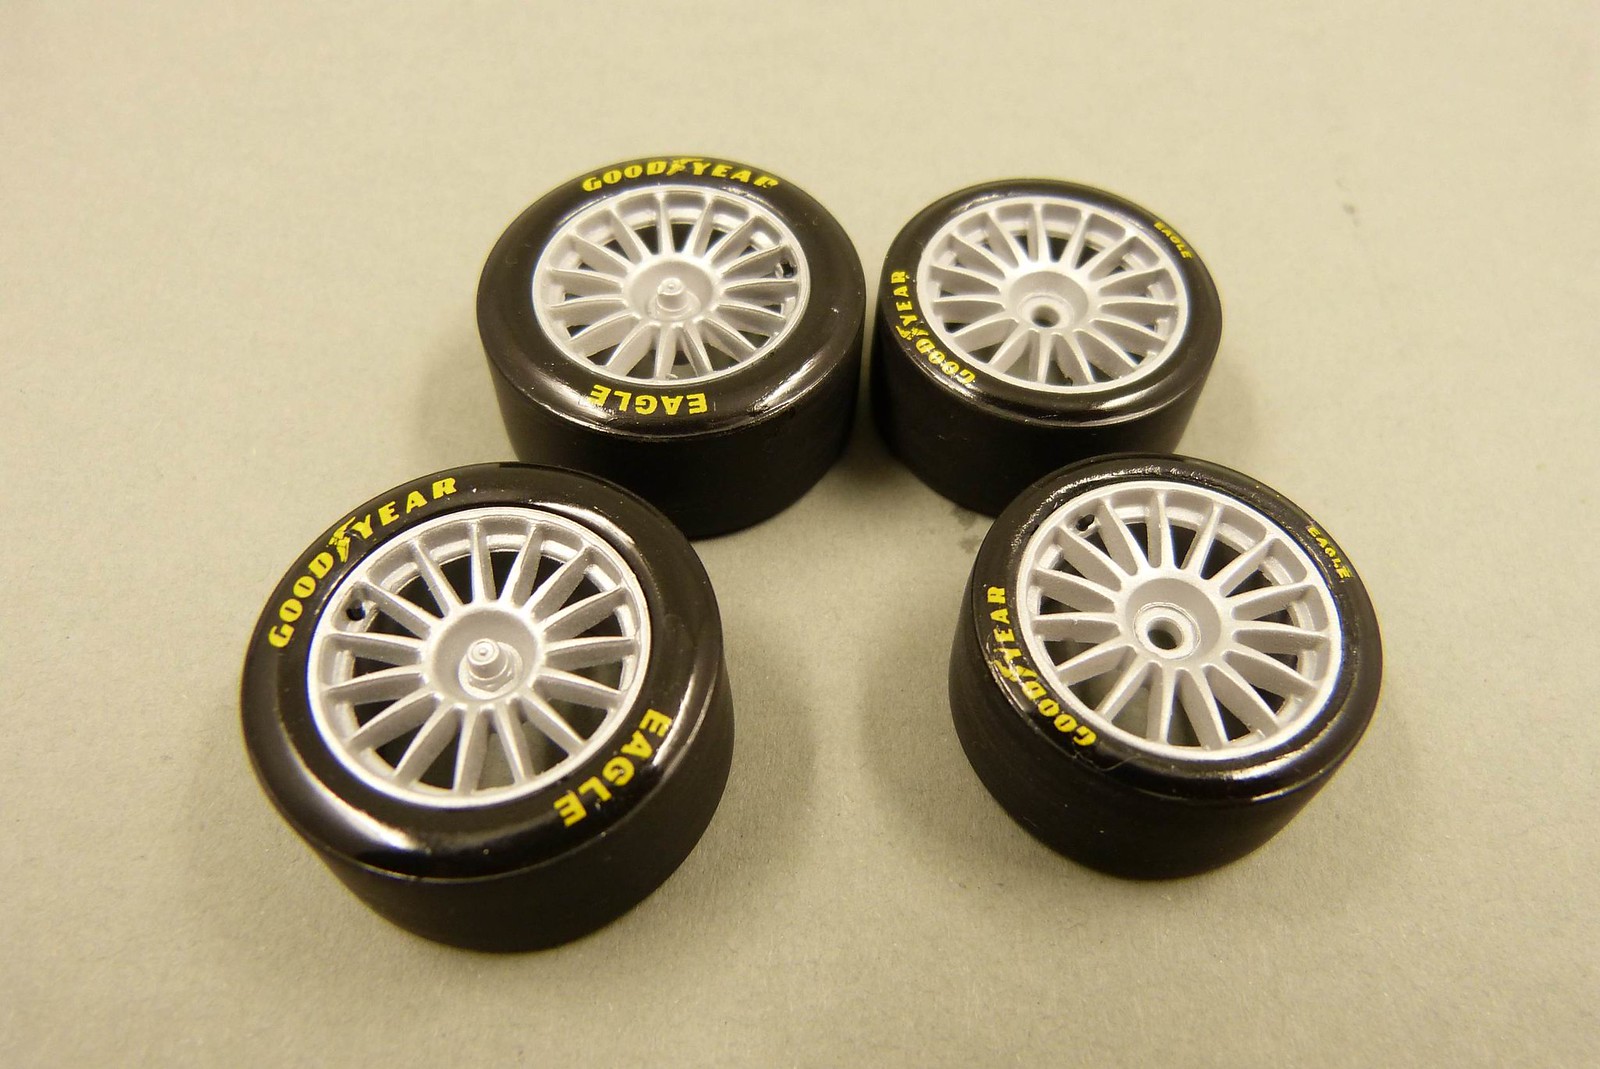
So far so good you'd say.
This is the point where the problems really started.
To remove the sheen from the gloss clear and to protect the decals I applied another clearcoat.
I made a 60-40 homemade mix of Revell Aqua flat and gloss clear and applied it to the tires.
This mixture was also thinned with water and applied by brush.
The result was this:

The paint strokes were very visible to my surprise and disappointment.
Now what?
There were several options I had of tackling this problem, but I was not sure which one would be the best.
So I put my problem up at a German forum I frequently visit and received several replies with advice.
Upon advice the plan was to sand down the layer of clear as much as possible, thereby trying not to damage the underlying decals and than spray a new layer of clear on top.
Out came the micromesh sanding clothes for this task.
For some reason, which I can't quite pin down, the sanding had zero effect. I didn't want to apply excessive pressure afraid of damaging the decals and the paintjob of the wheels.
To give me a bit more freedom I decided to remove one of the rear tires from the wheel.
With the tire removed from the wheel I noticed some white residue which I suspected was some clear which had seeped into the joint between the wheel and the tire.
Upon trying to remove this residue I noticed that the residue seemed to be connected to some kind of skin on top of the tire. At first I thought that it was the layer of clear that was lifting... So I started to peel this layer off.

Guess what: It wasn't the layer of clear. It was a layer plastic of the rear tire that had worked itself loose.
Why? I don't know. Reacting with the solvent based Alclad paint on the wheel? Reacting with the (water-based) clear? Reacting with the decal softener? Your guess is as good as mine...
Bottom line: The sidewall of this particular tire was damaged.
I placed the tire back onto the wheel, with the former inside now the outside.
Next I applied a new set of Good Year decals and we're back in business again.
With sanding no option, I opted to spray a new layer of clear onto the sidewalls with my airbrush.
First I masked the wheels and the running side of the tires.
Next I poured some Alclad Klear Semi-Matte into the paintcup of my airbrush and sprayed a layer onto the tires.

Now we're getting somewhere.
Three of the four tires finally look the way I want it to. The slight sheen of the semi-matte clear is exactly right for the sidewalls.
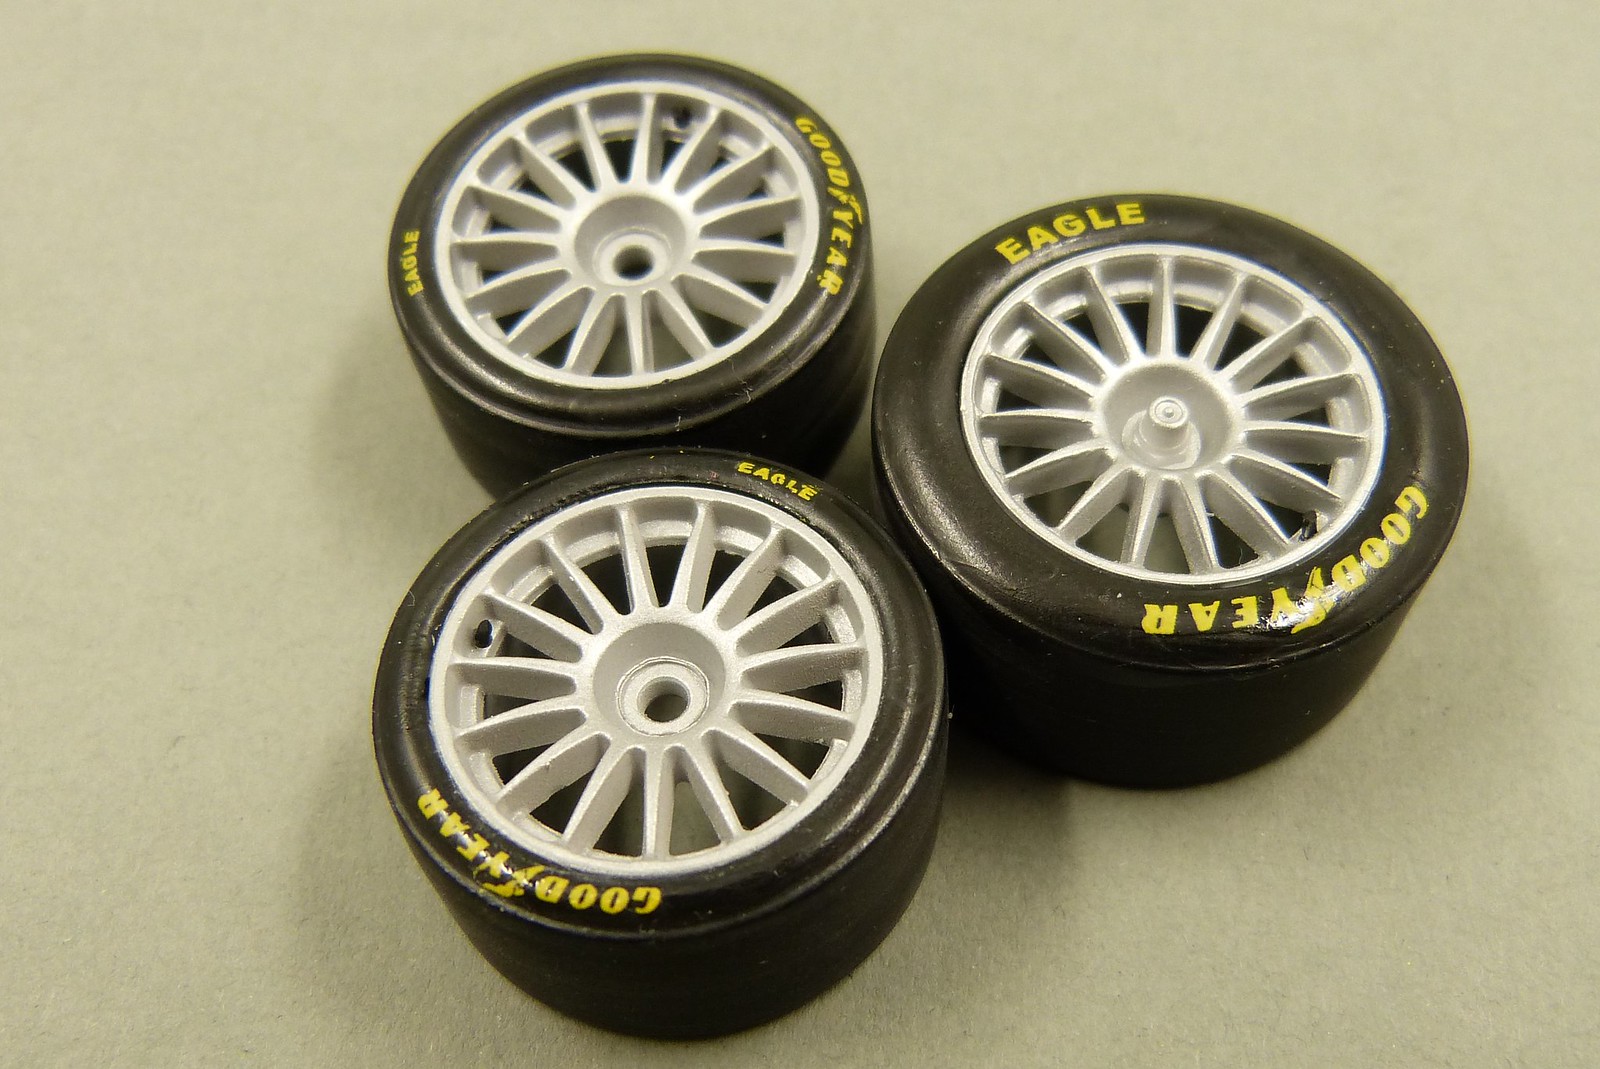
Wait a minute, did I say three of the four tires? What about the fourth tire?
Good question. For some reason the previous layer of gloss clear is shining through.
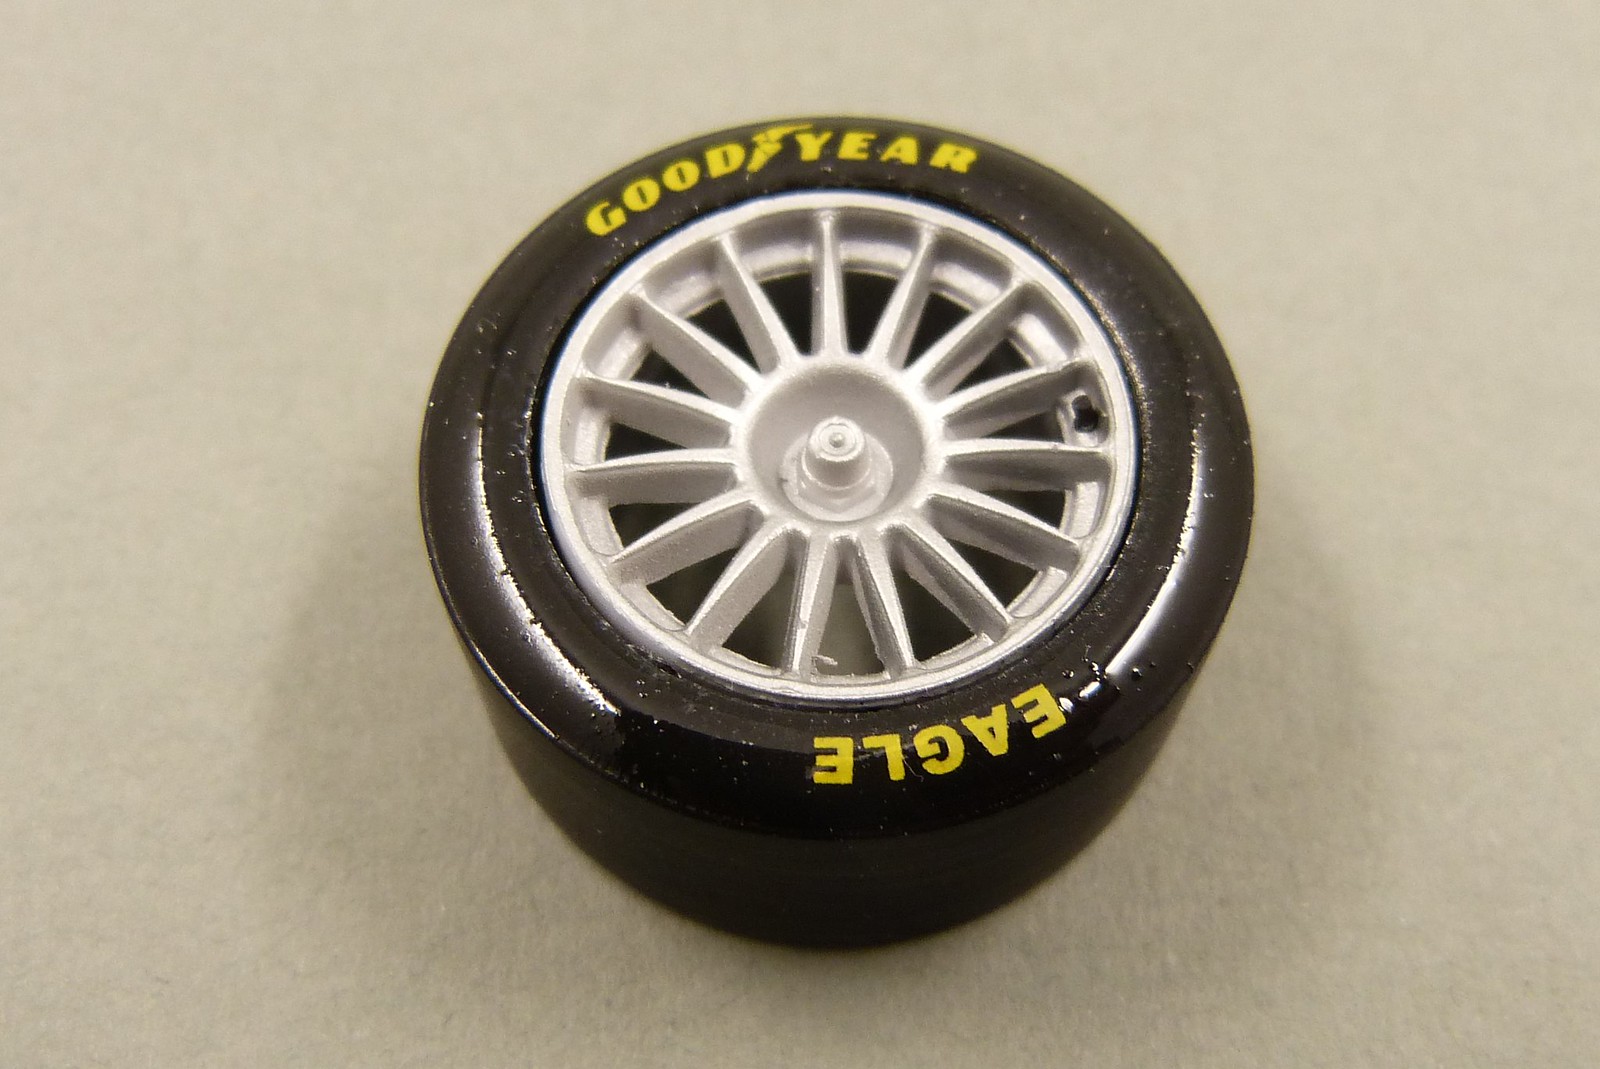
Can't quite figure out why. I did use a different gloss coat on that particular tire. But it was also a water-based gloss clear (from MicroScale Industries in this case) so I don't see why the reaction would be different here.
To top it all off the "glossy tire" surface was sticky now. And even after several days of curing at room temperature there was no change.
There was change however on the other three tires. A slight sheen was seeping through and there were some sticky patches forming on those tires too.
So it would seem that my choice of clear (in this case the solvent-base Alclad Klear Kote) was a bad choice for this job and almost (?) ruined the tires.
In a last effort to save the tires I coated them for a second time with clear. This time I used my home-made mix of Revell Aqua Colors applied with the airbrush.
First impressions are promising.
Okay, the front tire bottom-left looks a bit sloppy because I sprayed too heavy a coat of clear onto it, but I think I can fix it.

Now I can only hope that this has finally solved the problems with the tires.
Comments
Post a Comment