Getting there
The drama with the tires finally seems to have come to an end.
My suspicion that the aggressive solvent-based clearcoat triggered some sort of reaction with either the water-based clearcoat and or the material of the tires appears to be true.
My options were rather limited, so I decided to spray a new water-based clearcoat over the tires, hoping to cover the previous layer of clear and stop the reaction.
For 3 of the 4 tires one layer of clear was enough.
The rear tire with the most problems received 2 layers and that seems to do the trick. Even after more than a week of drying the clear stays flat.

The clearcoat I used was my own Revell Aqua Color mix as used previously. But this time thinned with it's dedicated thinner and applied by airbrush.
Although the image above does little to hide the imperfections I'm happy I finally am able to finish this chapter so I can divert my attention again towards the rest of the kit.
Work has finally continued on the body.
Still some small spots to fill and sand. For some reason, everytime I spray on a layer of primer I see new spots that need reworking I didn't notice earlier.
But the good news is: they're getting less and less.
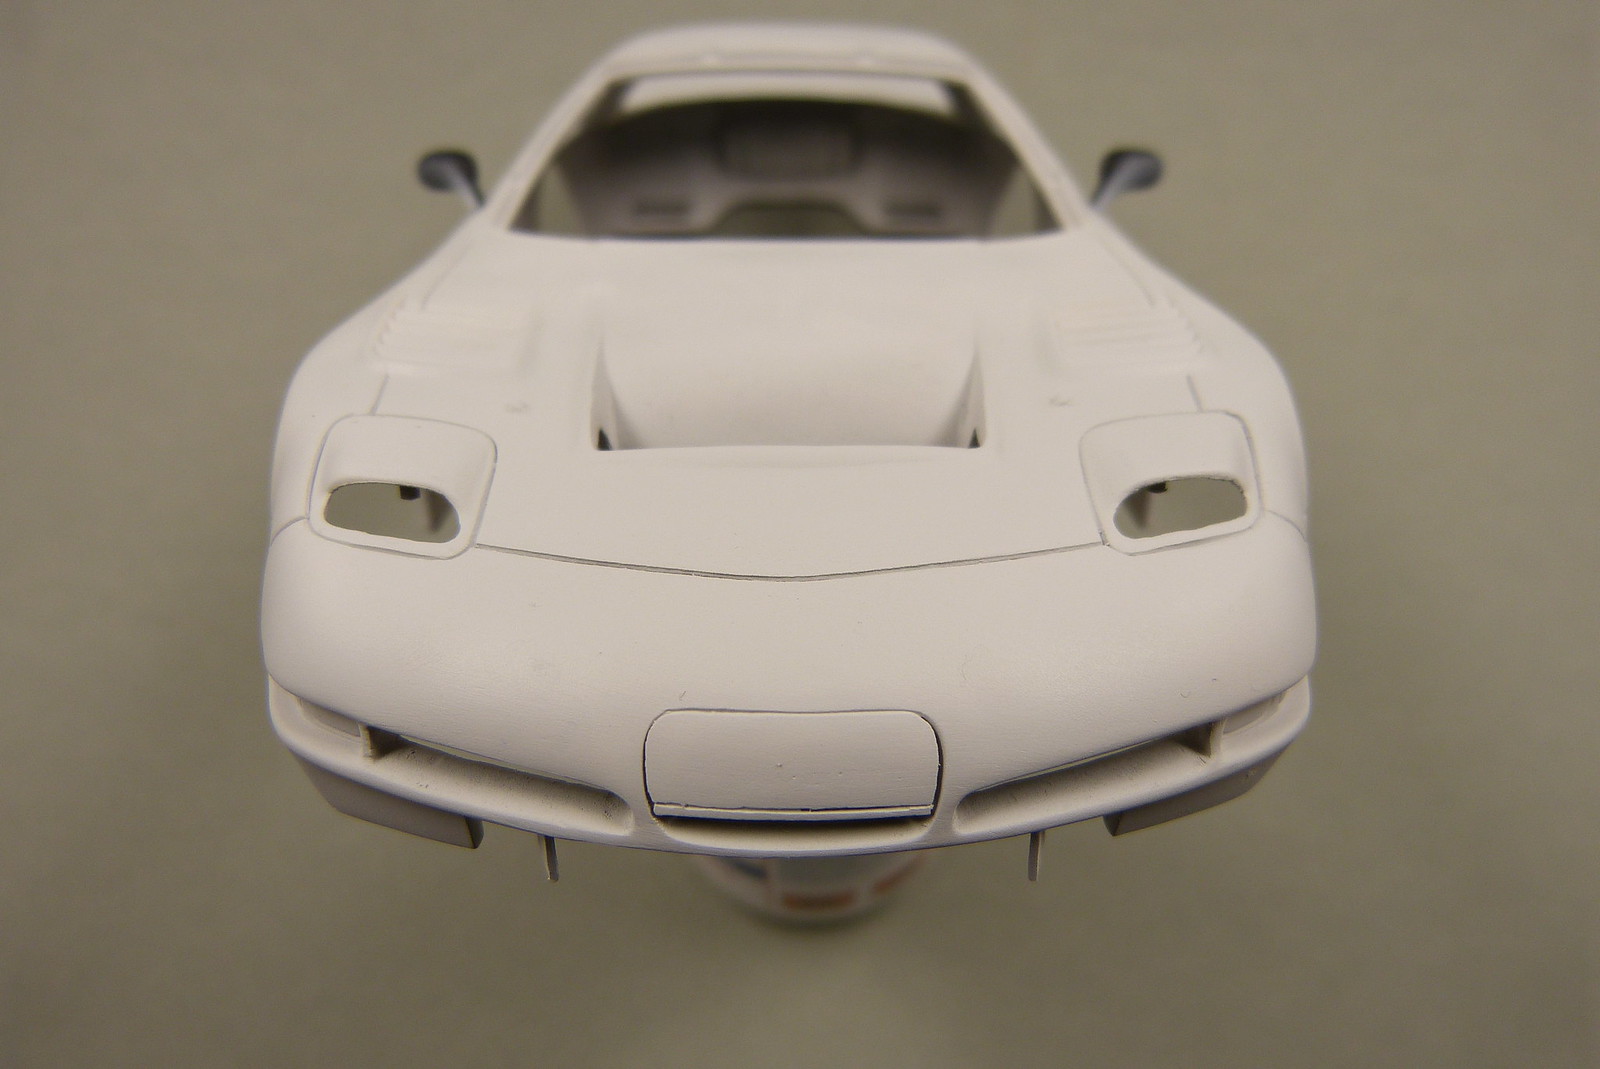
After studying the instructions I concluded that the mirrors should be mounted to the body before the painting process starts.
Mounting the mirrors after painting will leave ugly and unrealistic gaps on the bodywork just below the mirrors. In the image below the gaps are already filled and sanded smooth.

The rear wing has also been testfitted. The supports have been glued to the rear wing already.
I made sure they were correctly aligned so placing the rear wing on the body at the end will be a drop fit (I hope).
The supports are quite bulky compared to the real thing, but I decided to leave it this way because it would need quite some work on the body and the rear wing to fix this.
My guess is that it won't be so disturbing on the finished model as the supports are rather small and obscured by the rear wing.

I finally finished decalling the intakes of the engine.
I'm not sure what the decal designer of Revell was thinking about when he (or she) was drawing the CF decals. But I'm almost sure it wasn't a Corvette C5-R...
The last decals to apply were the quite impressive looking ones for the front pieces of the intake.
I double-checked, no triple-checked the numbers of the decals and the corresponding parts and even dry-fitting them I could make heads nor tails of it.
And it shows in the end result.
Looking back it would probably have been better to make my own templates for the CF-decals. I'm pretty sure the outcome would have been a whole lot better.
But as I'm intending to glue the body to the chassis, none of this will be visible anyway so I can't really be bothered to tidy it up.

The problem I had with the tires (see post 8) was also present on the upper side of the diffusor. To tone down the sheen of the Revell CF decals I covered it in the same homemade clear mix as the tires. With the same result ie. brushstrokes.
With the aid of micromesh sanding clothes I was able to sand down the offending clear layer on the diffusor so now it's ready for a new layer of clear.
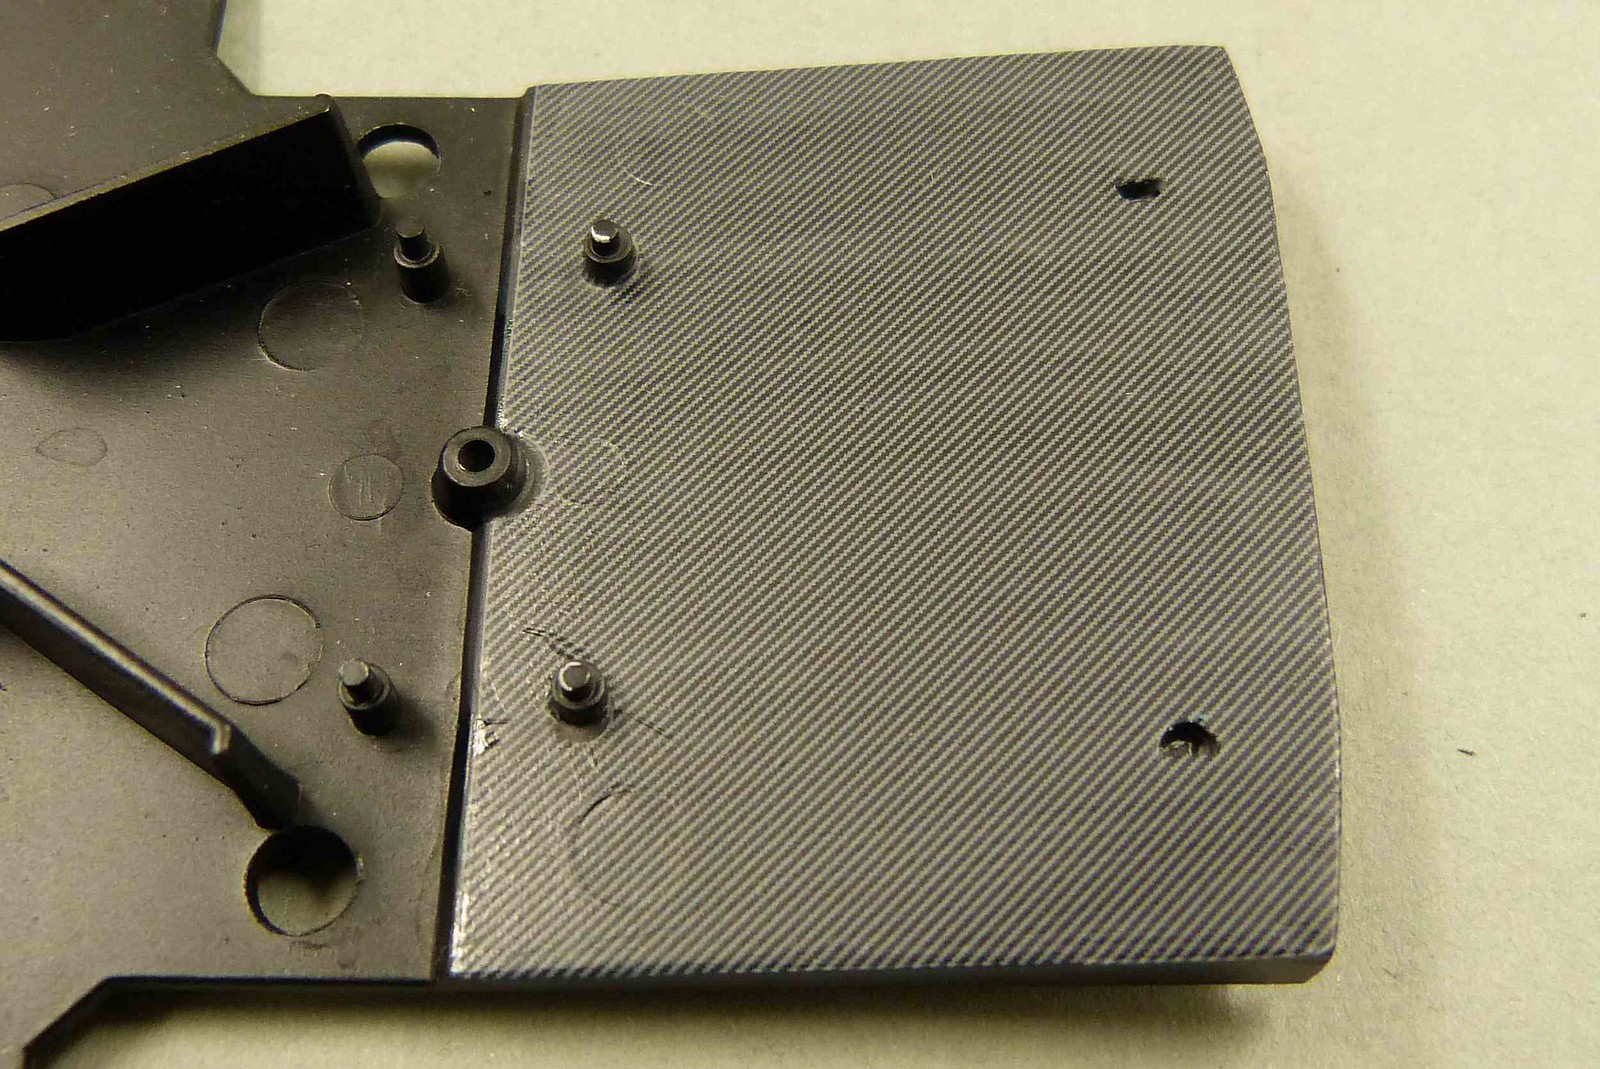
For the dashboard Revell provides a decal.The building instructions call for the removal of part of the detail on the dashboard to provide a smooth base for the decal on one side, whereas the other side has still some quite pronounced embossed buttons/dials.
I don't understand why the decals would settle smoothly over the left side and not over the right side of the dashboard...
So I decided to leave all the detail as is and remove all the knobs in the decal so it will fit over the buttons/knobs of the dashboard. For this I used a hand drill with drill sizes 0.8, 1.0 and 1.5 mm.
To save the speedo decal I used a hole punch.
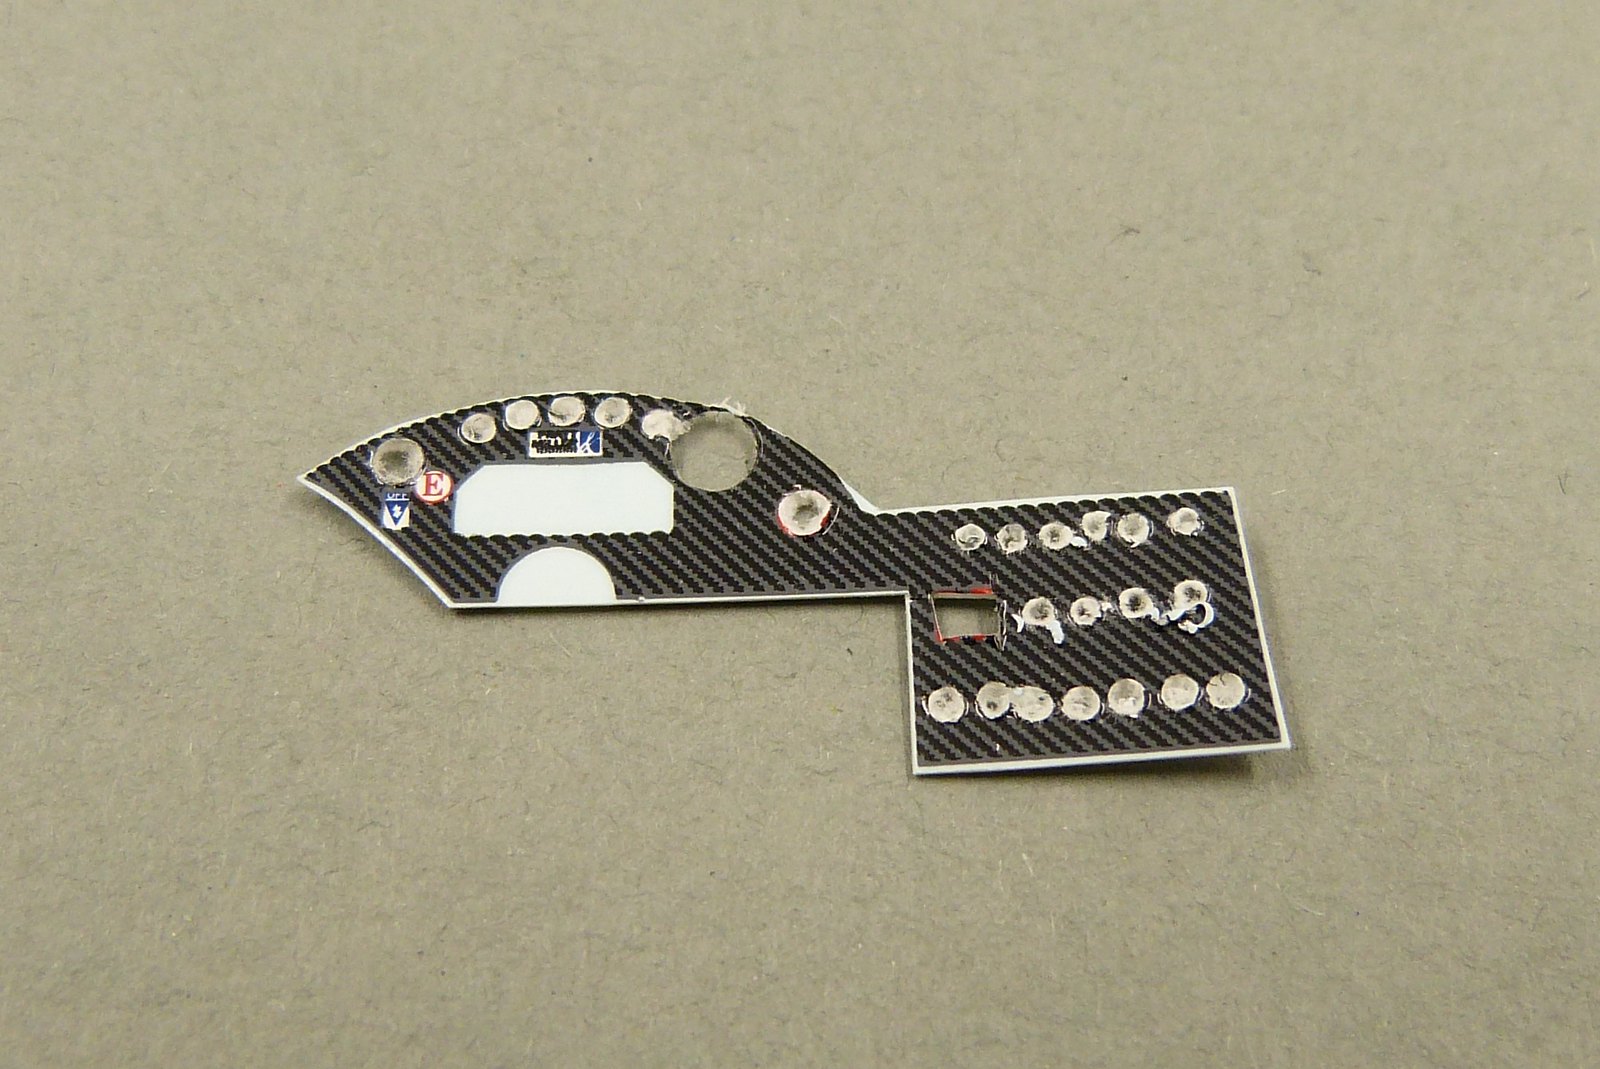
When applying the decal I had to divide it into 2 parts to get it to conform to the part.
It took several applications of decal softener to get the decals to lay down properly.
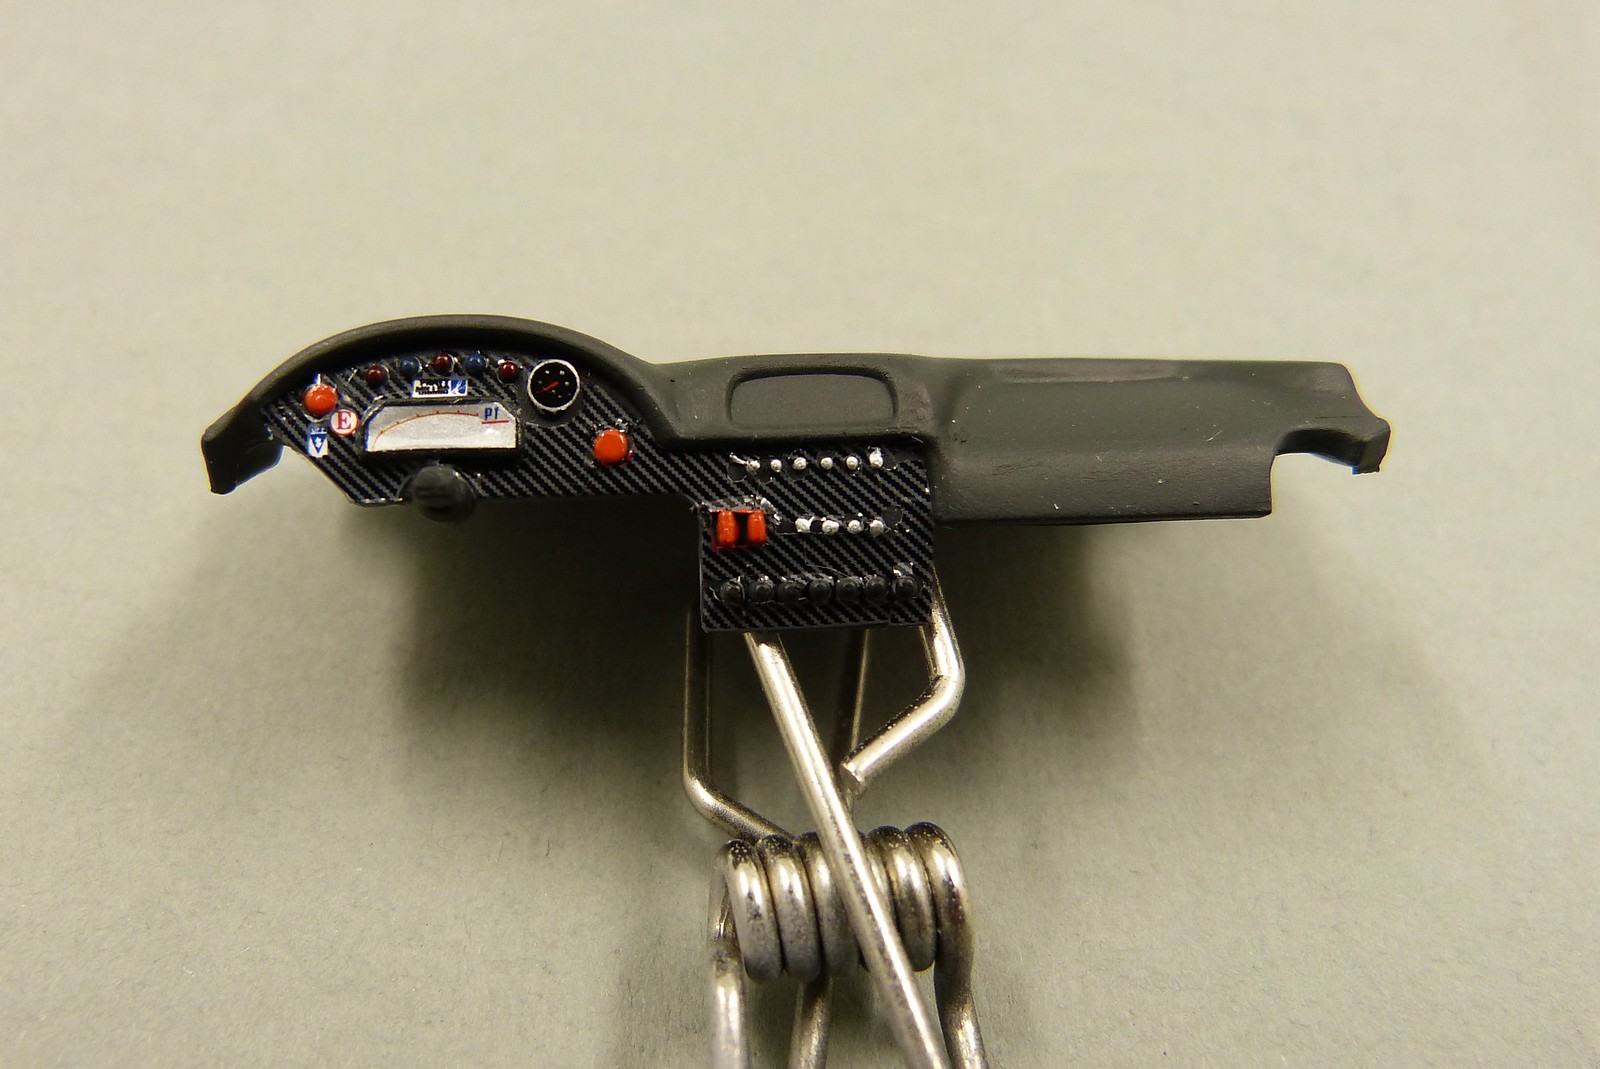
The end result isn't perfect for several reasons. It appeared that the buttons on the decals didn't quite match the pattern on the dashboard. I should have checked it better...
But for me it will be good enough, as once the car is finished the dreaded macro-lens won't be able to highlight the sloppy decalwork (I hope)
In the end it might have been better to remove the details as instructed by Revell and create the 3D effect afterwards with pieces of styrene rod as I did with the Peugeot 307 WRC.
For the record: The dashboard provided in the kit doesn't correspond with the actual dashboard of the 2003 Le Mans version of this car. Just another part on the long list of wrong parts.
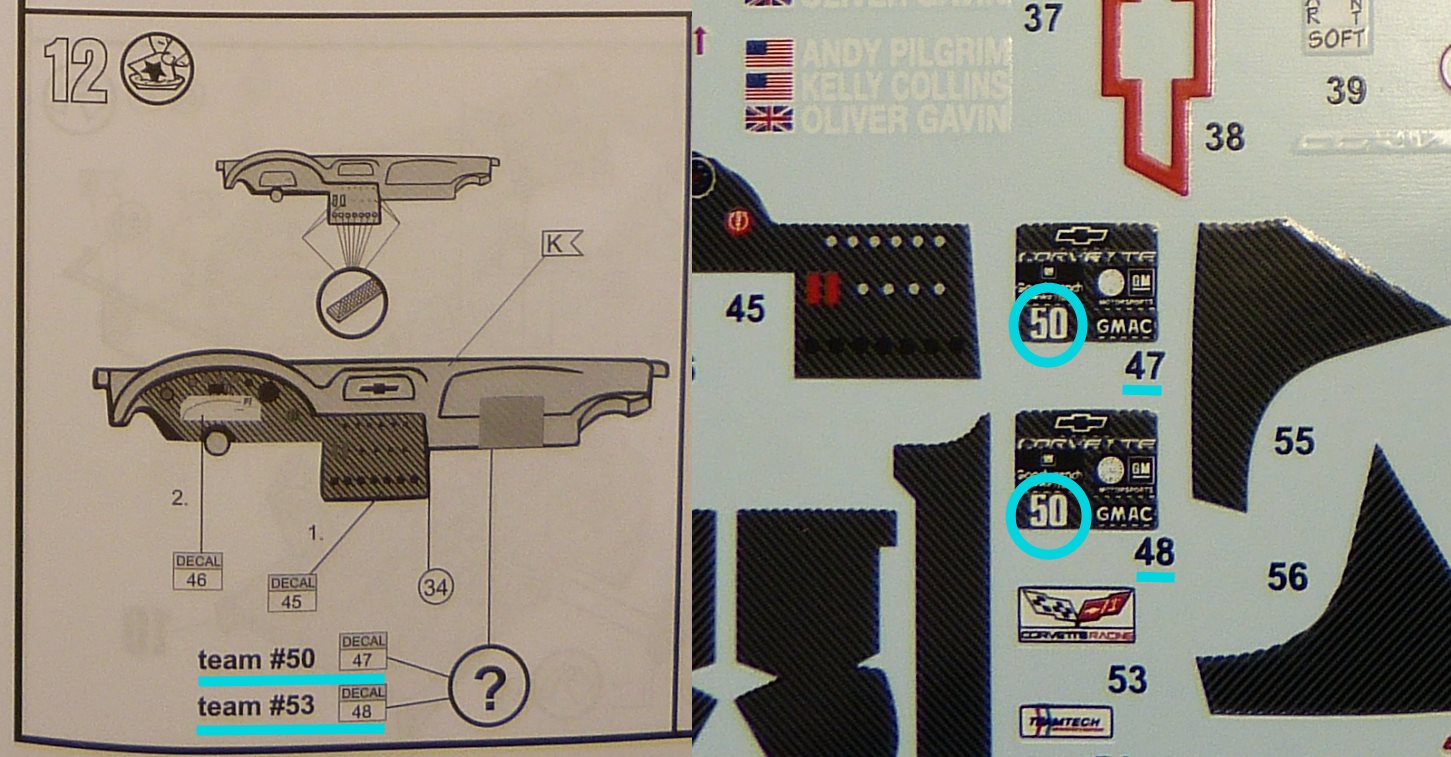
To finish off the dashboard a decal should be applied to identify the car when using the in-car camera.
I haven't found any evidence of these plates being present in the cars during (or after) Le Mans, so I won't be using them.
Apart from that, Revell has provided two identical plates on their decalsheet, so if you would like to build car no. 53 you have a challenge at hand...
Comments
Post a Comment