After the relatively slow start with the all-resin generator I was ready for something made of a more familiar material.
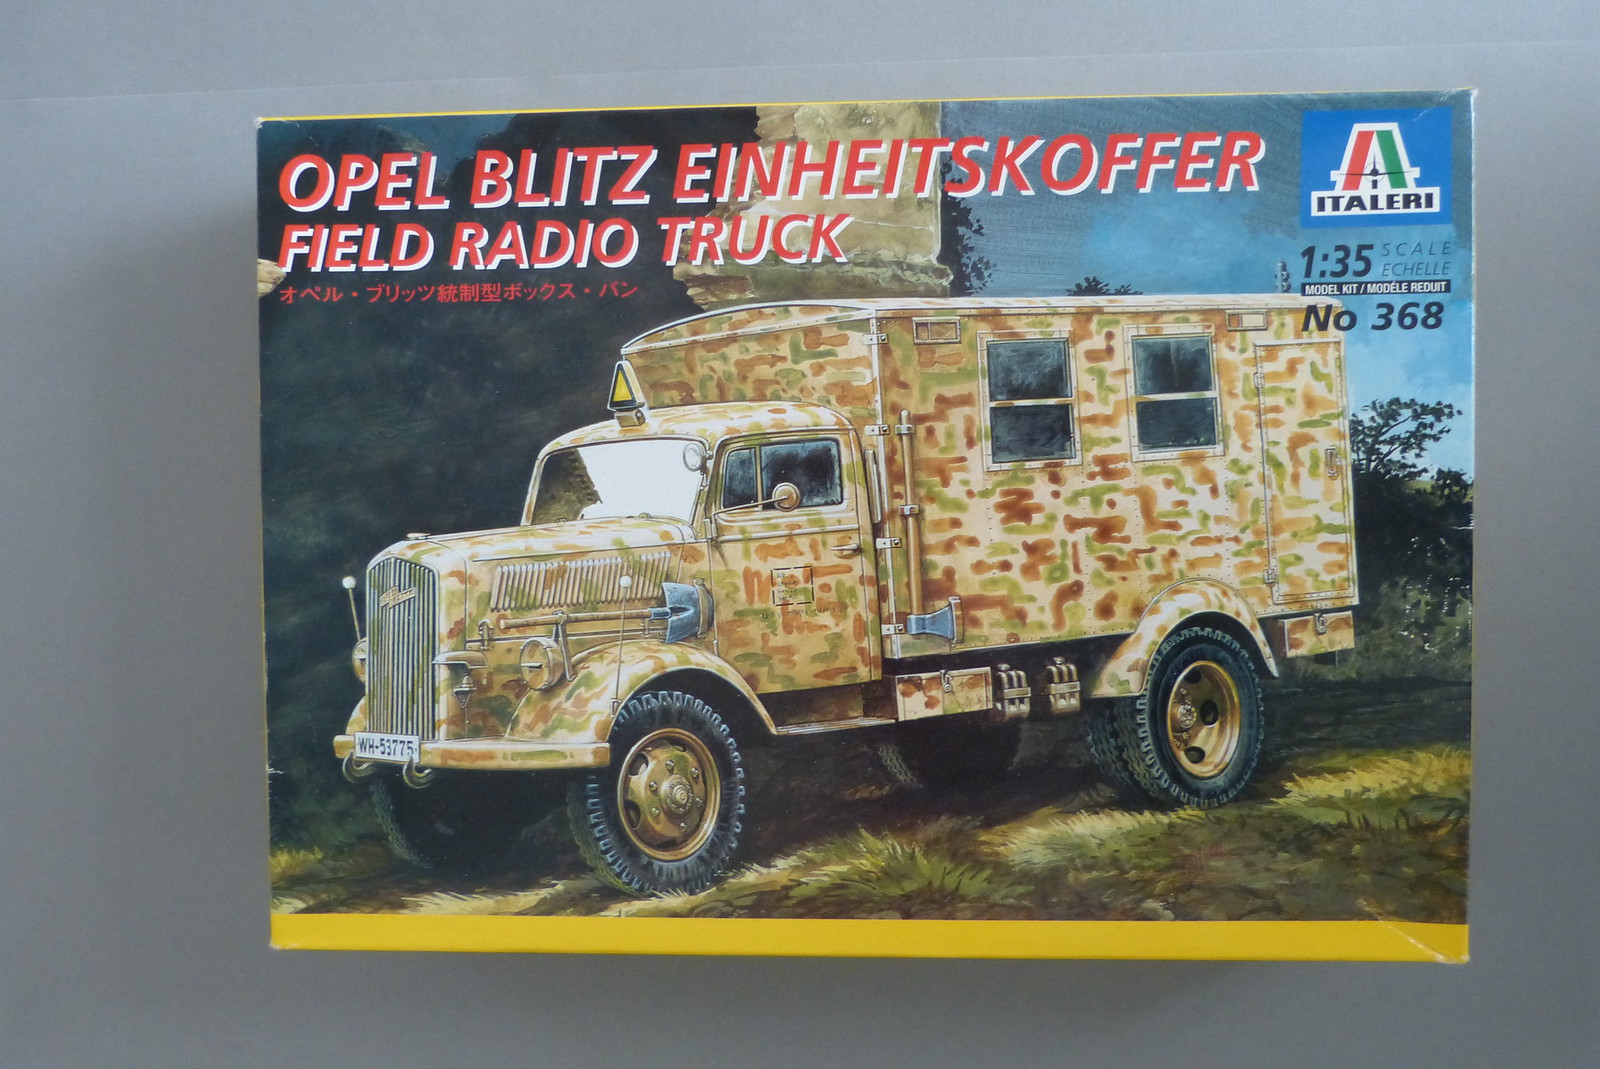
Next up for this diorama will be the Italeri kit no. 368 of the "Opel Blitz Einheitskoffer Field Radio Truck".
Next up for this diorama will be the Italeri kit no. 368 of the "Opel Blitz Einheitskoffer Field Radio Truck".
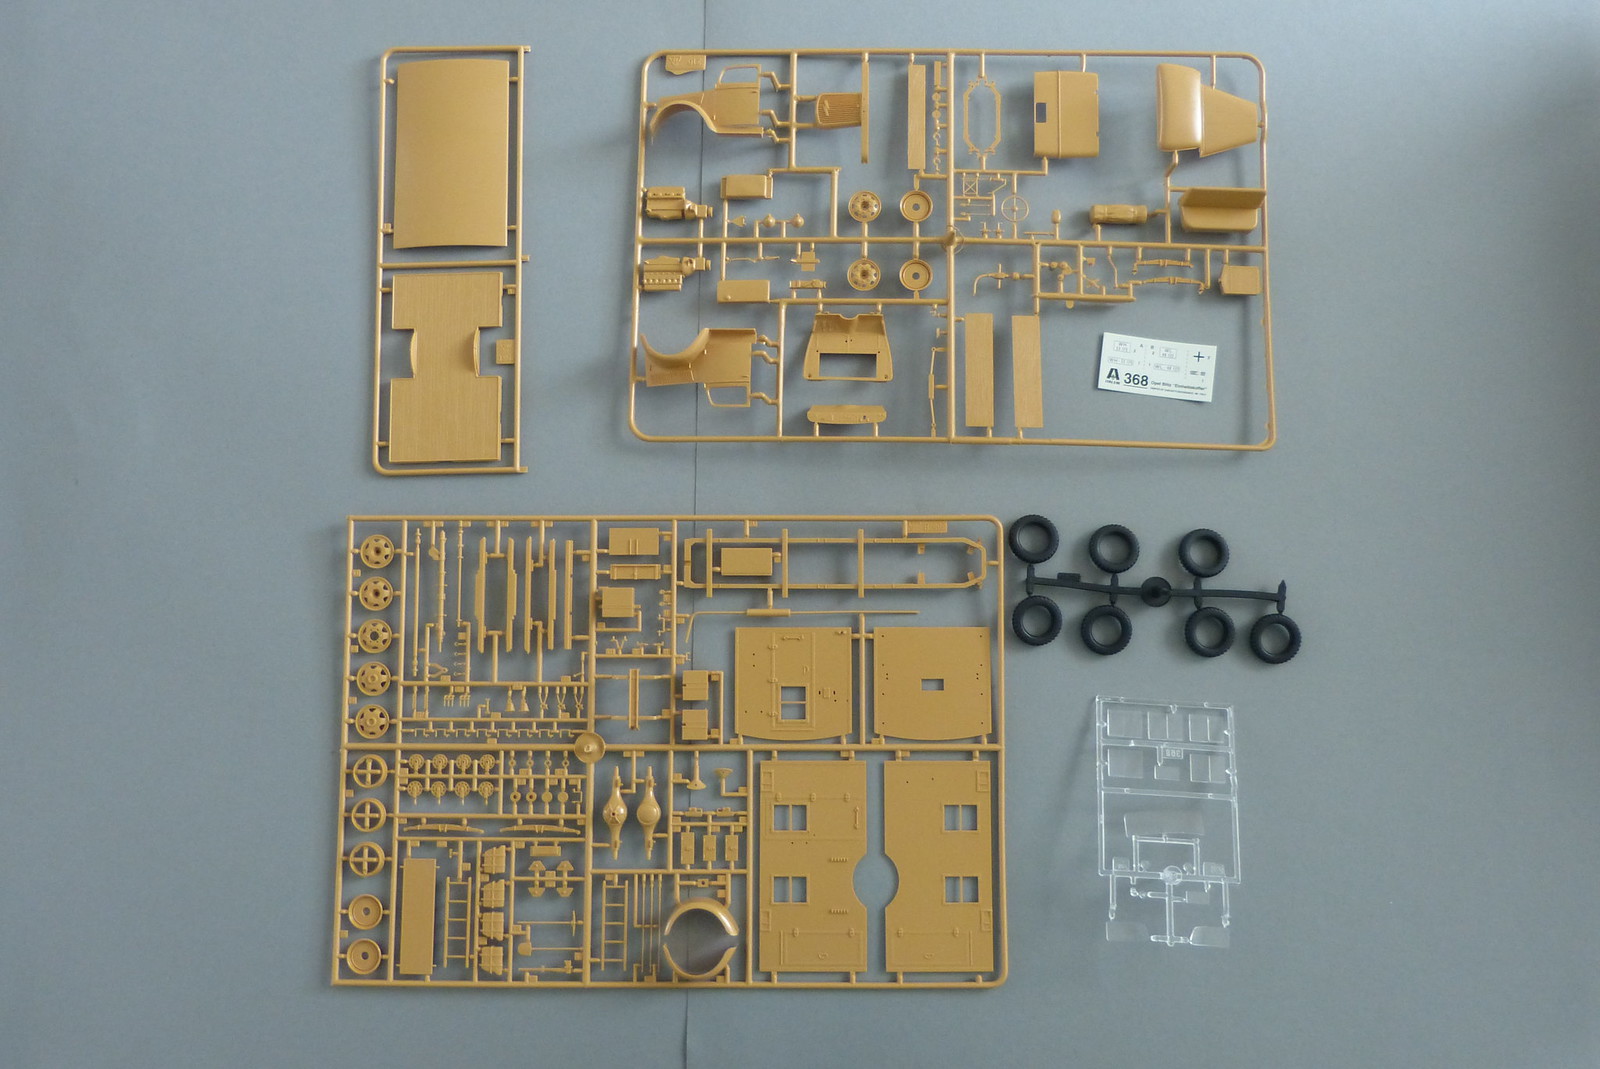
Upon opening the box I found all the parts (and instructions) grouped together in one plastic bag.
This, sadly, included the clear parts.
Luckily they didn't seem to have suffered. Nevertheless I immediately packed the clear parts away in a seperate plastic bag.
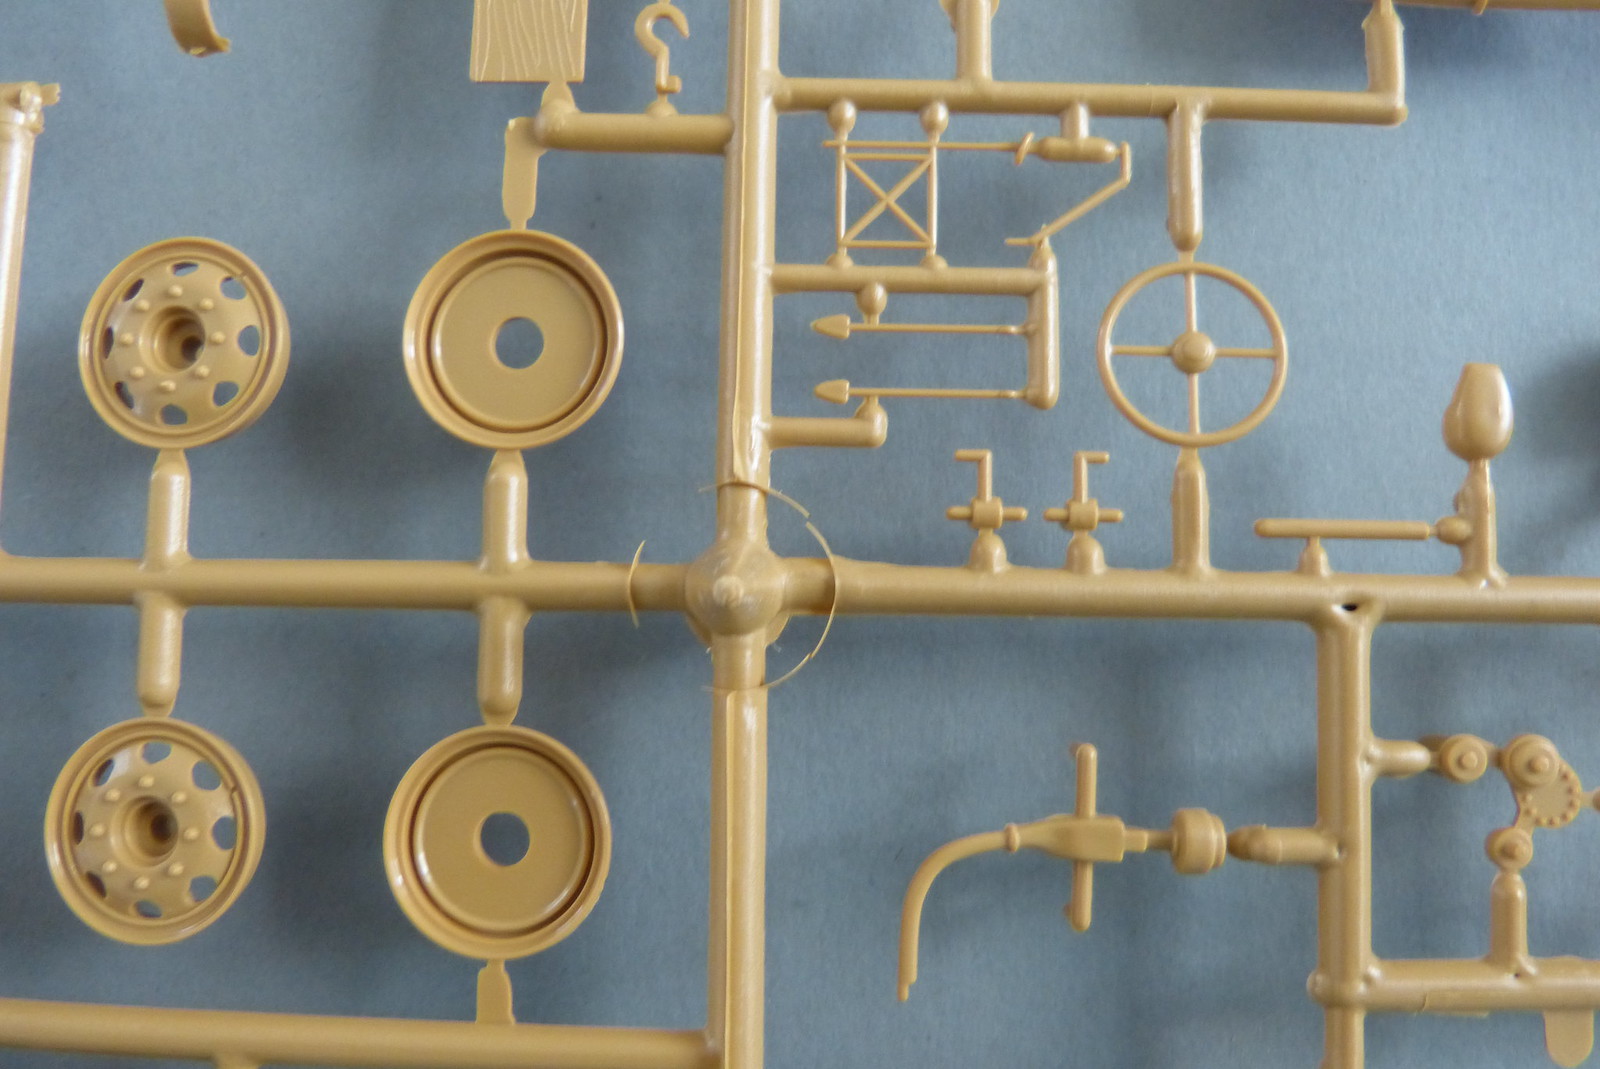
The kit contains 168 brown polystyrene parts (of which 4 parts aren't used in this version) spread over 3 sprues and 13 clear parts.
This, sadly, included the clear parts.
Luckily they didn't seem to have suffered. Nevertheless I immediately packed the clear parts away in a seperate plastic bag.
The kit contains 168 brown polystyrene parts (of which 4 parts aren't used in this version) spread over 3 sprues and 13 clear parts.
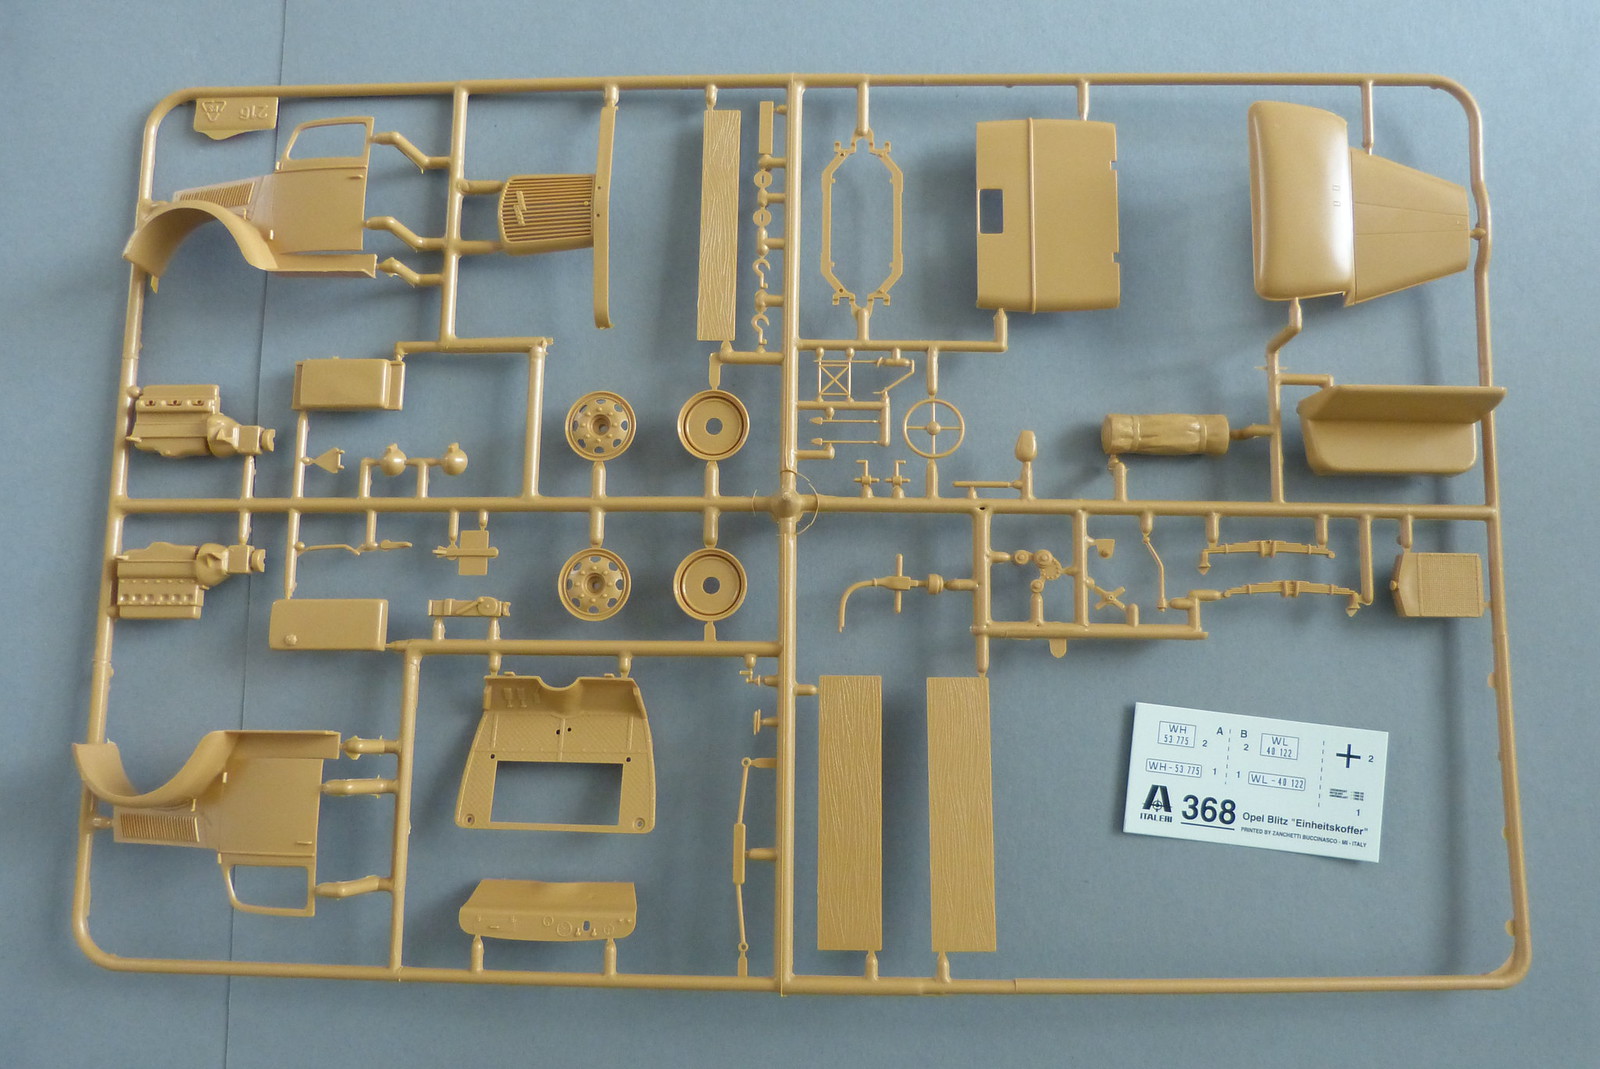
A first inspection of the parts shows good detail and some very delicate and small parts.
A closer inspection reveals some minor flash, which won't be too hard to deal with.
Some parts also show some mould offset, but untill now nothing too dramatic.
The plastic used by Italeri seems quite soft compared to what I'm used to (Tamiya and Revell mostly).
A closer inspection reveals some minor flash, which won't be too hard to deal with.
Some parts also show some mould offset, but untill now nothing too dramatic.
The plastic used by Italeri seems quite soft compared to what I'm used to (Tamiya and Revell mostly).
When removing and cleaning the parts from the trees I had to be very careful especially when handling the smaller parts.

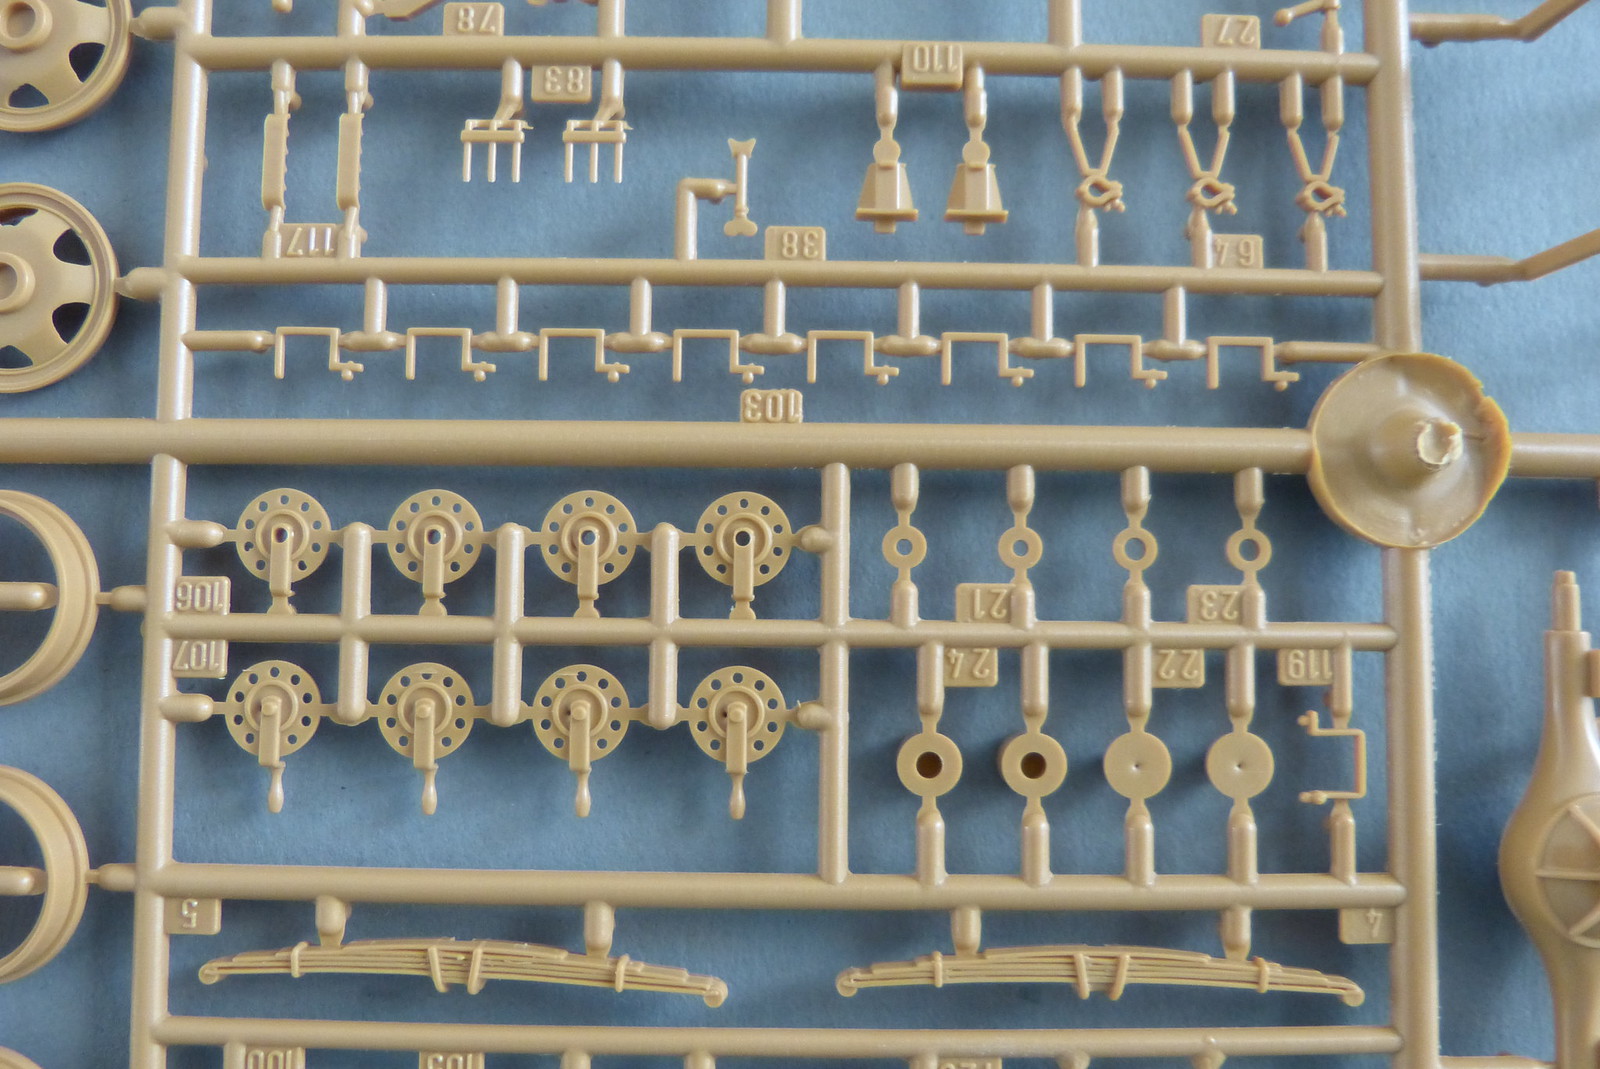
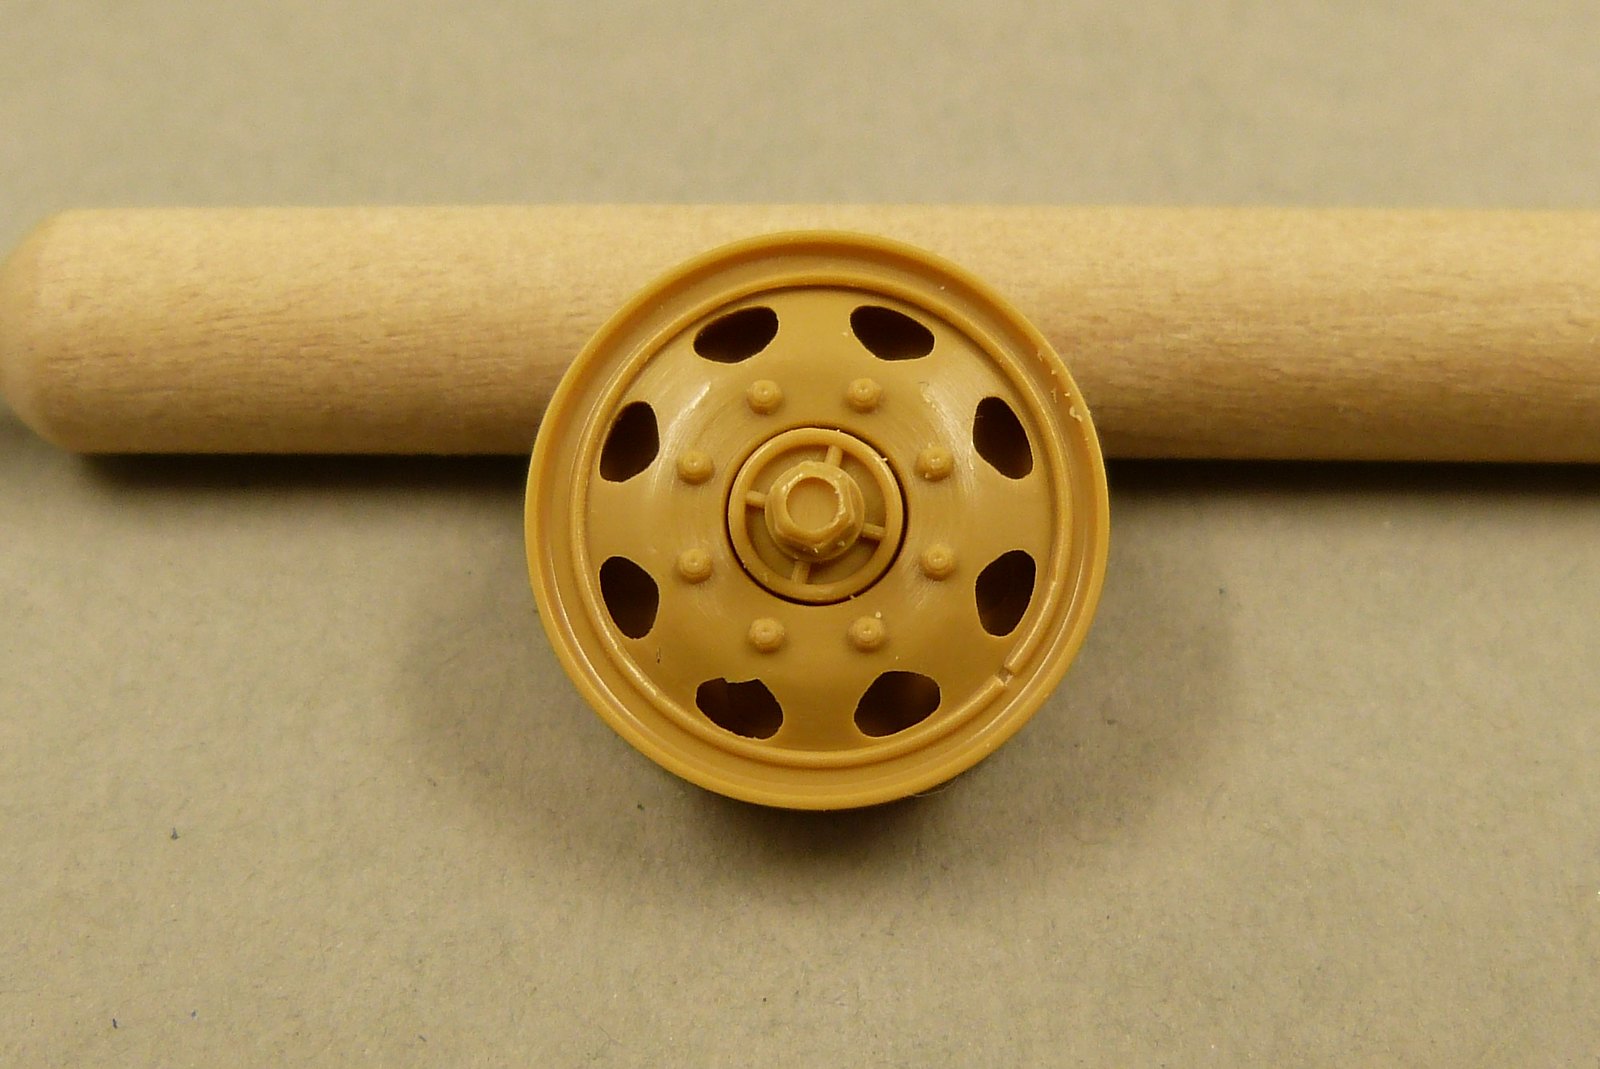
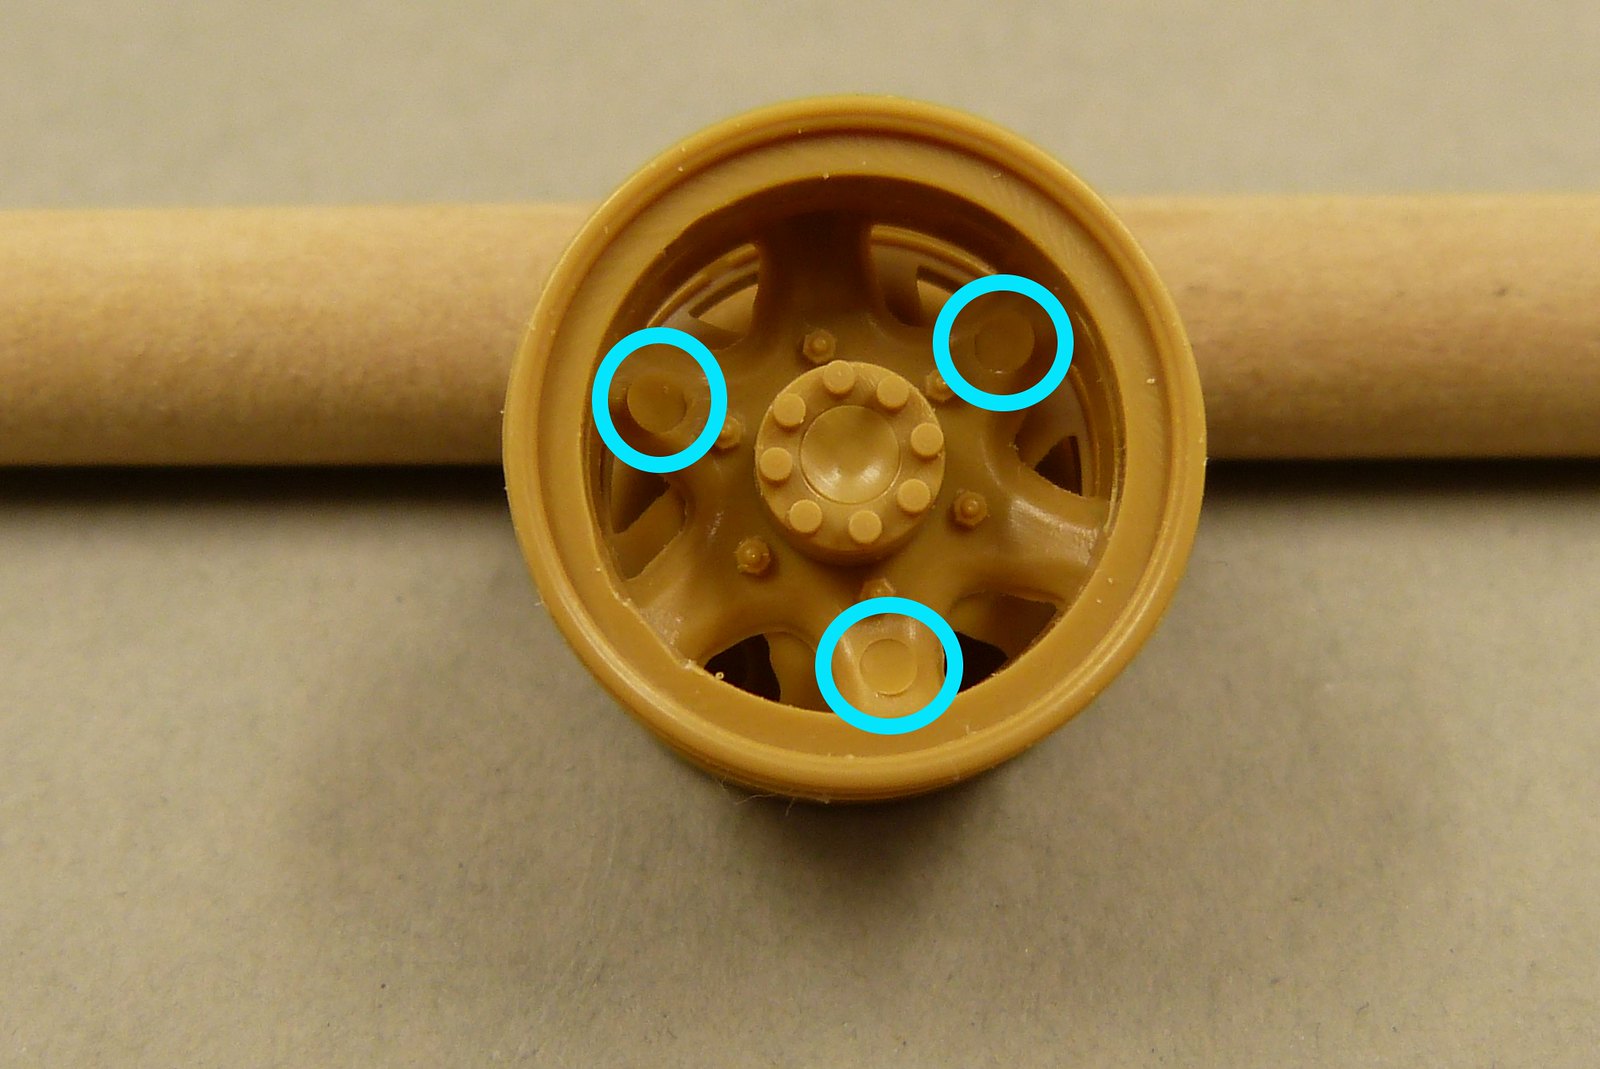
The wheels look quite nice.
Although, and this is especially the case with the double rear wheels, there are some very prominent ejector pin marks which will be quite visible on the finished model.
I'm still contemplating if I should go for some resin replacement wheels or if I try to make do with the kit wheels (slightly altered).
On the front wheels there's also a peculiarity. The insert for the wheel hub doesn't quite match the insert visible in the box art.
Another point in favour of replacement wheels. But as the car will be quite obscured by camouflage nets and other objects it probably won't be so obvious. So I might as well stick with the kit wheels and save me some money.
The wheels aren't the only difference between the boxart and the instructions/parts.
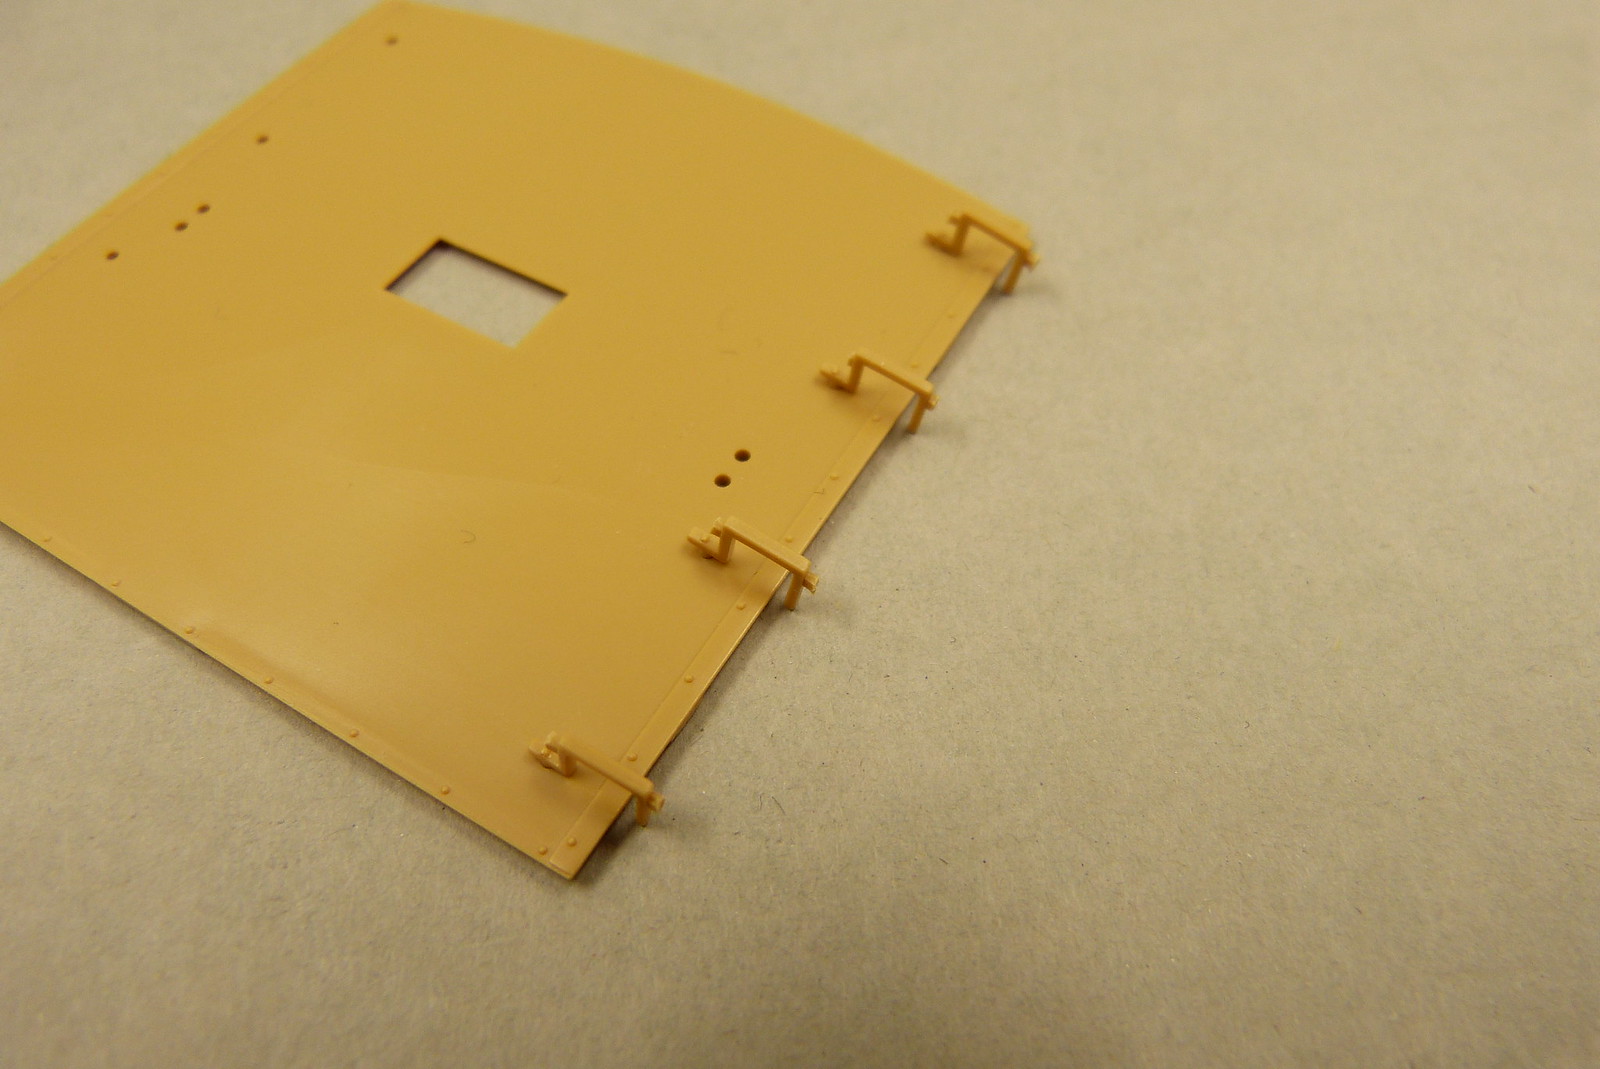
In building step 10, 8 parts (steps to get on top op the Einheitskoffer?) need to be glued to the front of the Einheitskoffer. But on the boxart, these parts aren't present. And when looking at some images of the Opel Blitz with Einheitskoffer (4th picture on the page) they're missing there too.
On the same site I found a page concerning the so-called LC-Koffer where some steps are clearly visible.
The drawing on this site is the only version with steps I've found.

Looking closely at my original images I'd say that "my" Opel did have these steps.
But I'm not sure if I should use the kit parts. For some strange reason the steps stick out over the sides, which I think is rather strange.
The instructions do confirm that it should be mounted like this, but looking at my reference images and the aforementioned site the steps seem to be flush with the sides of the LC-Koffer.
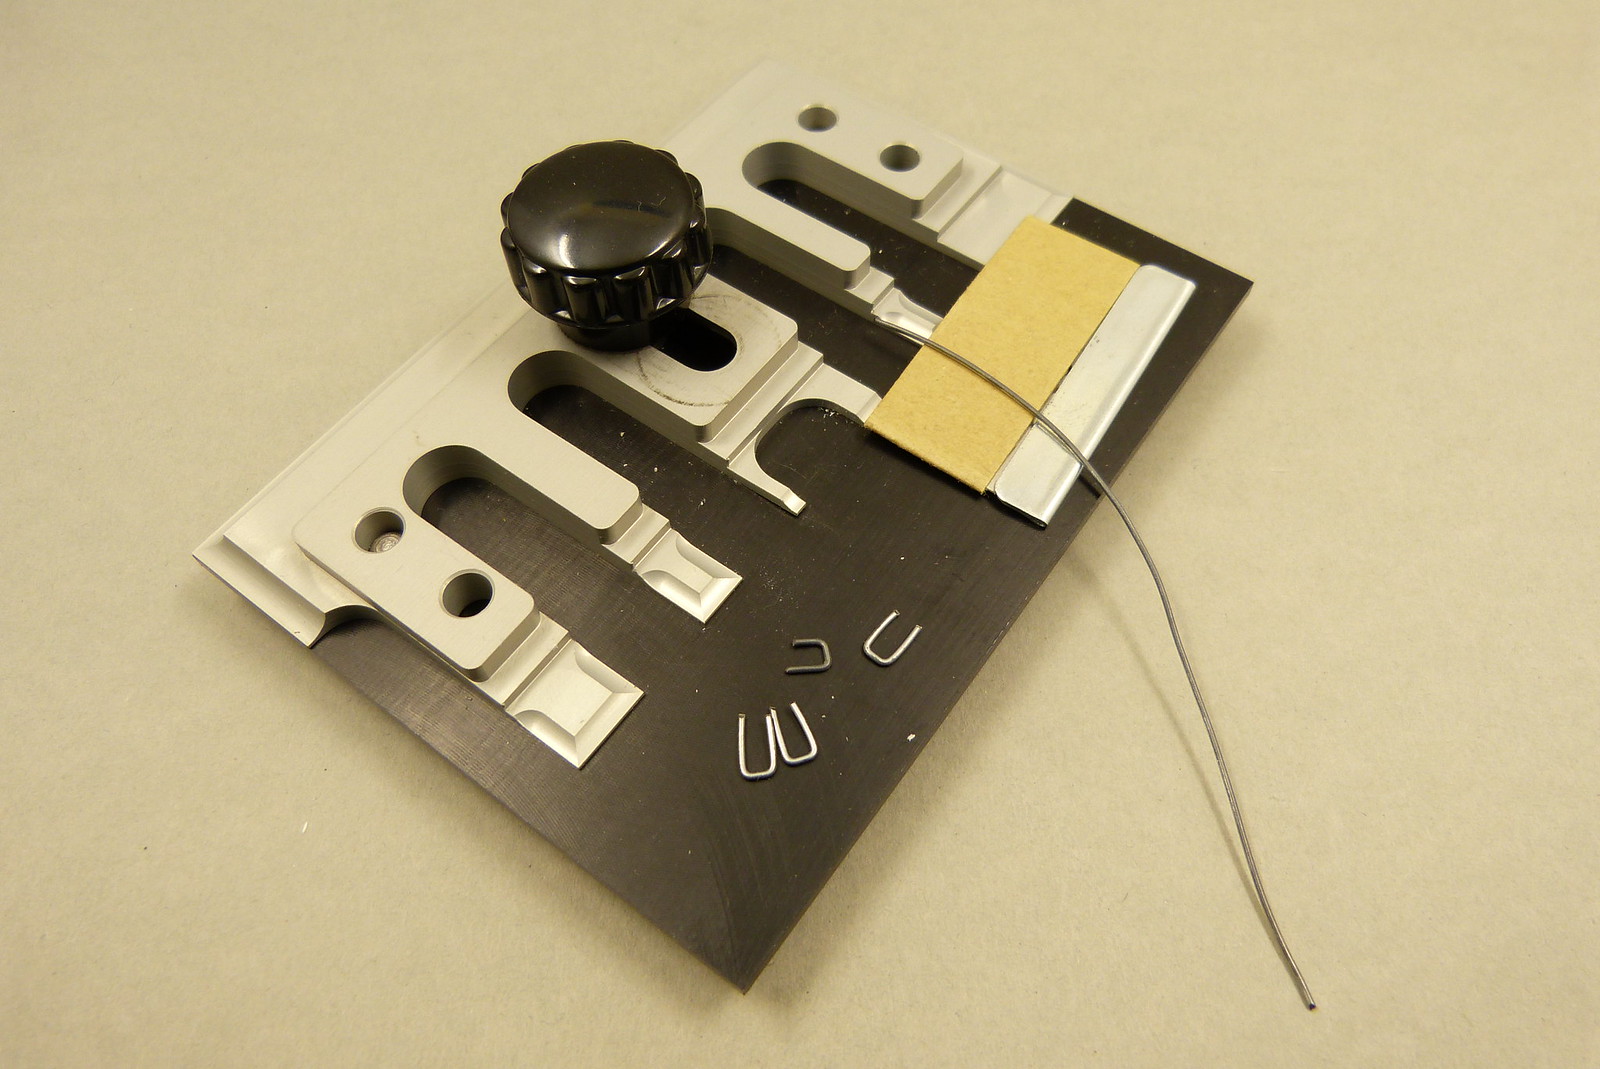
I will drill some new holes using the original ones in the front wall and make my own steps from wire.
I used 0.8 mm steel wire to fabricate some new steps using my Hold & Fold folding tool.
Luckily, one of the shapes on the folding tool had the right width, so I could quickly fabricate the desired 8 steps.
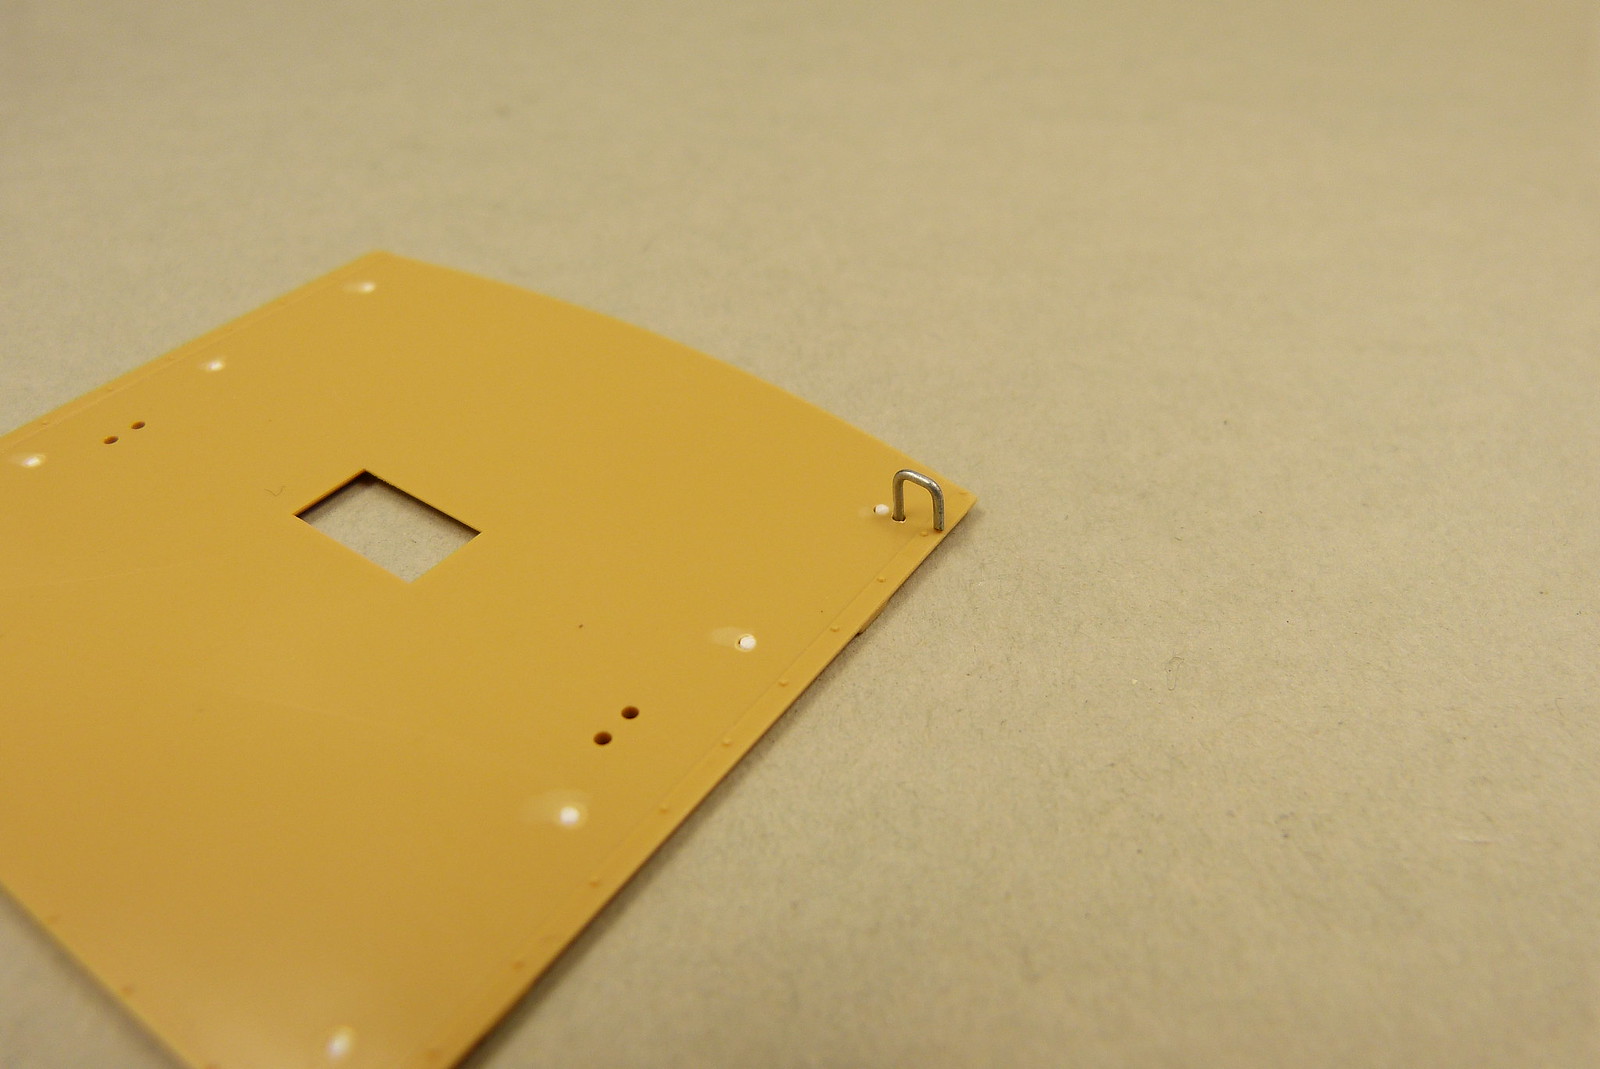
The original holes were filled with 0.75 mm styrene rod from Evergreen. Things need to be smoothed out with some putty. But I will do that after I drilled the new holes for the steps.
Which I did, in the meantime, with a 0.8 mm drill bit.

This will be a nice and easy upgrade for the kit parts.
I haven't forgotten about the field generator. With the weather providing more bearable temperatures in the attic, work will continue on the field generator (and other on-going projects) shortly.
I used 0.8 mm steel wire to fabricate some new steps using my Hold & Fold folding tool.
Luckily, one of the shapes on the folding tool had the right width, so I could quickly fabricate the desired 8 steps.
The original holes were filled with 0.75 mm styrene rod from Evergreen. Things need to be smoothed out with some putty. But I will do that after I drilled the new holes for the steps.
Which I did, in the meantime, with a 0.8 mm drill bit.
This will be a nice and easy upgrade for the kit parts.
I haven't forgotten about the field generator. With the weather providing more bearable temperatures in the attic, work will continue on the field generator (and other on-going projects) shortly.
Comments
Post a Comment