Unbelievable...
The last update for this project was December 2010.
Time to resurrect one of my (too many) forgotten builds.
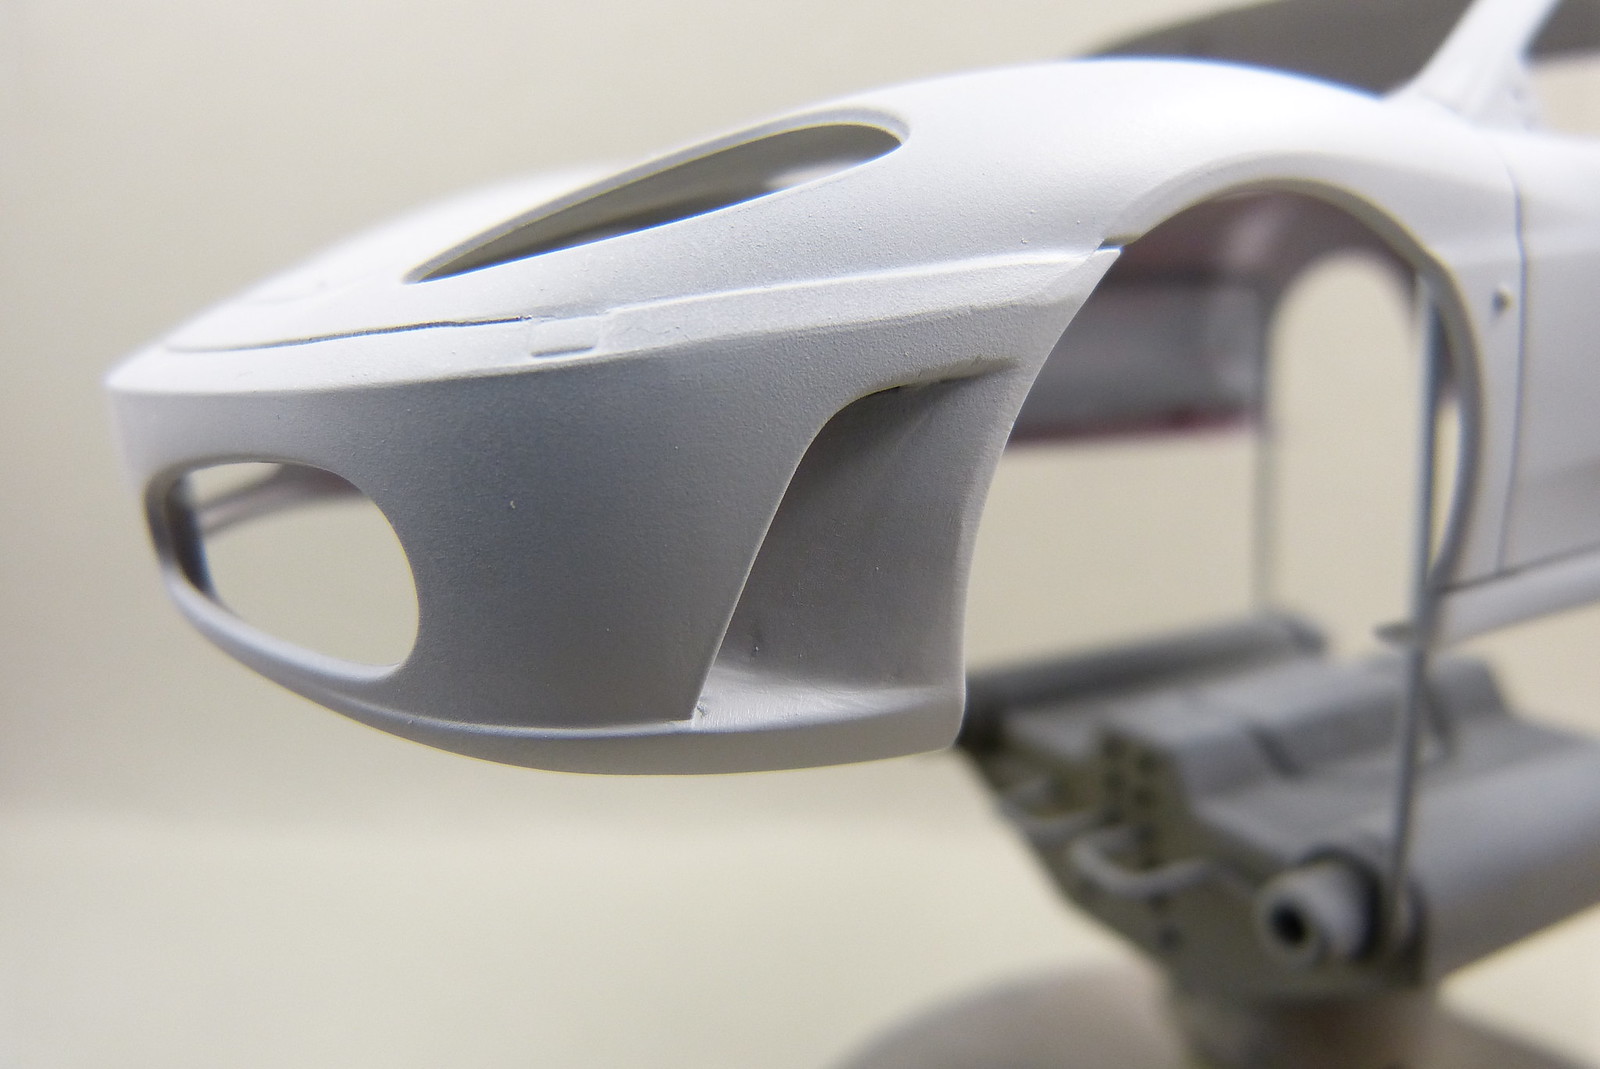
The second coat of primer (as mentioned at the end of the previous update for this project) has been sprayed. I think it was somewhere last year that I did that.
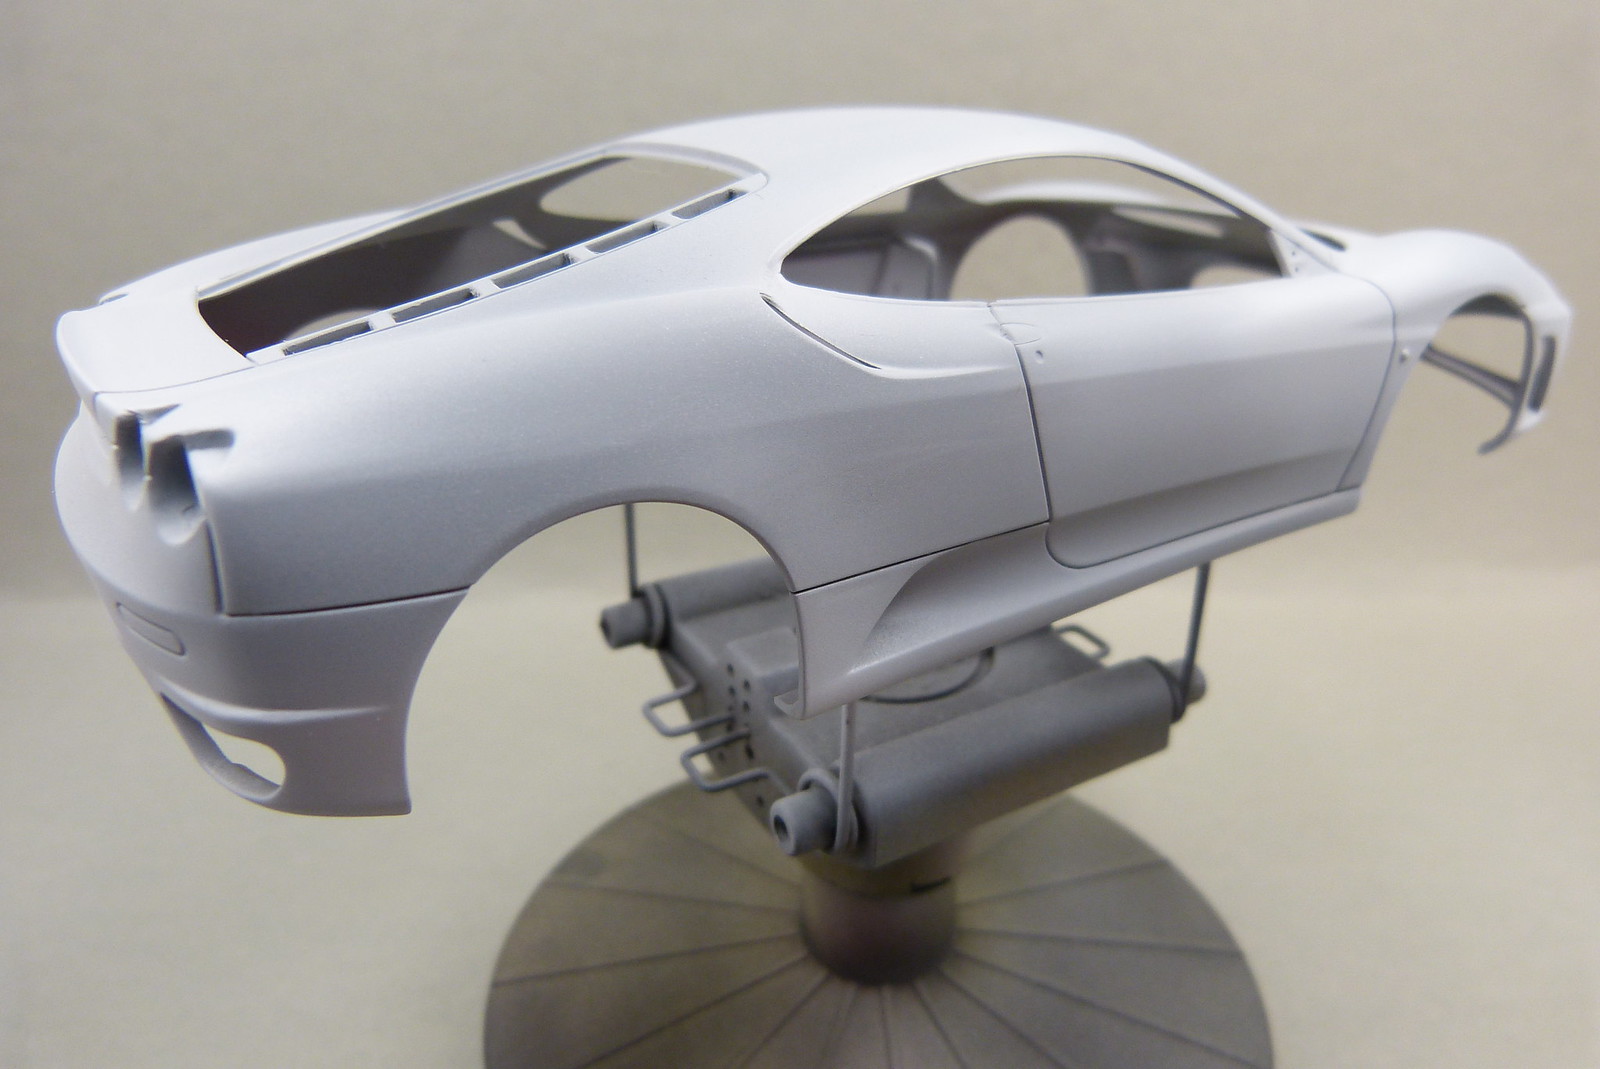
In the meantime I've also sprayed the colour. I intended to use the original Zero Paints colour which I bought for this project back in 2009 (I think it was) and used on the first body.
Back then, the ZP came in plastic bottles. And this is what's left from that bottle...
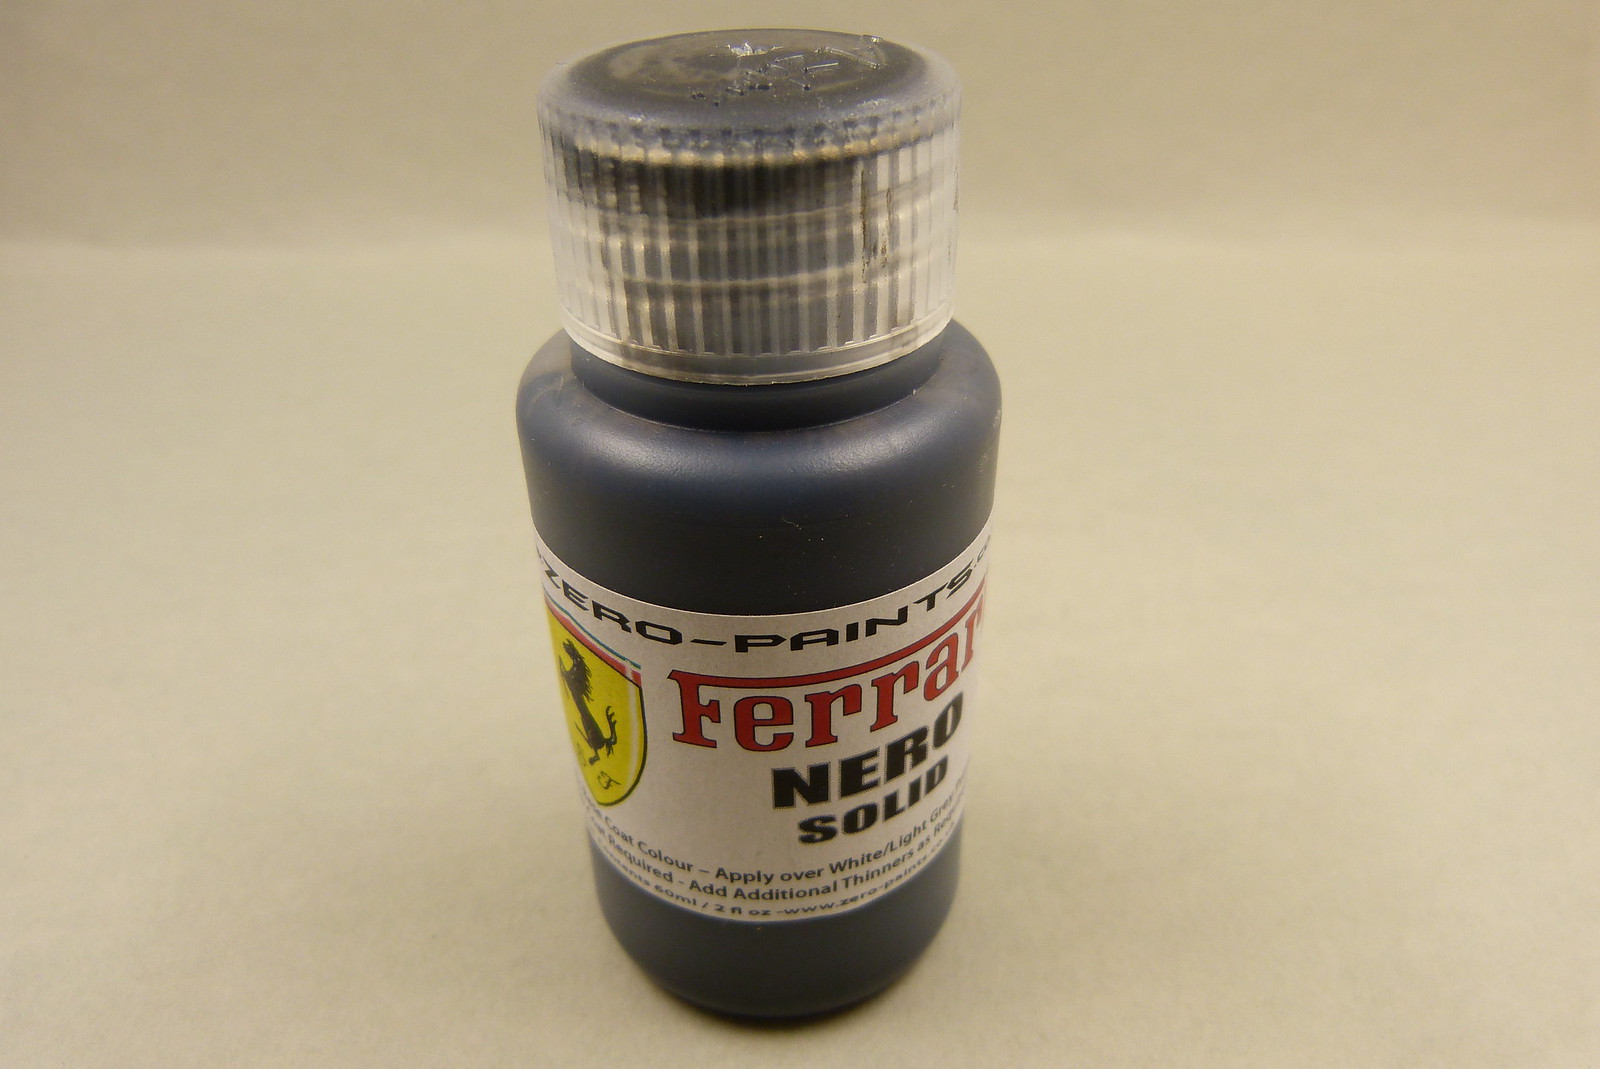
All the solvents have evaporated. Only the pigments are left, clogged at the bottom of the bottle.
I didn't bother to try and revive the contents of the bottle.
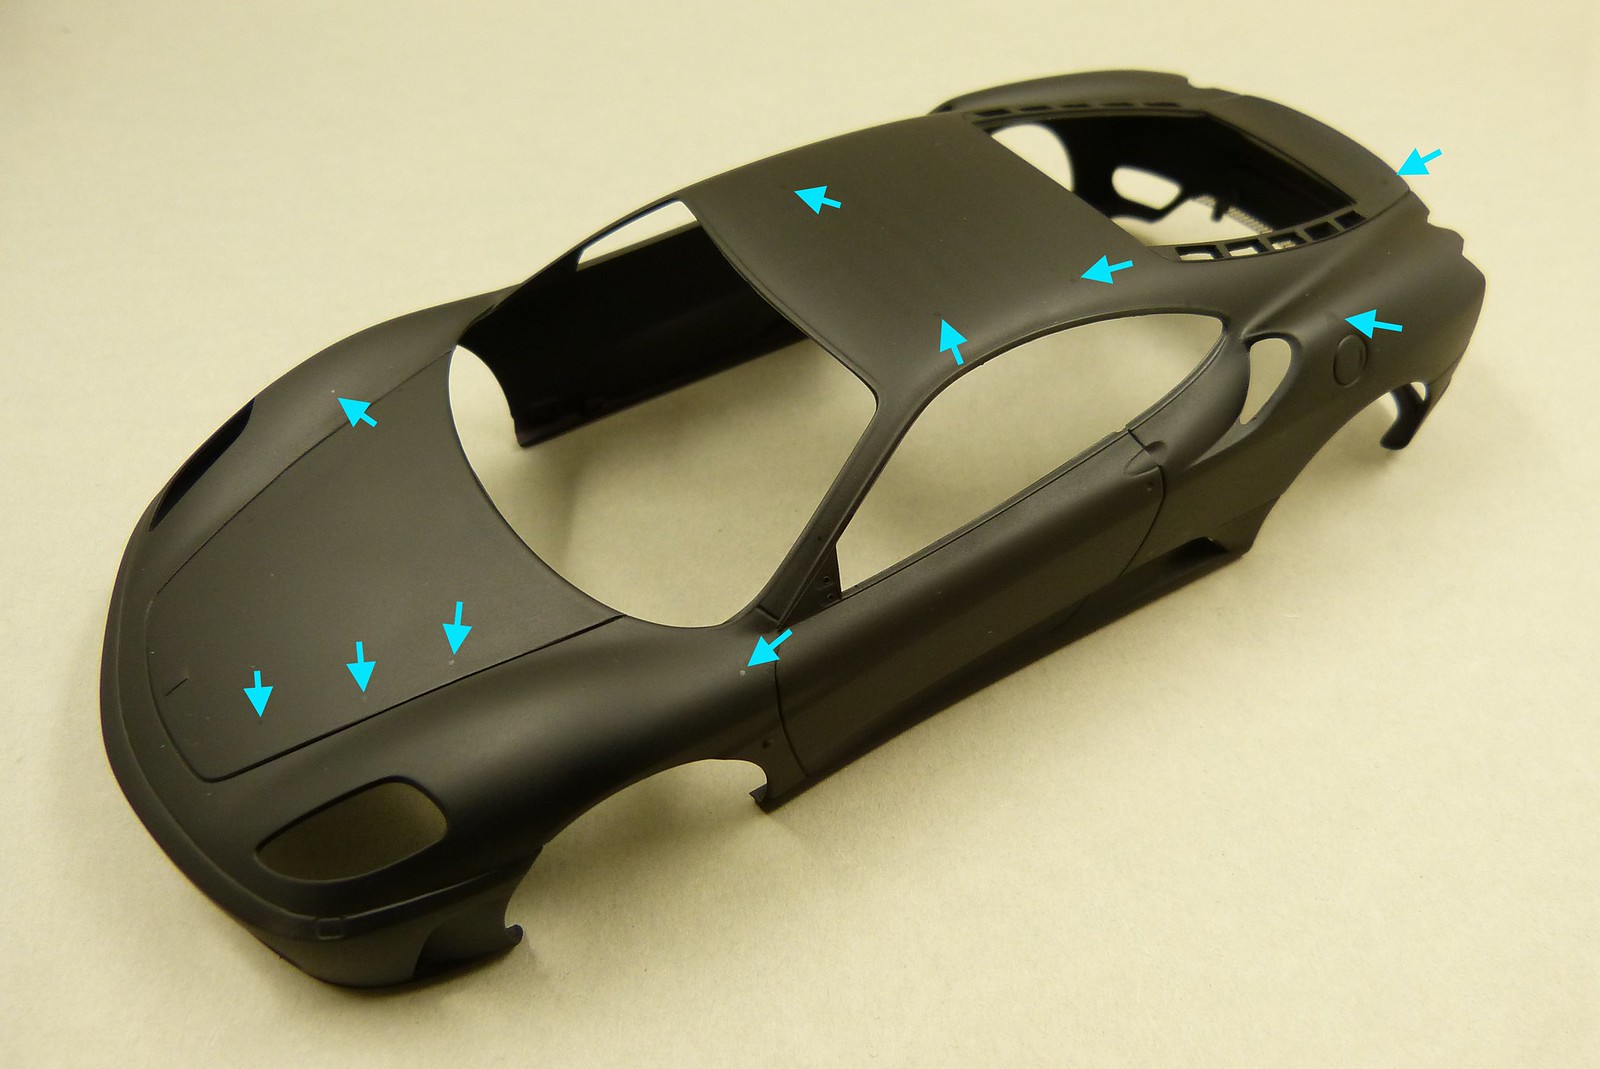
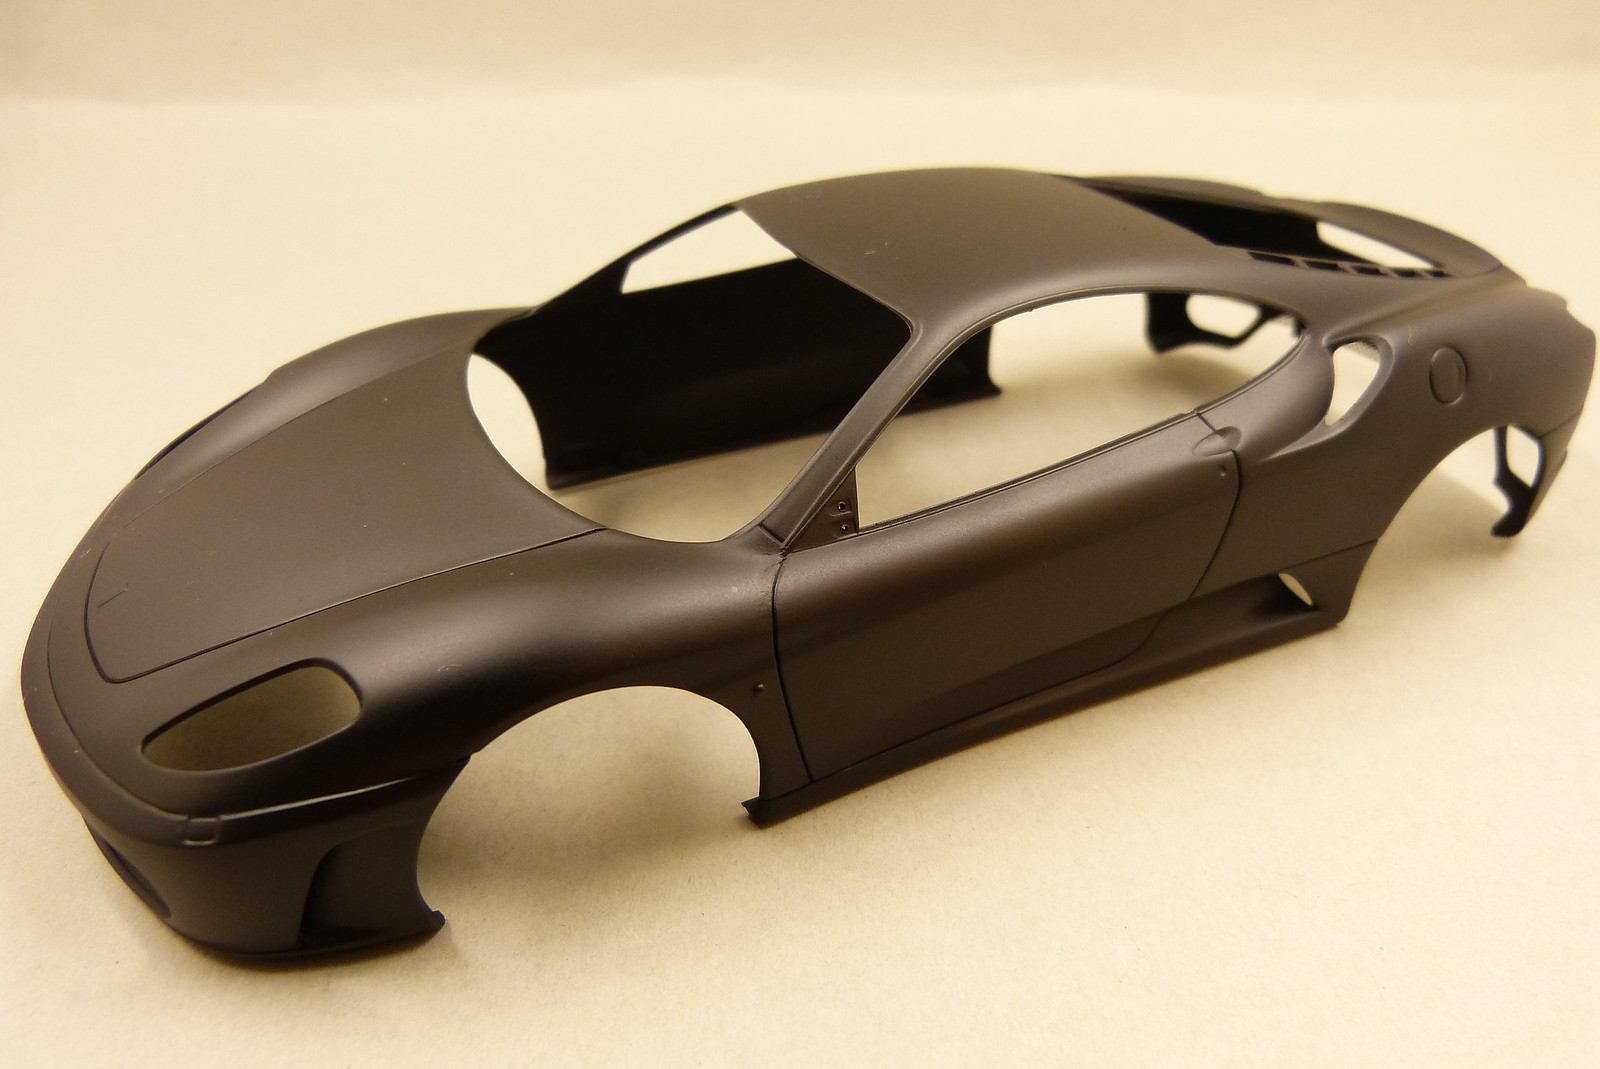
Black being black (sort of) I used my own mix of Tamiya X-18 and XF-1 (80% to 20%).
I also decided to (finally) start using my Harder&Steenbeck Infinity airbrush instead of the Evolution I've been using.
The Evolution needs some new seals, as everytime I use it I need to take it apart completely or else the needle will get stuck. Paint does get into the airbrush (in the wrong places) and once that paint dries, the needle will jam.
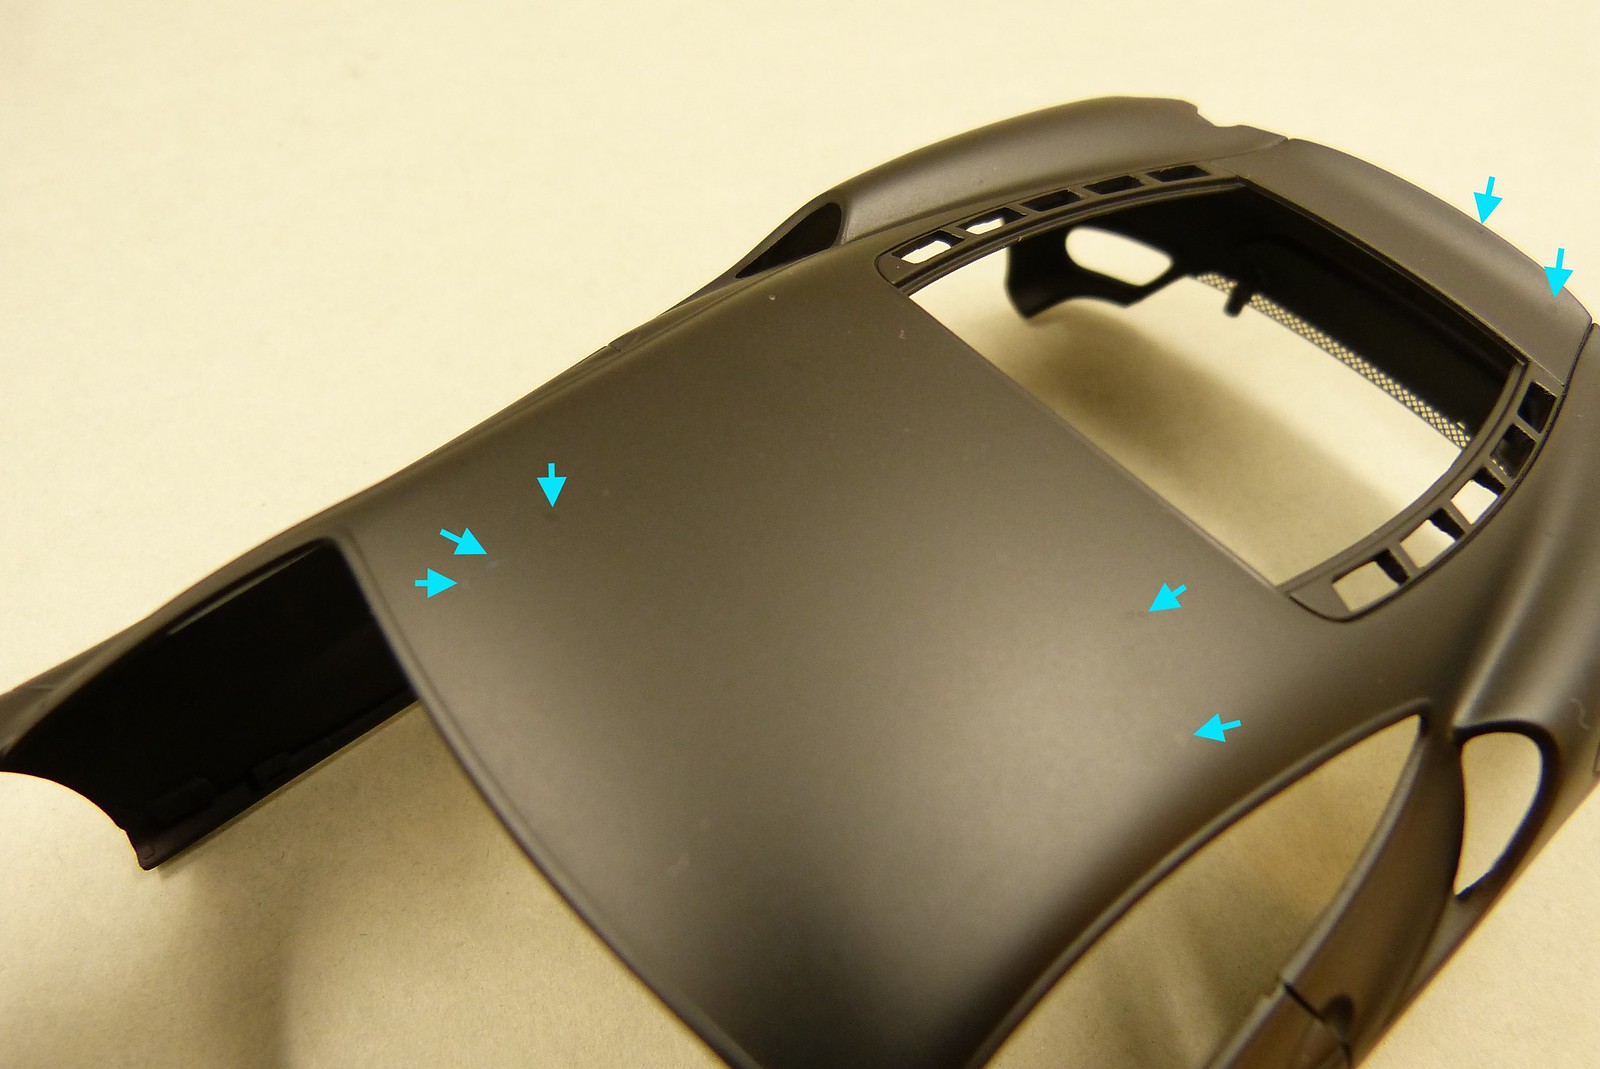
For some reason I had a problem with my Infinity as air was leaking into the paint cup. This led to some big air bubbles escaping through the filled paint cup, which in turn splattered some drops of paint onto the model...

Using some micromesh clothes (4000 and up) I managed to get rid of the splatters.
Or so I thought...
After a second (heavier) layer of my black mix the model looked a lot better on first inspection.
But when the paint had dried sufficiently the drops that I thought I had sanded down (enough) appeared again.
A real shame, as the second layer went down very good, giving the model an even and solid covering of the black.
That's what happens when you try to get maximum result with minimum effort...
There's no working around this now and I'll have to sand down the offensive drops completely.
I will get to it shortly as I intend to finish this build hopefully this year...
The last update for this project was December 2010.
Time to resurrect one of my (too many) forgotten builds.
The second coat of primer (as mentioned at the end of the previous update for this project) has been sprayed. I think it was somewhere last year that I did that.
In the meantime I've also sprayed the colour. I intended to use the original Zero Paints colour which I bought for this project back in 2009 (I think it was) and used on the first body.
Back then, the ZP came in plastic bottles. And this is what's left from that bottle...
All the solvents have evaporated. Only the pigments are left, clogged at the bottom of the bottle.
I didn't bother to try and revive the contents of the bottle.
Black being black (sort of) I used my own mix of Tamiya X-18 and XF-1 (80% to 20%).
I also decided to (finally) start using my Harder&Steenbeck Infinity airbrush instead of the Evolution I've been using.
The Evolution needs some new seals, as everytime I use it I need to take it apart completely or else the needle will get stuck. Paint does get into the airbrush (in the wrong places) and once that paint dries, the needle will jam.
For some reason I had a problem with my Infinity as air was leaking into the paint cup. This led to some big air bubbles escaping through the filled paint cup, which in turn splattered some drops of paint onto the model...
Using some micromesh clothes (4000 and up) I managed to get rid of the splatters.
Or so I thought...
After a second (heavier) layer of my black mix the model looked a lot better on first inspection.
But when the paint had dried sufficiently the drops that I thought I had sanded down (enough) appeared again.
A real shame, as the second layer went down very good, giving the model an even and solid covering of the black.
That's what happens when you try to get maximum result with minimum effort...
There's no working around this now and I'll have to sand down the offensive drops completely.
I will get to it shortly as I intend to finish this build hopefully this year...
Comments
Post a Comment