As I mentioned in the previous post I've started building this kit already.
The first few steps of the building instructions went without a problem.
Not surprisingly these steps concern the interior of the plane.
I assembled the interior as far as I deemed smart without compromising the possibility to detail paint the smaller stuff.

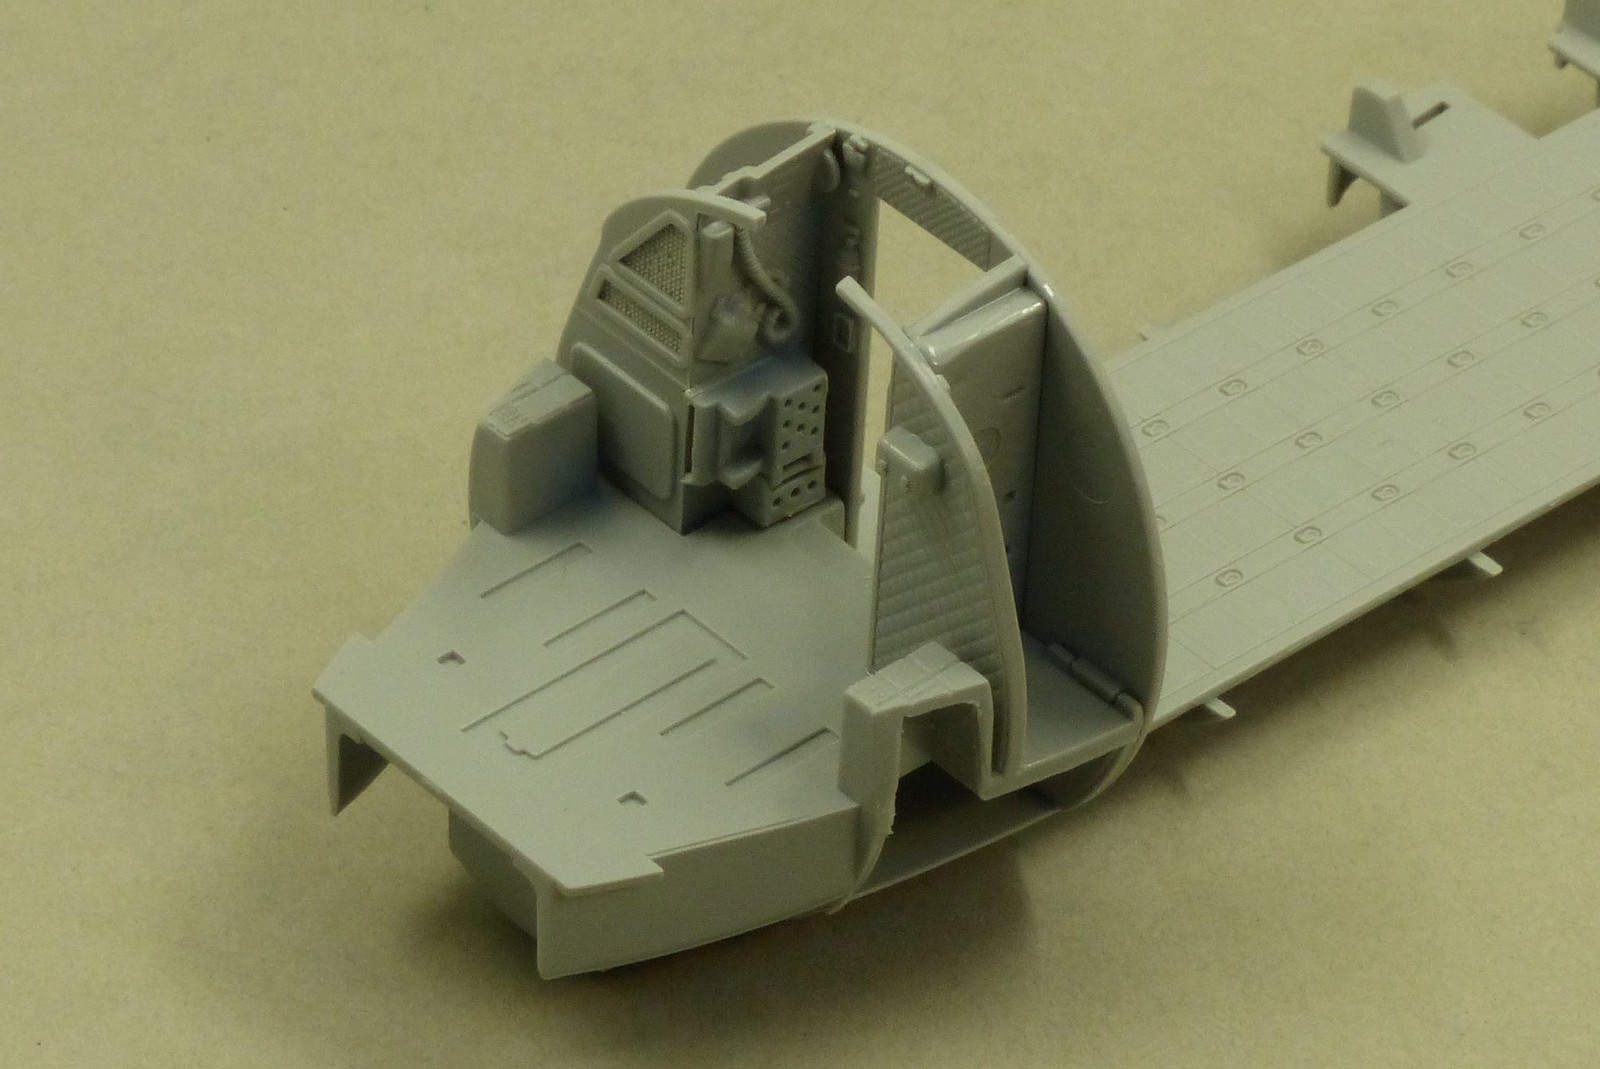
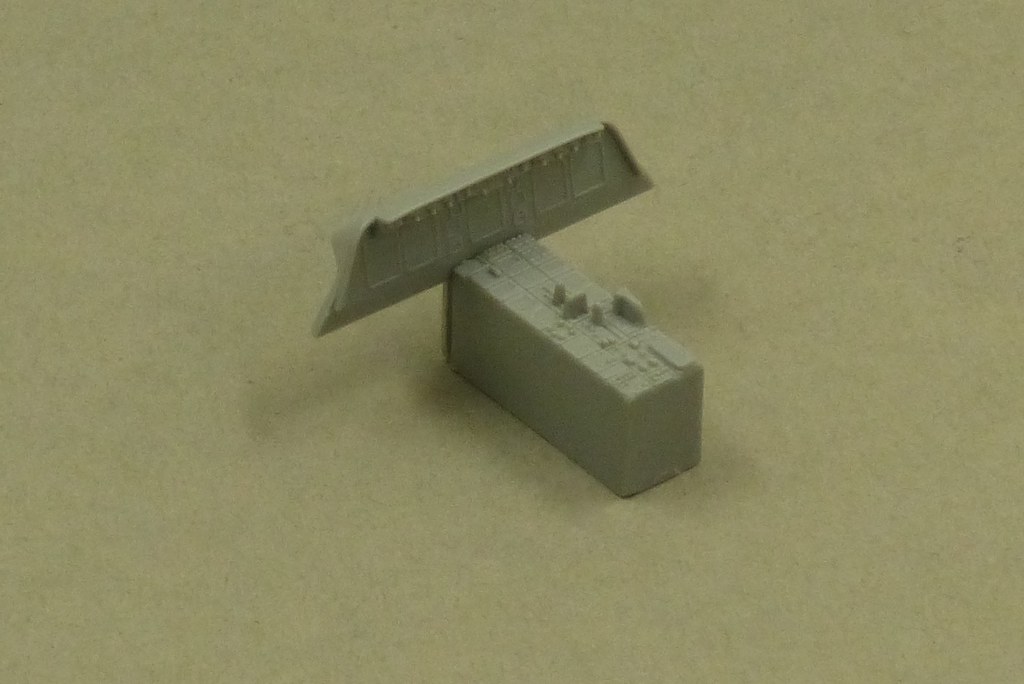
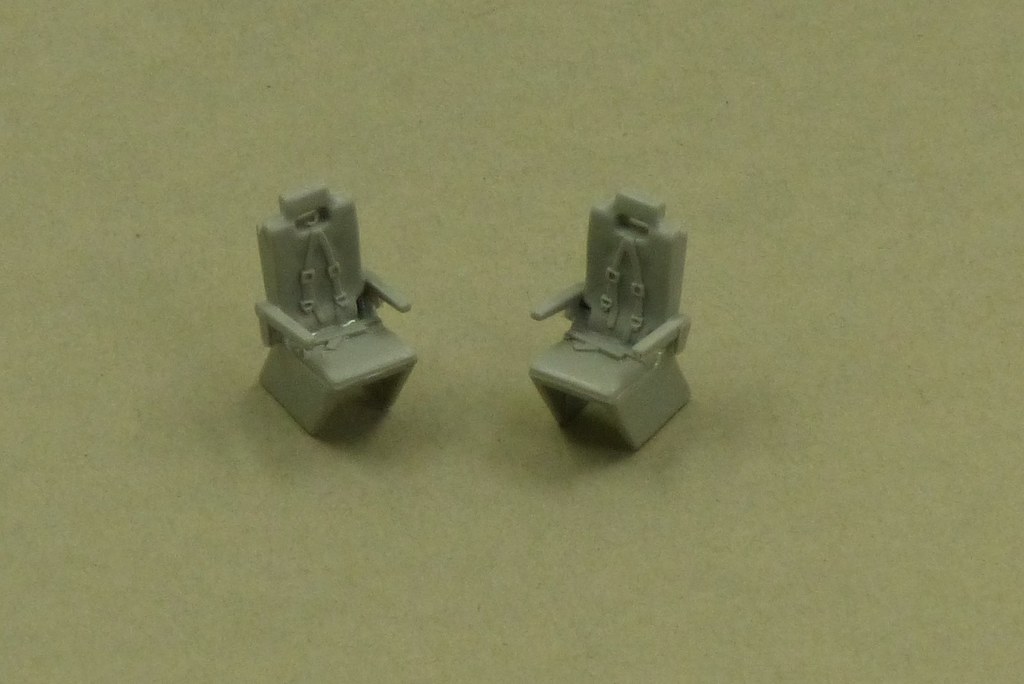
I actually like the plastic Italeri uses. It's not too hard and not too soft. It can be sanded easily.
Apart from assembling the interior I've also been test fitting some of the larger sub assemblies.
Test fitting the fuselage halves showed some minor seams, but nothing too dramatic.
The fit of some of the parts though seems extremely tight. Especially the tail planes come to mind in this regard.
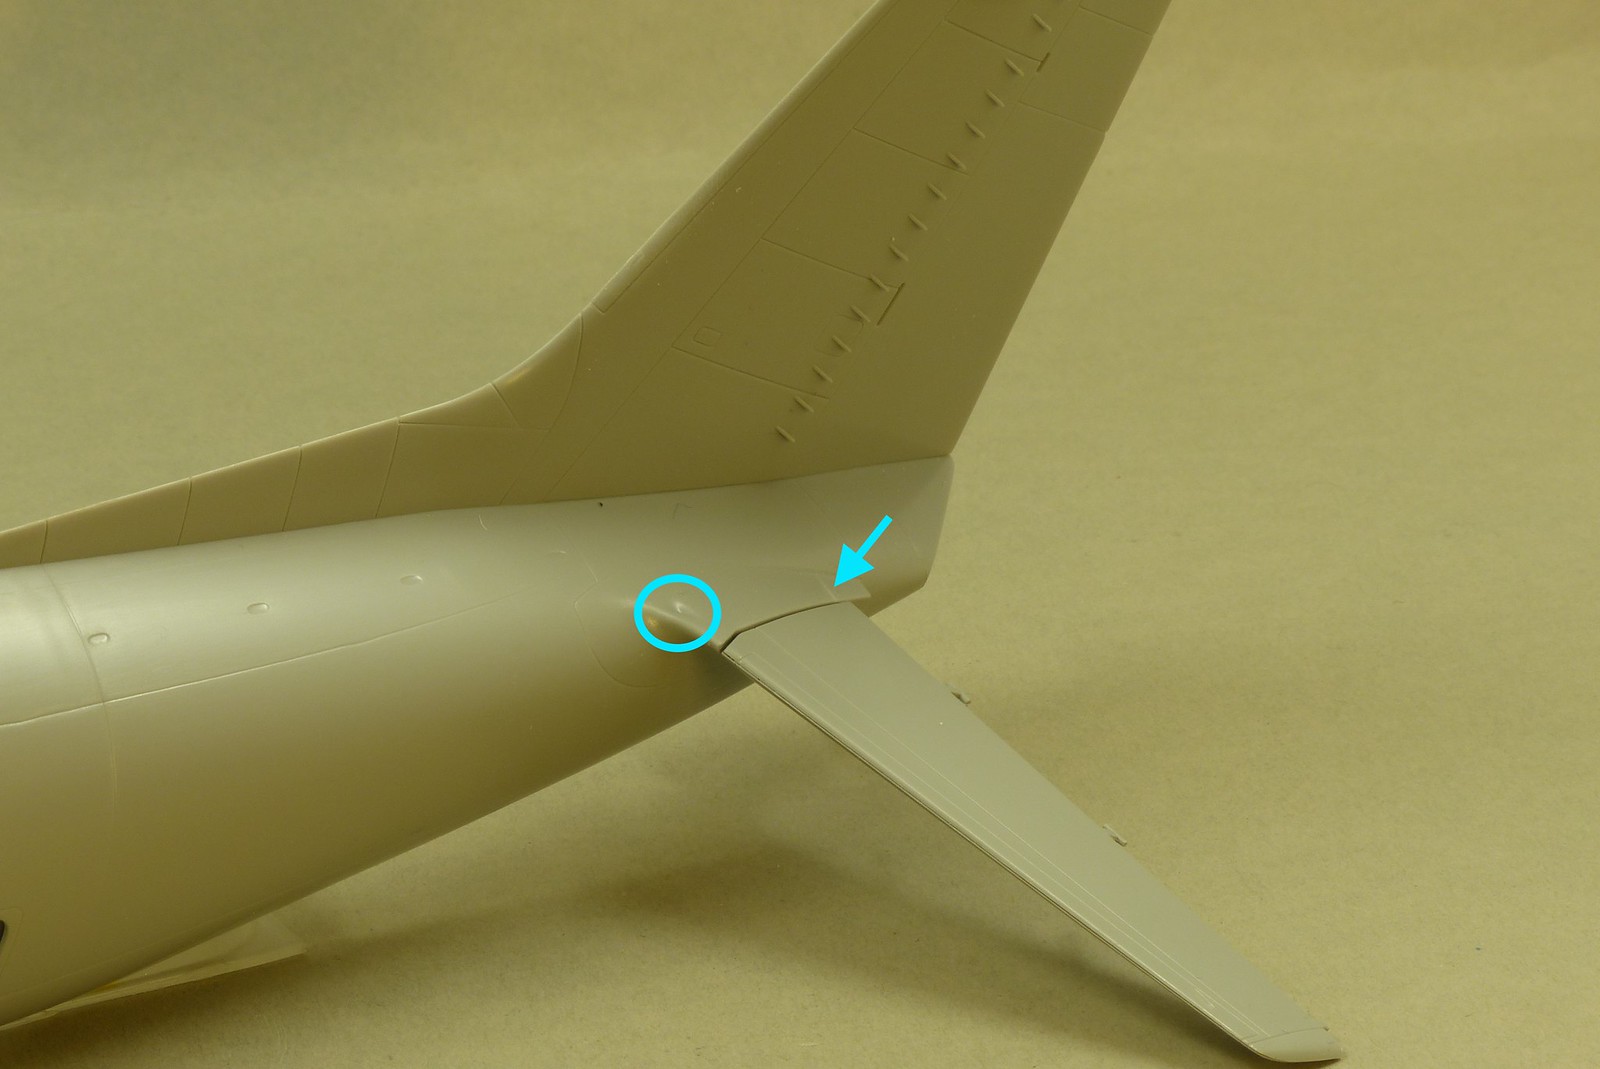
These need to fit in a slot in the outer AND inner fuselage. It is extremely important to get everything aligned correctly. Test fitting (in this instance) the left tail plane showed the fitment to be very tight and it was quite hard to get the tail plane to fit to the fuselage. In the picture below one can see that the outer fuselage was slightly deformed during testfitting (as the discolored plastic - marked by the arrow - can be seen easily).
The slots need to be widened slightly to get a smooth fit.
Also of note is the huge sink mark at the root of the tail plane. One of many sink marks in the kit, actually. This is one is the biggest though...

 That's it for this update.
Until next time!
The first few steps of the building instructions went without a problem.
Not surprisingly these steps concern the interior of the plane.
I assembled the interior as far as I deemed smart without compromising the possibility to detail paint the smaller stuff.
I actually like the plastic Italeri uses. It's not too hard and not too soft. It can be sanded easily.
Apart from assembling the interior I've also been test fitting some of the larger sub assemblies.
Test fitting the fuselage halves showed some minor seams, but nothing too dramatic.
The fit of some of the parts though seems extremely tight. Especially the tail planes come to mind in this regard.
These need to fit in a slot in the outer AND inner fuselage. It is extremely important to get everything aligned correctly. Test fitting (in this instance) the left tail plane showed the fitment to be very tight and it was quite hard to get the tail plane to fit to the fuselage. In the picture below one can see that the outer fuselage was slightly deformed during testfitting (as the discolored plastic - marked by the arrow - can be seen easily).
The slots need to be widened slightly to get a smooth fit.
Also of note is the huge sink mark at the root of the tail plane. One of many sink marks in the kit, actually. This is one is the biggest though...
Until next time!
Comments
Post a Comment