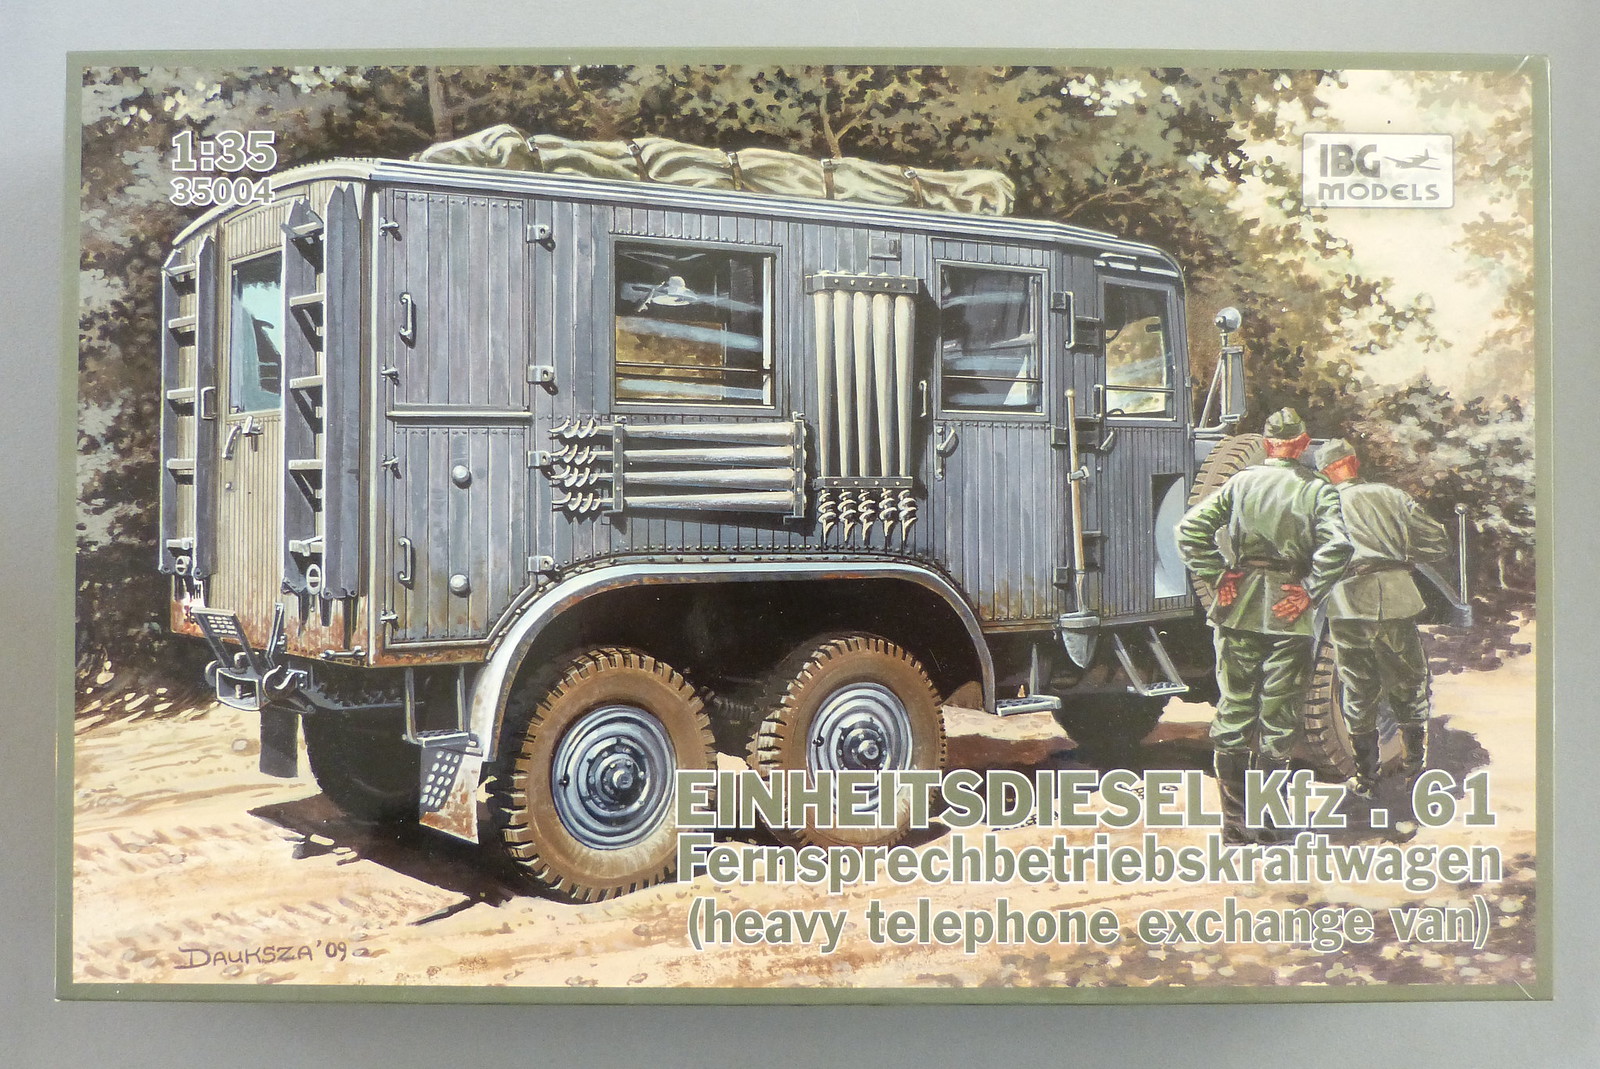
Another key element of the Leuchtfeuer/Funkfeuer dio will be the Einheitsdiesel Kfz. 61 from IBG Models.
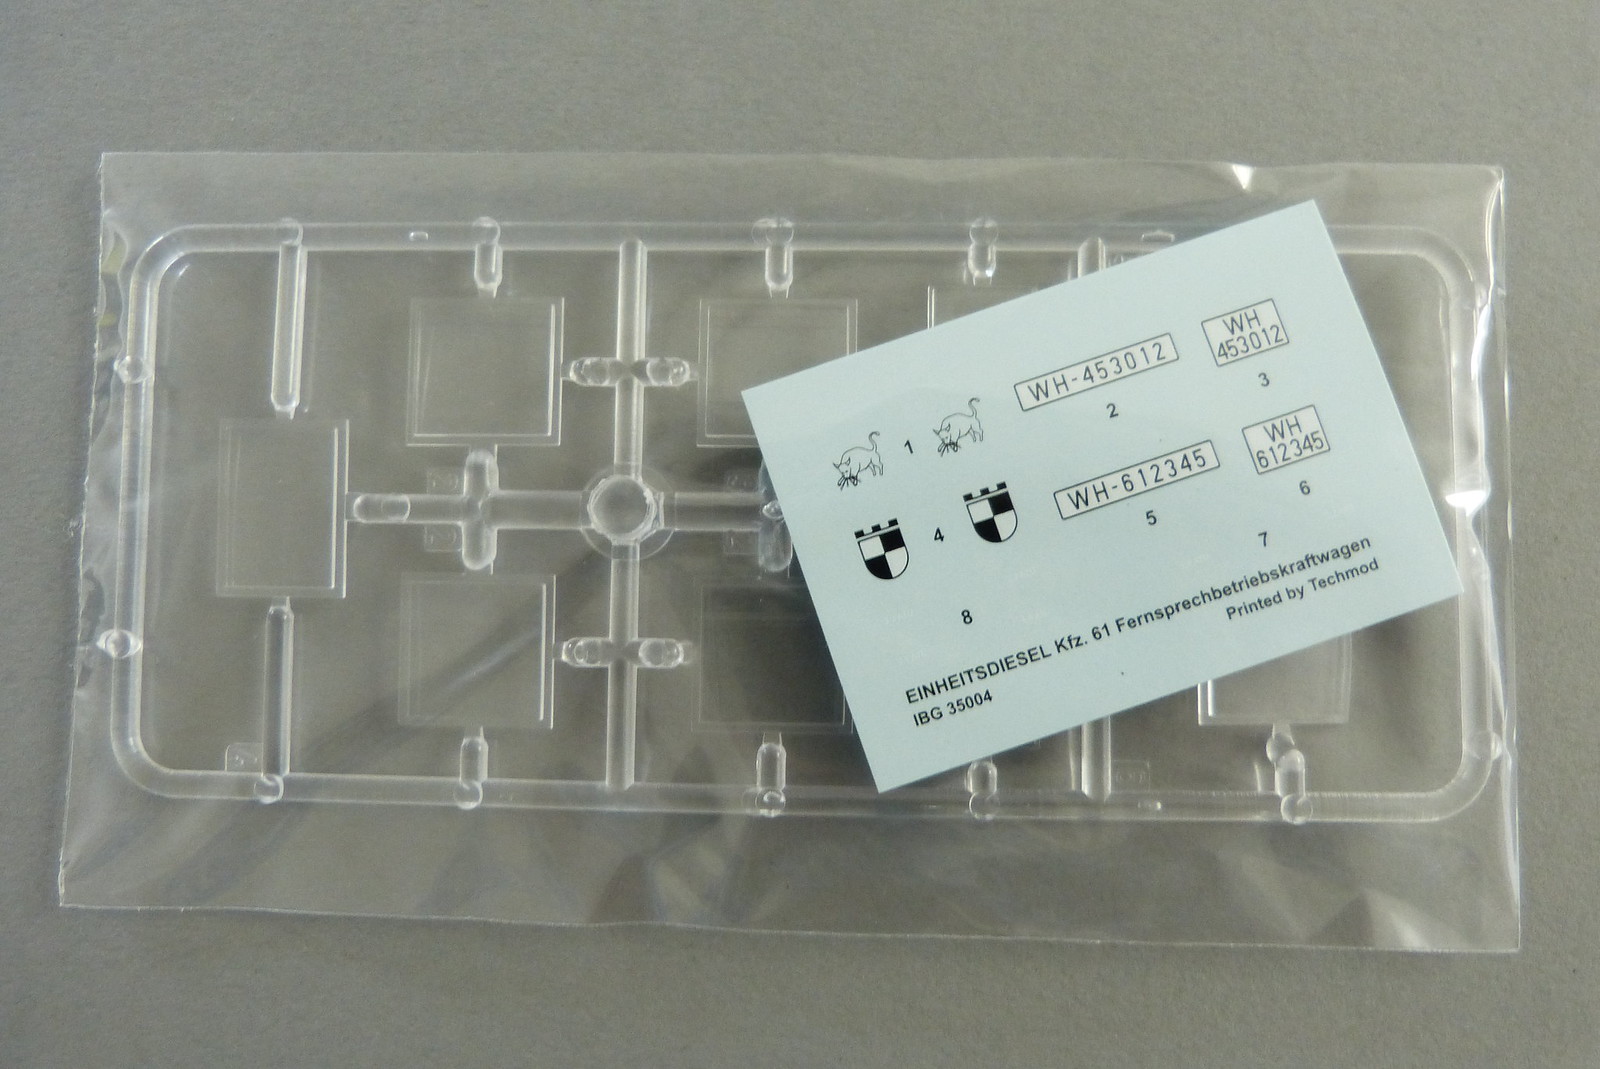
Upon opening the box 4 sprues of grey styrene, one sprue of clear parts and a small decal sheet greeted me.
In total there are a whopping 256 parts on the sprues of which 6 won't be needed for this build.
The instructions cover the building of this truck in 29 steps, laid out in clear pictures, obviously taken from a 3D model.
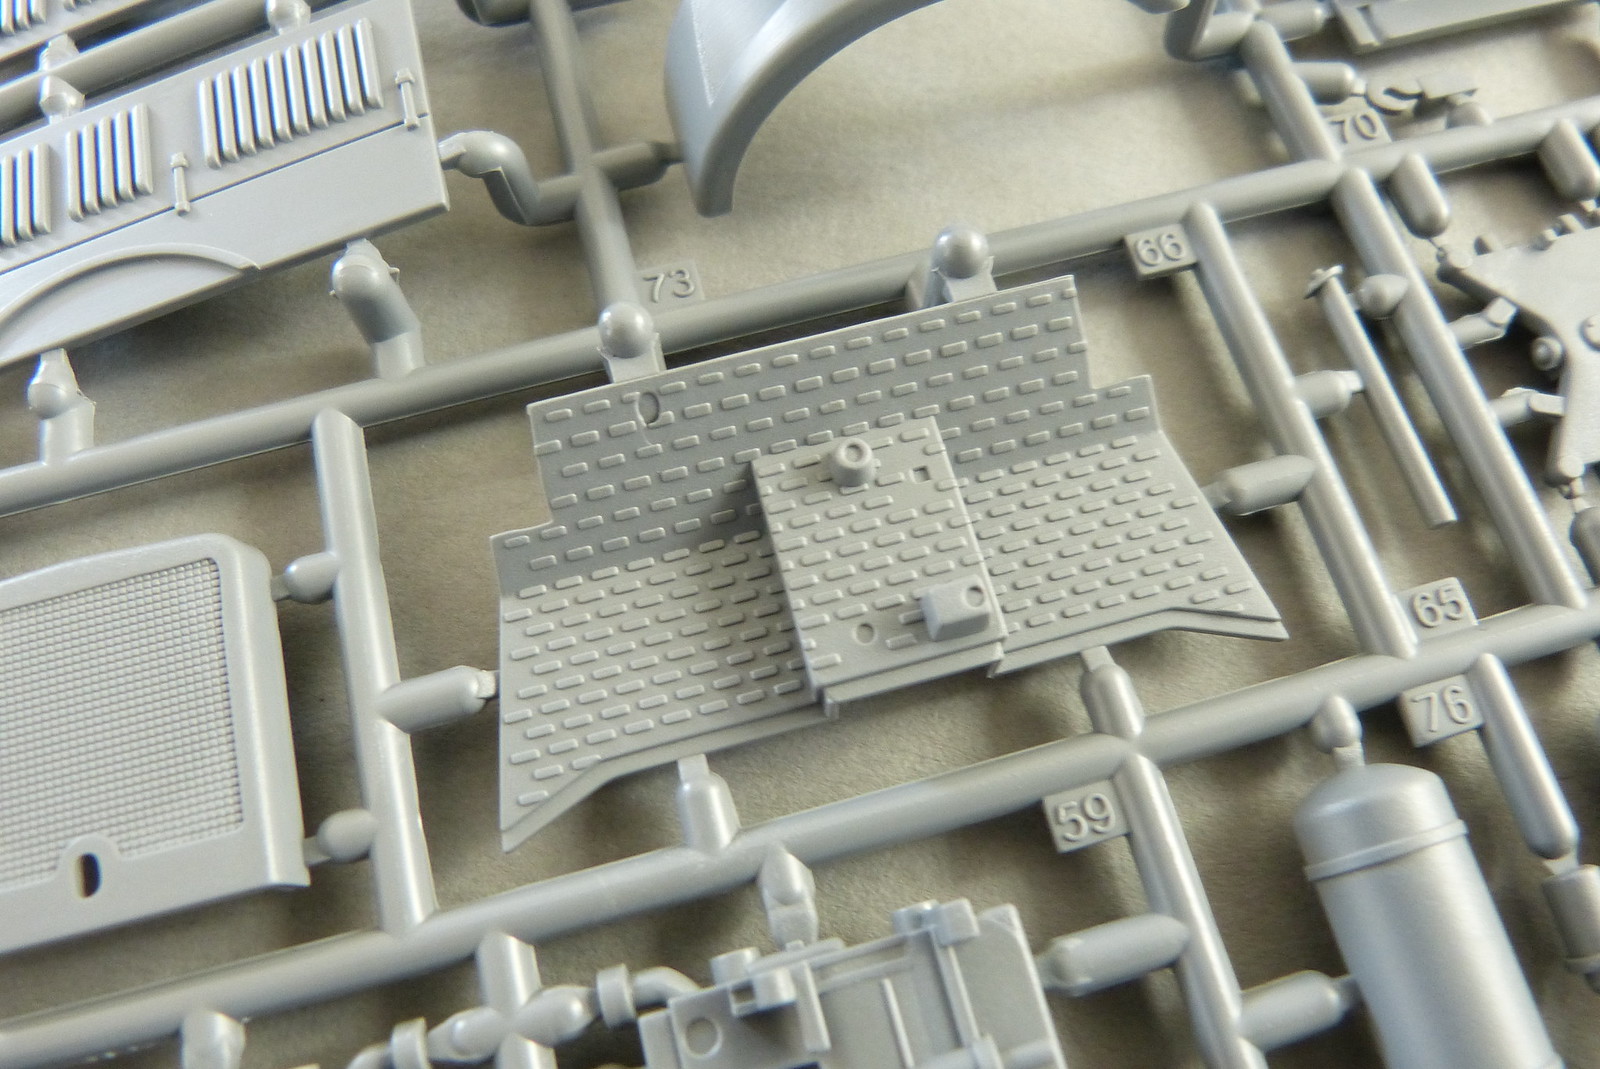
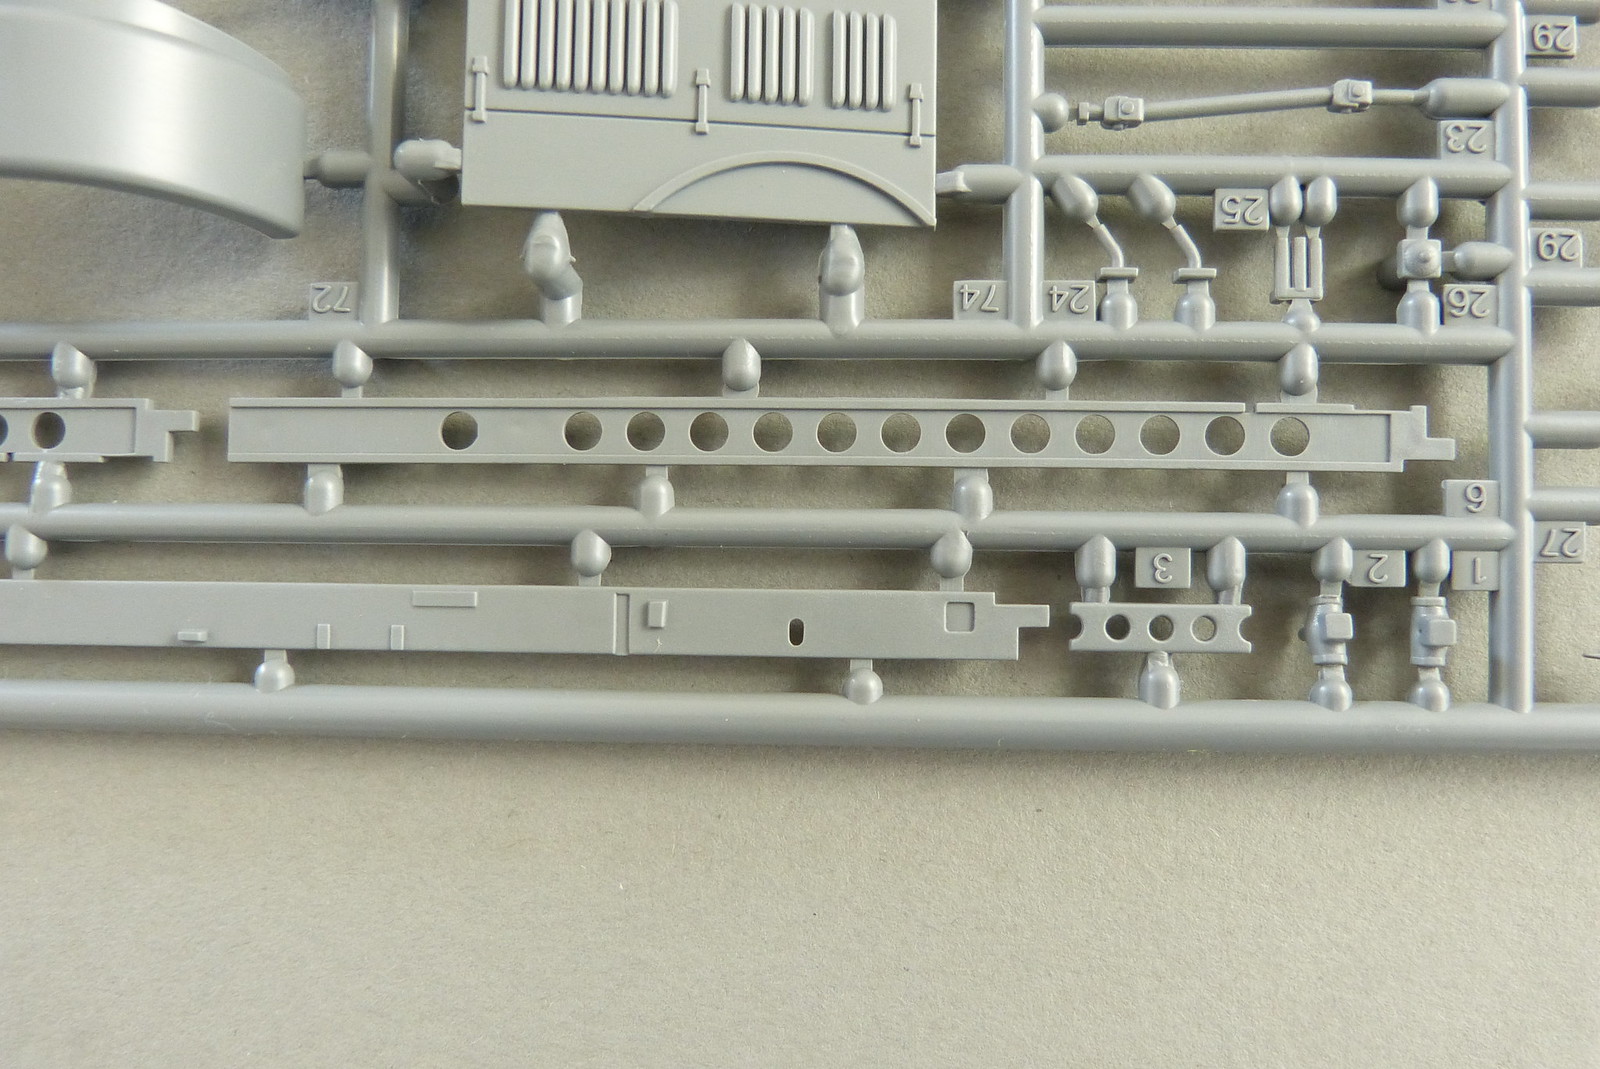
A quick overview of the sprues shows a good level of detail with some very delicate and well executed parts on display.
What is quite evident from the beginning is that the sprue attachment points are quite heavy and they require careful trimming from the trees so as not to damage the parts.


The frame of the truck is depicted in great detail. Shame that all of this won't be visible once the model is finished.
One of the peculiar details I noticed in the instructions is that the clear parts should already be mounted in the first steps...
Nothing too dramatic of course, but something I'm not quite used to (as a 1/24 car builder mainly).
The detail, as mentioned, is quite good on the different parts.
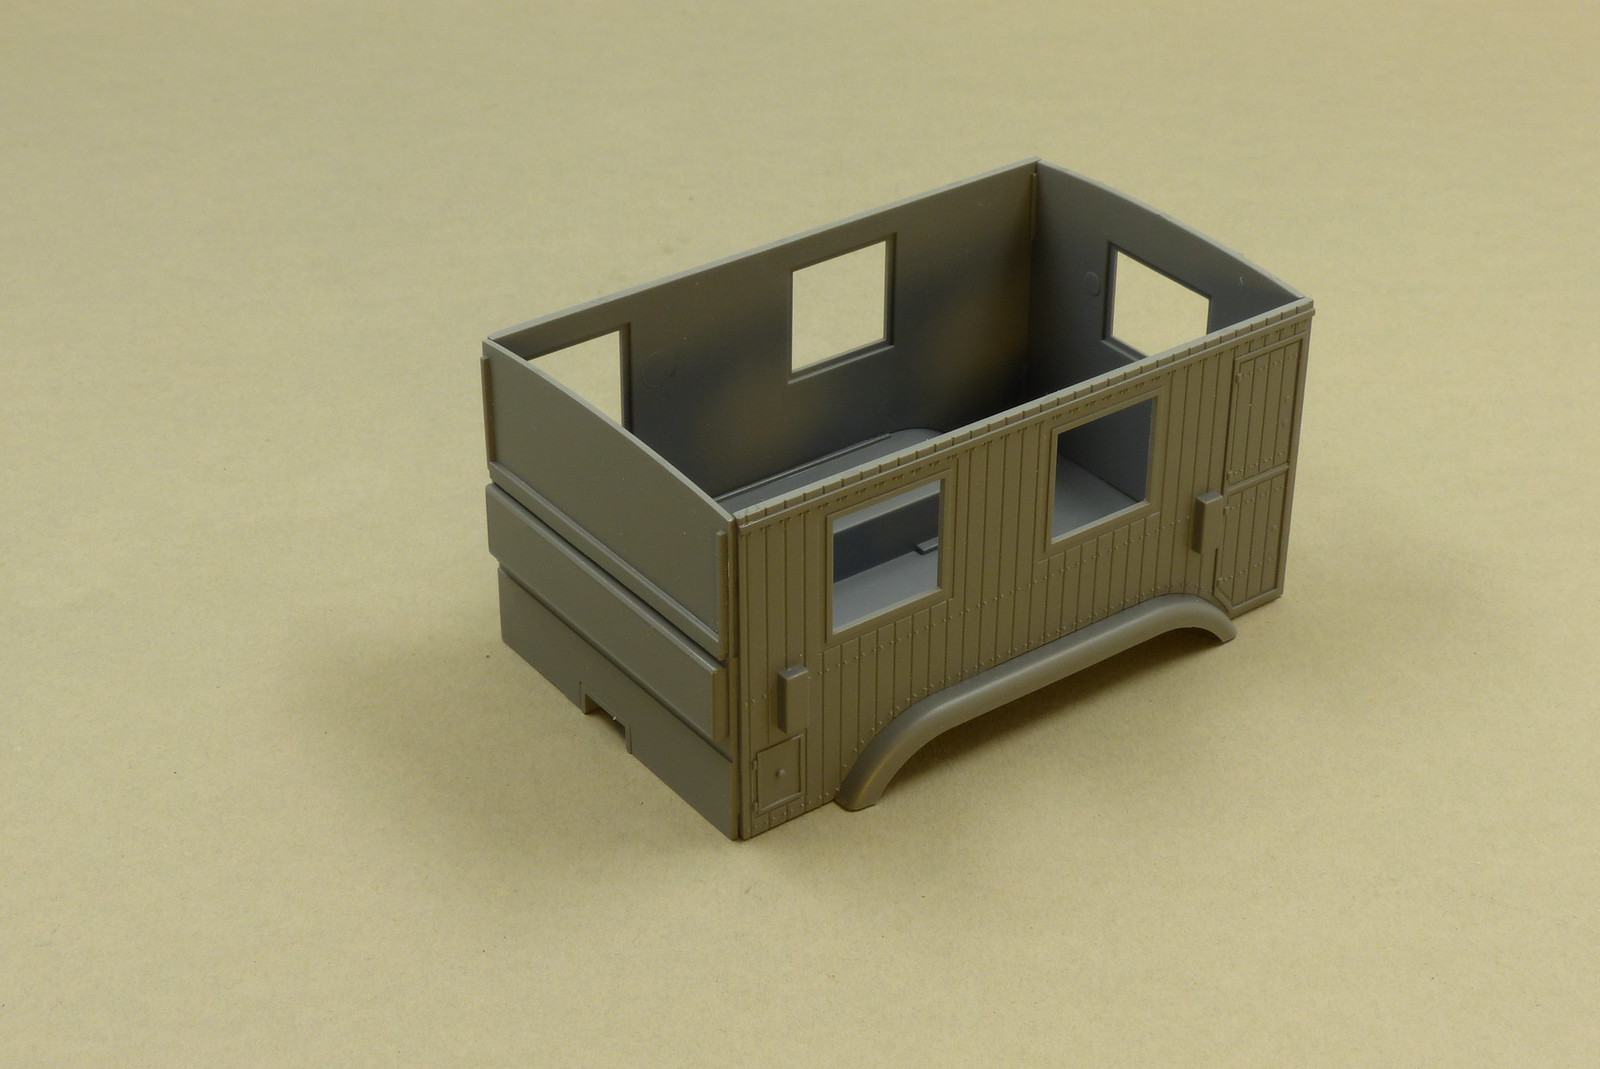
I commenced with the build according the instructions, starting with the radio shack.
This is were I noticed the first odd thing.
The front wall of the radio shack also doubles as the rear wall of the driver compartment and is made up of 2 parts.
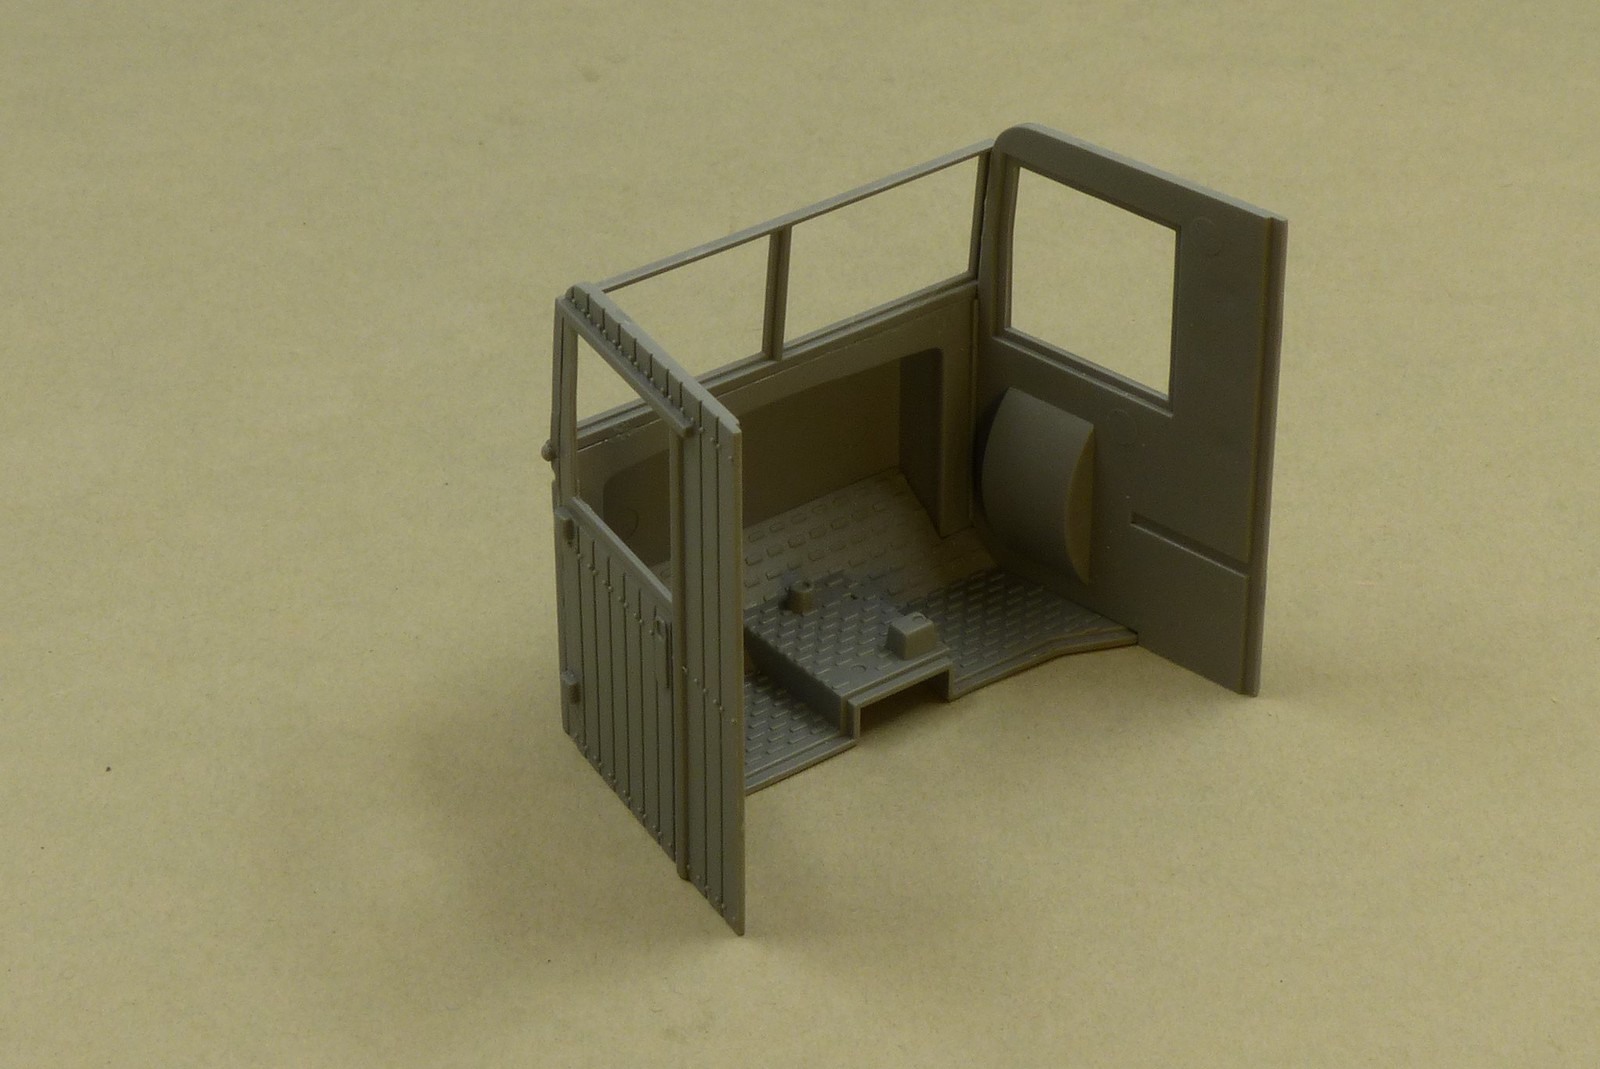
These fit quite well, no problem there. But onto this rear wall a leather padding has to be mounted (as a back rest for the driver/passengers). This didn't fit well without some work.
To this end I shortened the upper part slightly with a scriber. Now everything fits as it's meant to.
I might fill the resulting space between the upper part and the leather padding to camouflage the step that's present now. Although, in the end, it will probably be hidden from the eye, so I might cut a corner here...

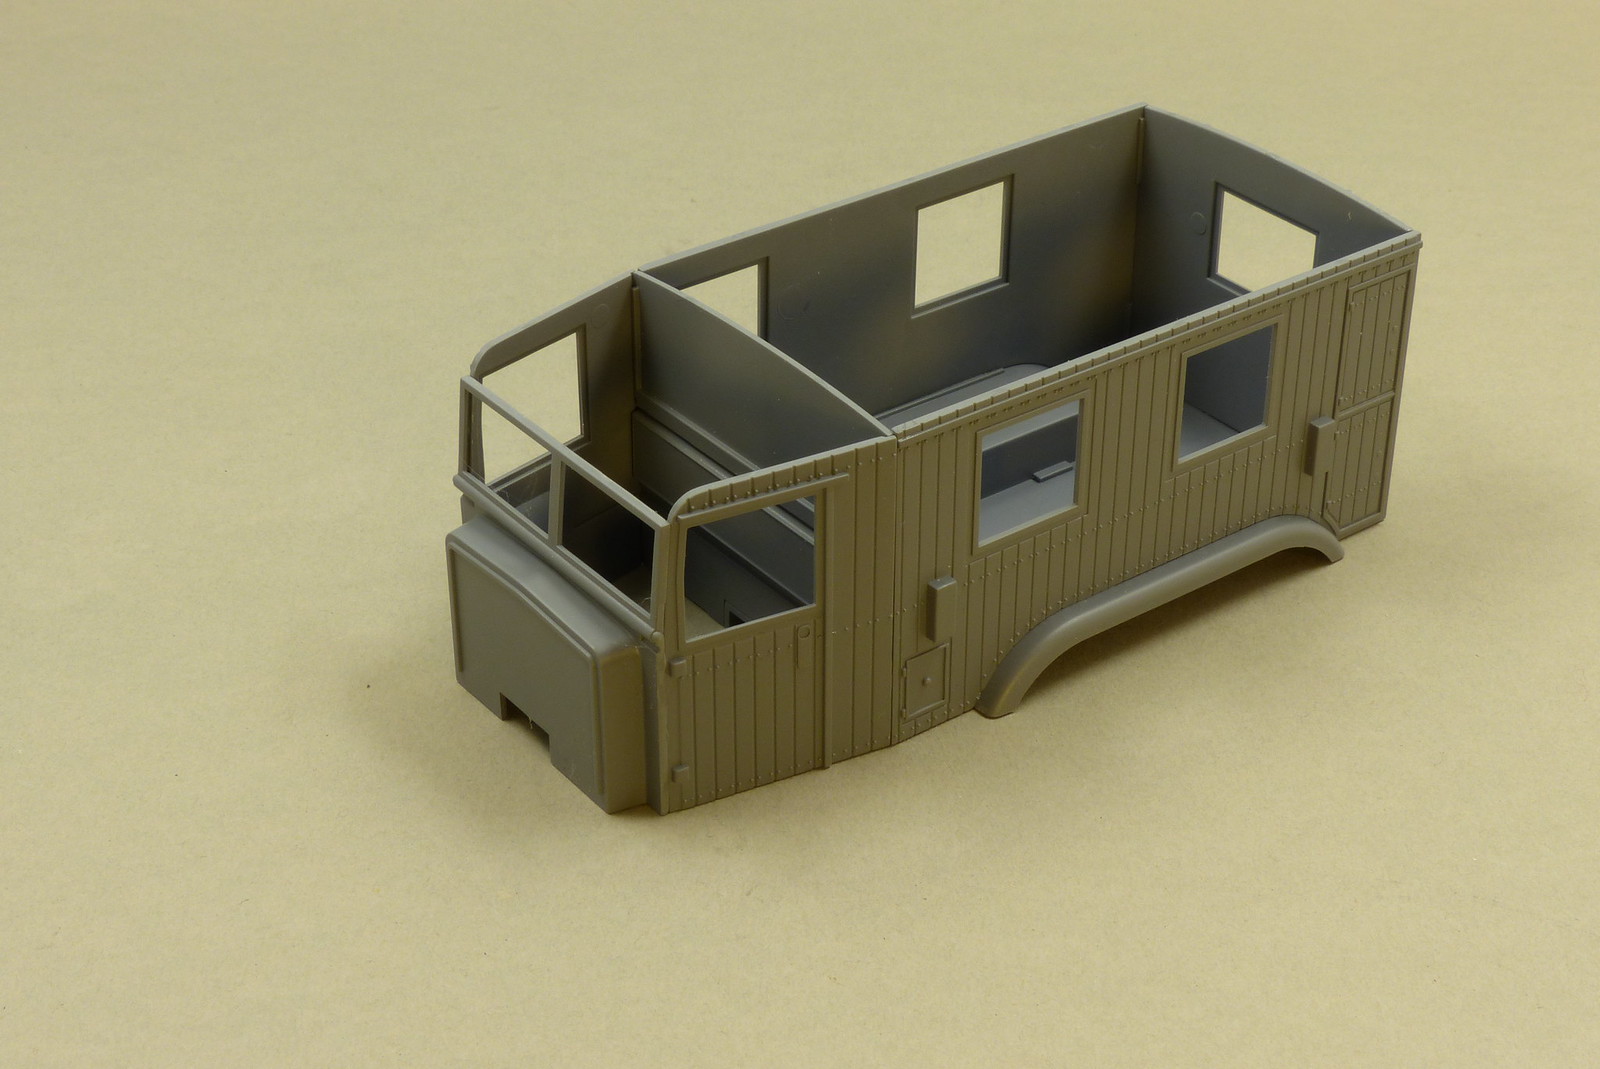
The driver cabin went together smoothly and a testfit to the radioshack revealed a near perfect fit. Great stuff from IBG here.
In the meantime I also started work on the frame of the truck. The frame is quite detailed and made up of a lot of parts. Sadly this won't be seen once the model is finished.
Here, the part fitment wasn't always great (although that might be me at fault here). It remains to be seen whether this will avenge itself further into the build.
I sincerely hope it won't...


More to come in the next update.
Upon opening the box 4 sprues of grey styrene, one sprue of clear parts and a small decal sheet greeted me.
In total there are a whopping 256 parts on the sprues of which 6 won't be needed for this build.
The instructions cover the building of this truck in 29 steps, laid out in clear pictures, obviously taken from a 3D model.
A quick overview of the sprues shows a good level of detail with some very delicate and well executed parts on display.
What is quite evident from the beginning is that the sprue attachment points are quite heavy and they require careful trimming from the trees so as not to damage the parts.
The frame of the truck is depicted in great detail. Shame that all of this won't be visible once the model is finished.
One of the peculiar details I noticed in the instructions is that the clear parts should already be mounted in the first steps...
Nothing too dramatic of course, but something I'm not quite used to (as a 1/24 car builder mainly).
The detail, as mentioned, is quite good on the different parts.
I commenced with the build according the instructions, starting with the radio shack.
This is were I noticed the first odd thing.
The front wall of the radio shack also doubles as the rear wall of the driver compartment and is made up of 2 parts.
These fit quite well, no problem there. But onto this rear wall a leather padding has to be mounted (as a back rest for the driver/passengers). This didn't fit well without some work.
To this end I shortened the upper part slightly with a scriber. Now everything fits as it's meant to.
I might fill the resulting space between the upper part and the leather padding to camouflage the step that's present now. Although, in the end, it will probably be hidden from the eye, so I might cut a corner here...
The driver cabin went together smoothly and a testfit to the radioshack revealed a near perfect fit. Great stuff from IBG here.
In the meantime I also started work on the frame of the truck. The frame is quite detailed and made up of a lot of parts. Sadly this won't be seen once the model is finished.
Here, the part fitment wasn't always great (although that might be me at fault here). It remains to be seen whether this will avenge itself further into the build.
I sincerely hope it won't...
More to come in the next update.
Comments
Post a Comment