And off we go with another project.
But this won't be a quick one (as if I ever had quick projects...) as there's quite an amount of plastic surgery involved...
Ever since I got the ZoomOn transkit in my possession (discussed here) I've been very eager to get working on this one.
But I tried to keep my cool and finish one of the unfinished builds first.
Well. I can tell now that that plan has failed...
As a matter of fact, I was so eager to get going on this one, that I forgot to take some pictures showing the original body of the car (as supplied in the kit).
So, what's the plan?
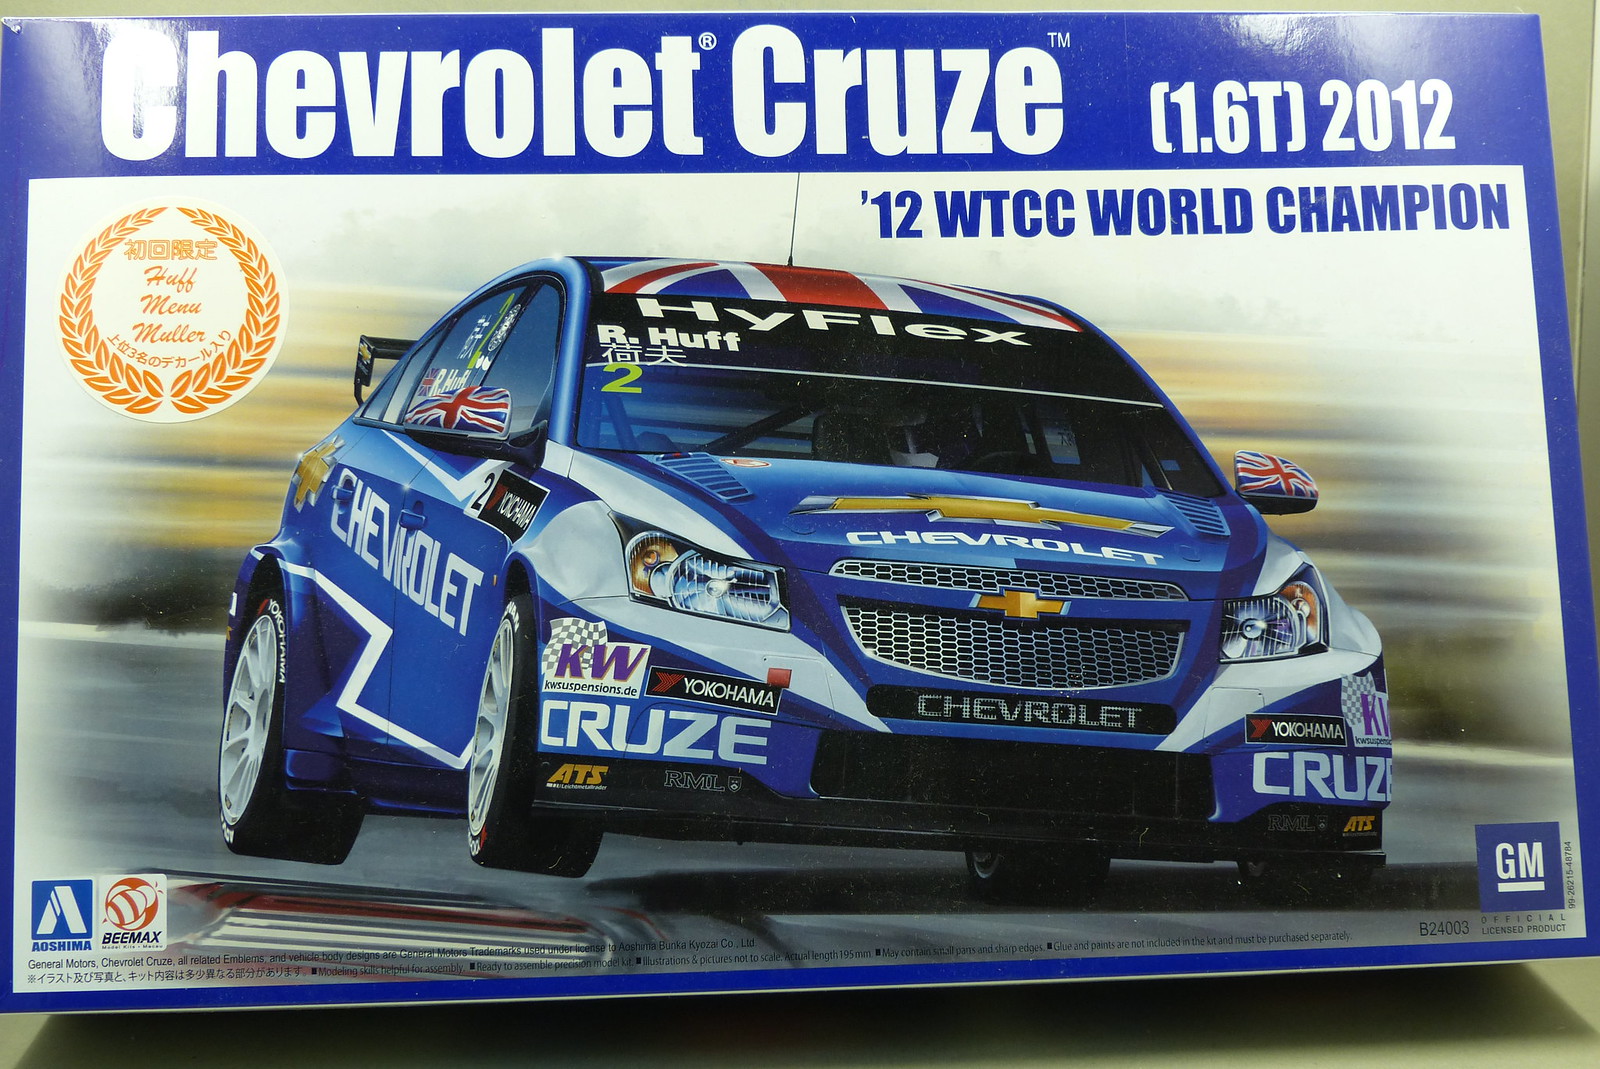
Base kit is the Aoshima/Beemax Chevrolet Cruze WTCC.
This will be enhanced with the transkit by ZoomOn.

Before starting with the chassis I wanted to get the body sorted first as I suspected this was going to take a fair amount of work.
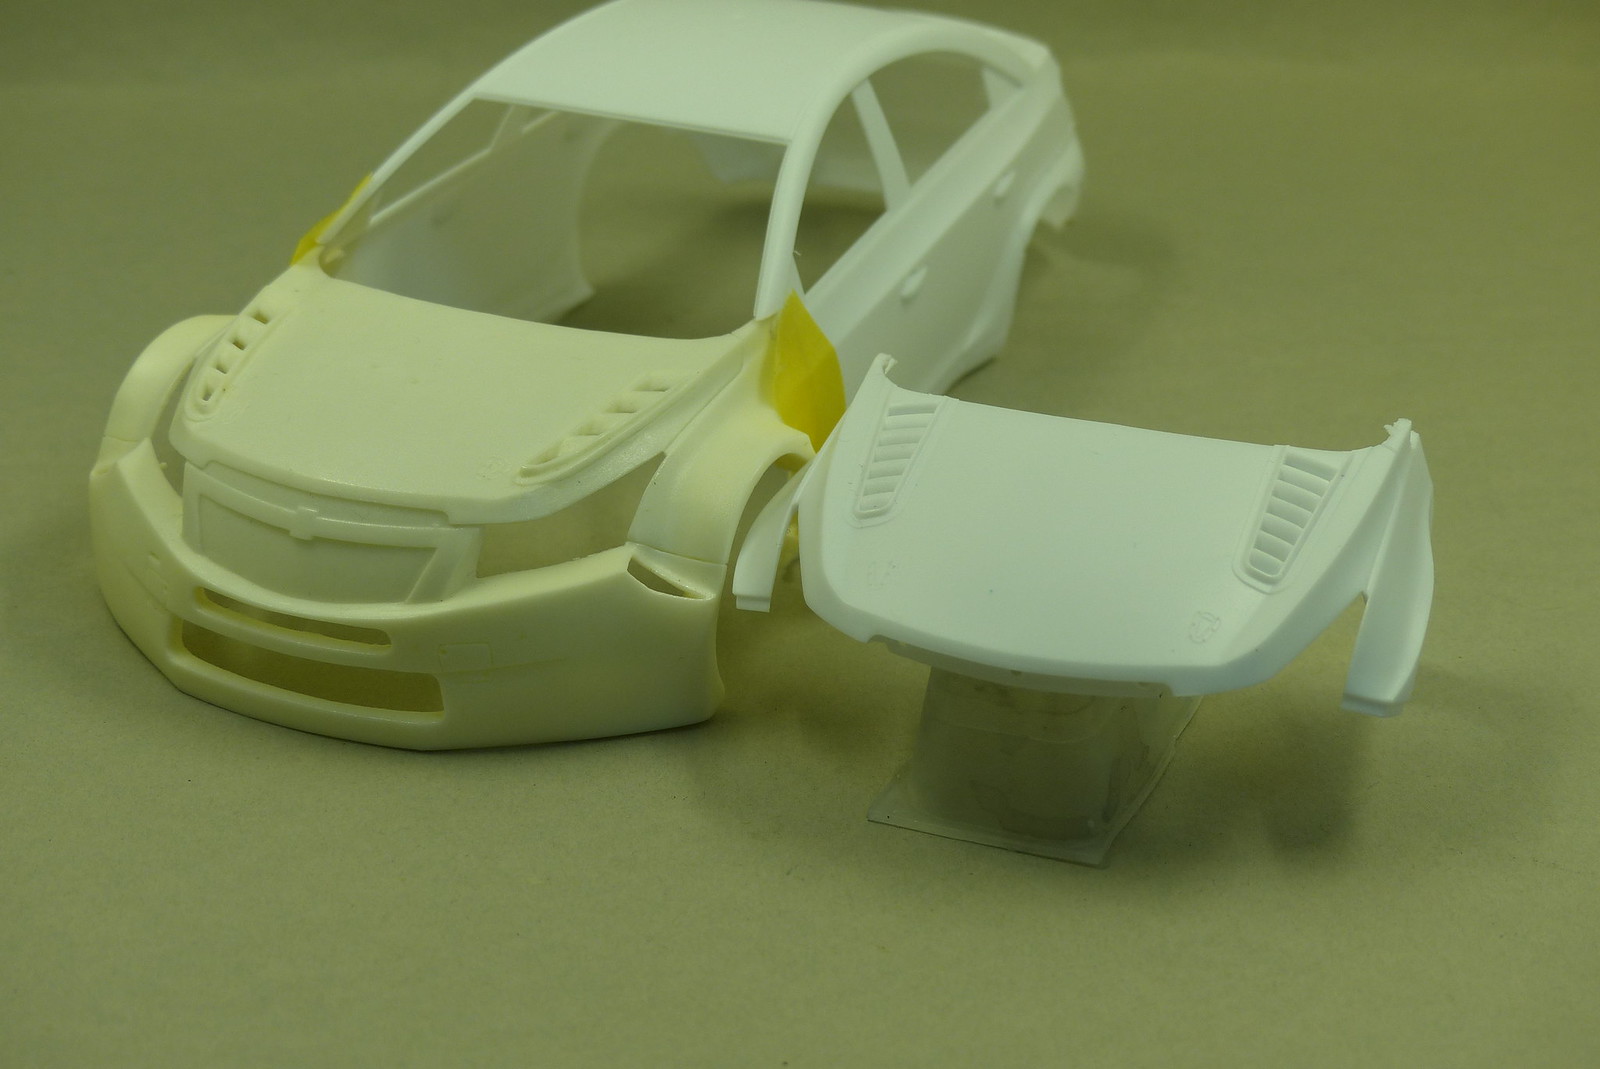
First step was easy. To remove the front of the original body.
Well, okay, not that easy, because there was some delicate cutting to do. But all went well.

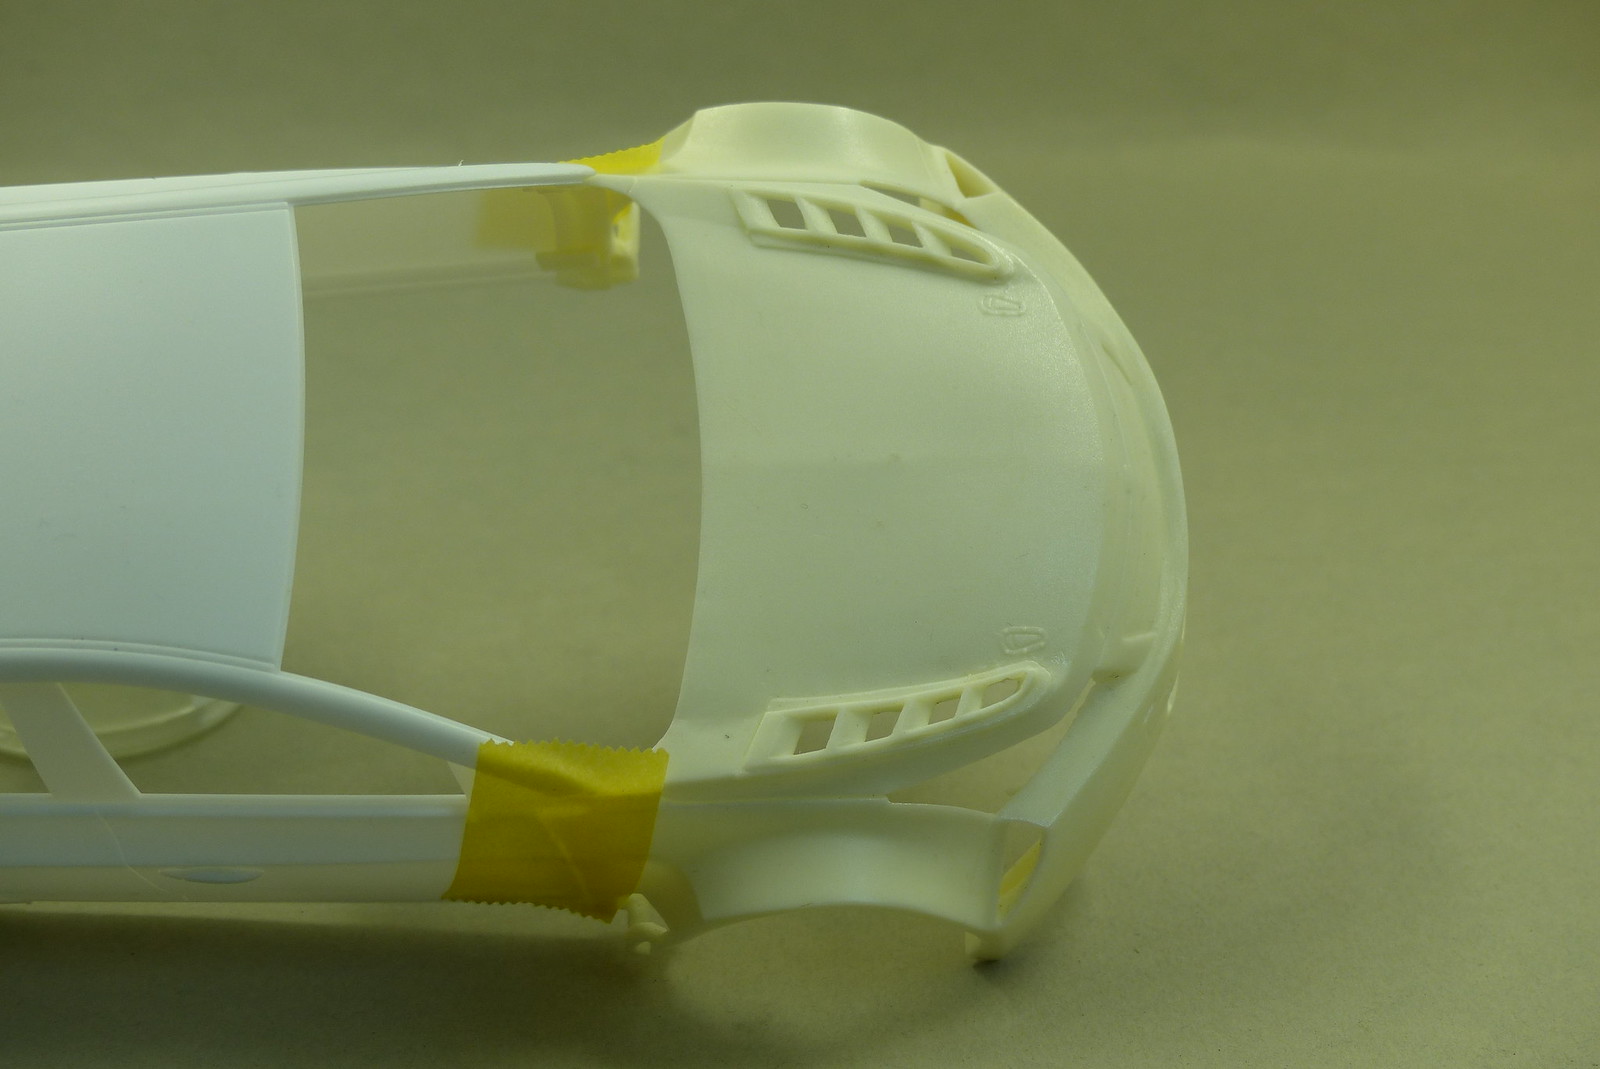

After seperating the front of the body the rear bumper and side skirts were next.
In the instructions is shown which parts to remove from the body. It would have been nice if ZoomOn had provided a template for this. But with some test fitting of the skirts it was possible to make my own template. A great test case for my newest toy...
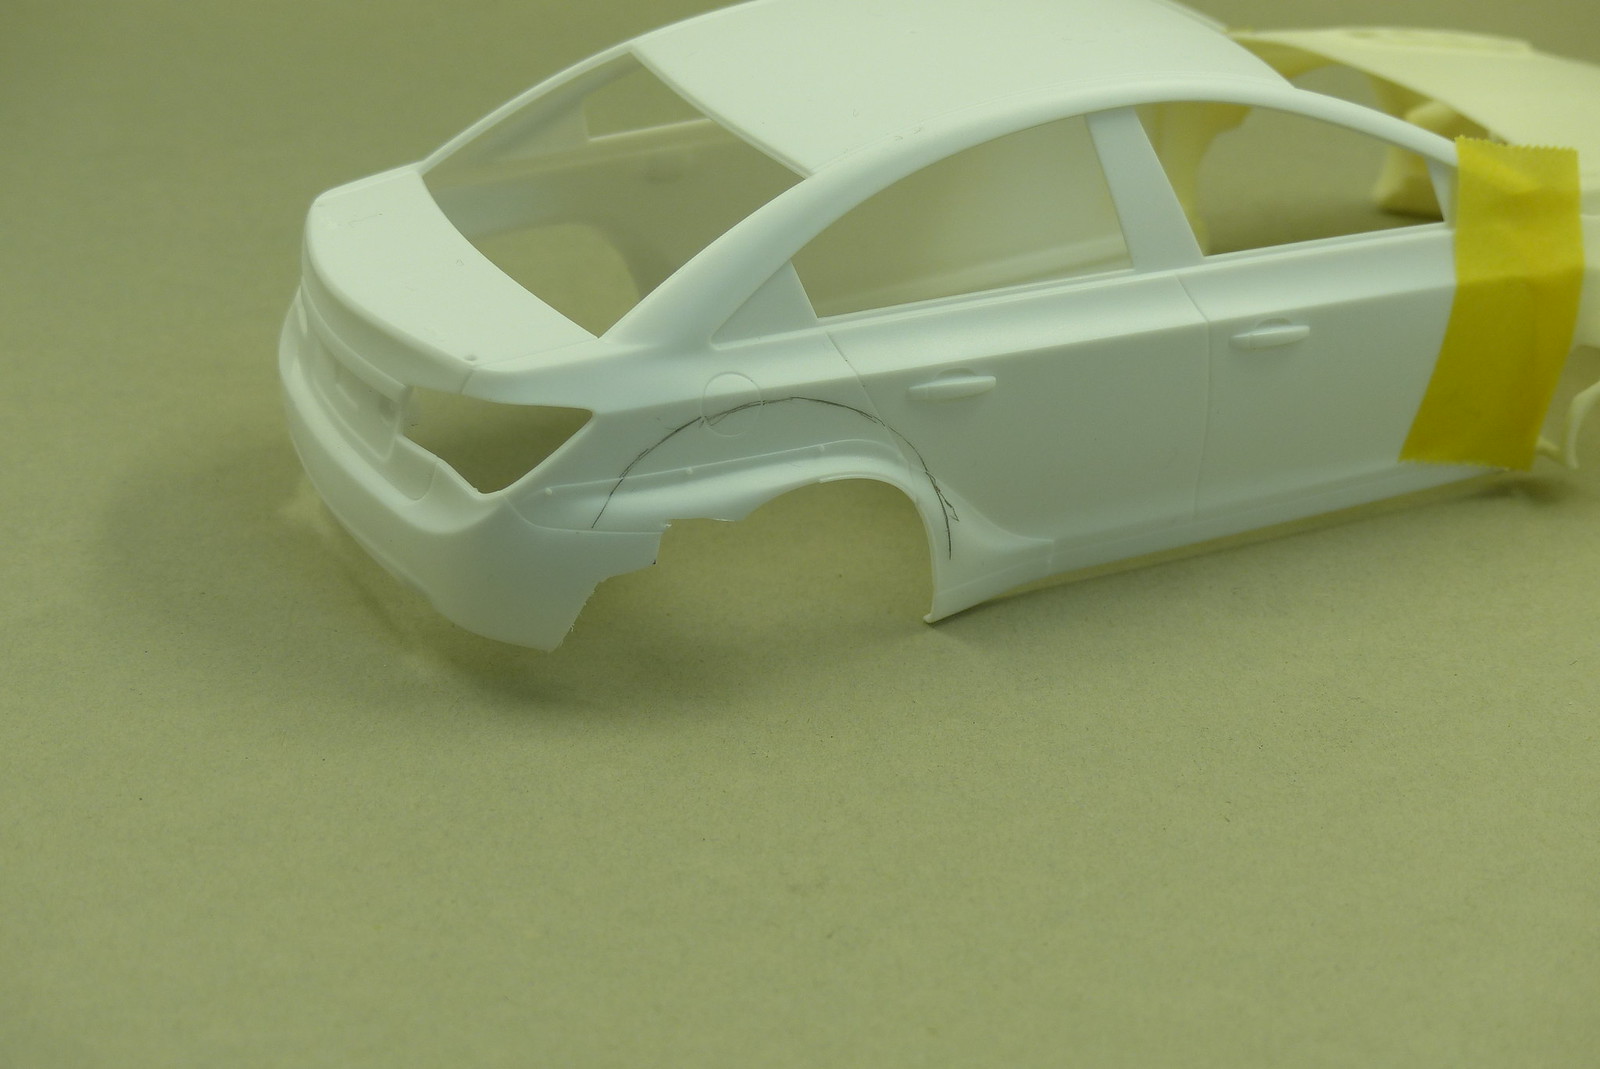

Which performed flawlessly. But that's not to say that all went without a hitch.
Looking at the finished model that is shown on the ZoomOn site, I've got some filling and sanding to do to get it to look even close...
Fitment of the rear bumper is very tight at the moment. I'm still contemplating if I should remove more material. I fear that the tension left in the parts might result in the bond coming loose over time.
More to come in a next update (which migth take some time...)
But this won't be a quick one (as if I ever had quick projects...) as there's quite an amount of plastic surgery involved...
Ever since I got the ZoomOn transkit in my possession (discussed here) I've been very eager to get working on this one.
But I tried to keep my cool and finish one of the unfinished builds first.
Well. I can tell now that that plan has failed...
As a matter of fact, I was so eager to get going on this one, that I forgot to take some pictures showing the original body of the car (as supplied in the kit).
So, what's the plan?
Base kit is the Aoshima/Beemax Chevrolet Cruze WTCC.
This will be enhanced with the transkit by ZoomOn.
Before starting with the chassis I wanted to get the body sorted first as I suspected this was going to take a fair amount of work.
First step was easy. To remove the front of the original body.
Well, okay, not that easy, because there was some delicate cutting to do. But all went well.
After seperating the front of the body the rear bumper and side skirts were next.
In the instructions is shown which parts to remove from the body. It would have been nice if ZoomOn had provided a template for this. But with some test fitting of the skirts it was possible to make my own template. A great test case for my newest toy...
Which performed flawlessly. But that's not to say that all went without a hitch.
Looking at the finished model that is shown on the ZoomOn site, I've got some filling and sanding to do to get it to look even close...
Fitment of the rear bumper is very tight at the moment. I'm still contemplating if I should remove more material. I fear that the tension left in the parts might result in the bond coming loose over time.
More to come in a next update (which migth take some time...)
Comments
Post a Comment