The closer I get to the end of this build, the more things seem to go wrong (and the longer it takes for me to work on this one).
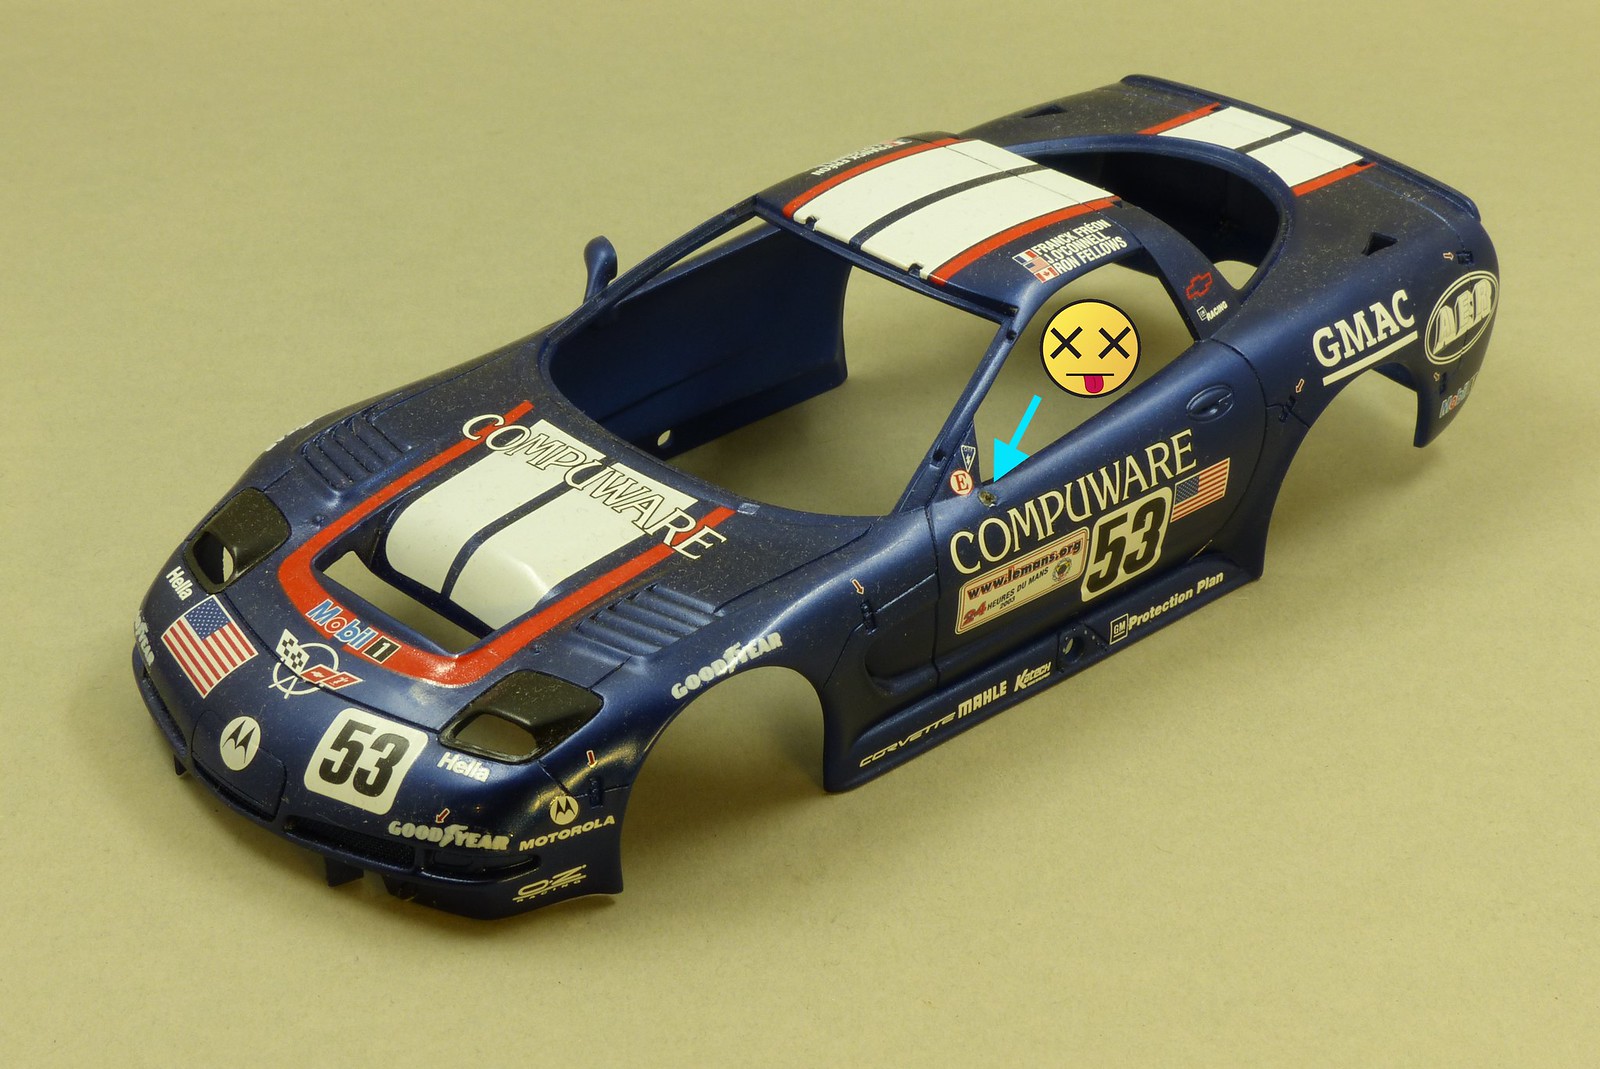
When cleaning the body, the grille of one of the vents popped out.
No problem I thought, just glue it back in. I put the grille on some blu tack, applied a small amount of super glue and slid the grille back in.
That was the plan at least. Somehow I managed to brush against the body leaving a nice glue mark on it and to top it all off, the glue had somehow reached the blu tack, dissolving/glueing it to the body/grille.
Leaving me with a(nother) fine mess... Nice.
In the end I was able to repair this without problems, so everything should be fine.
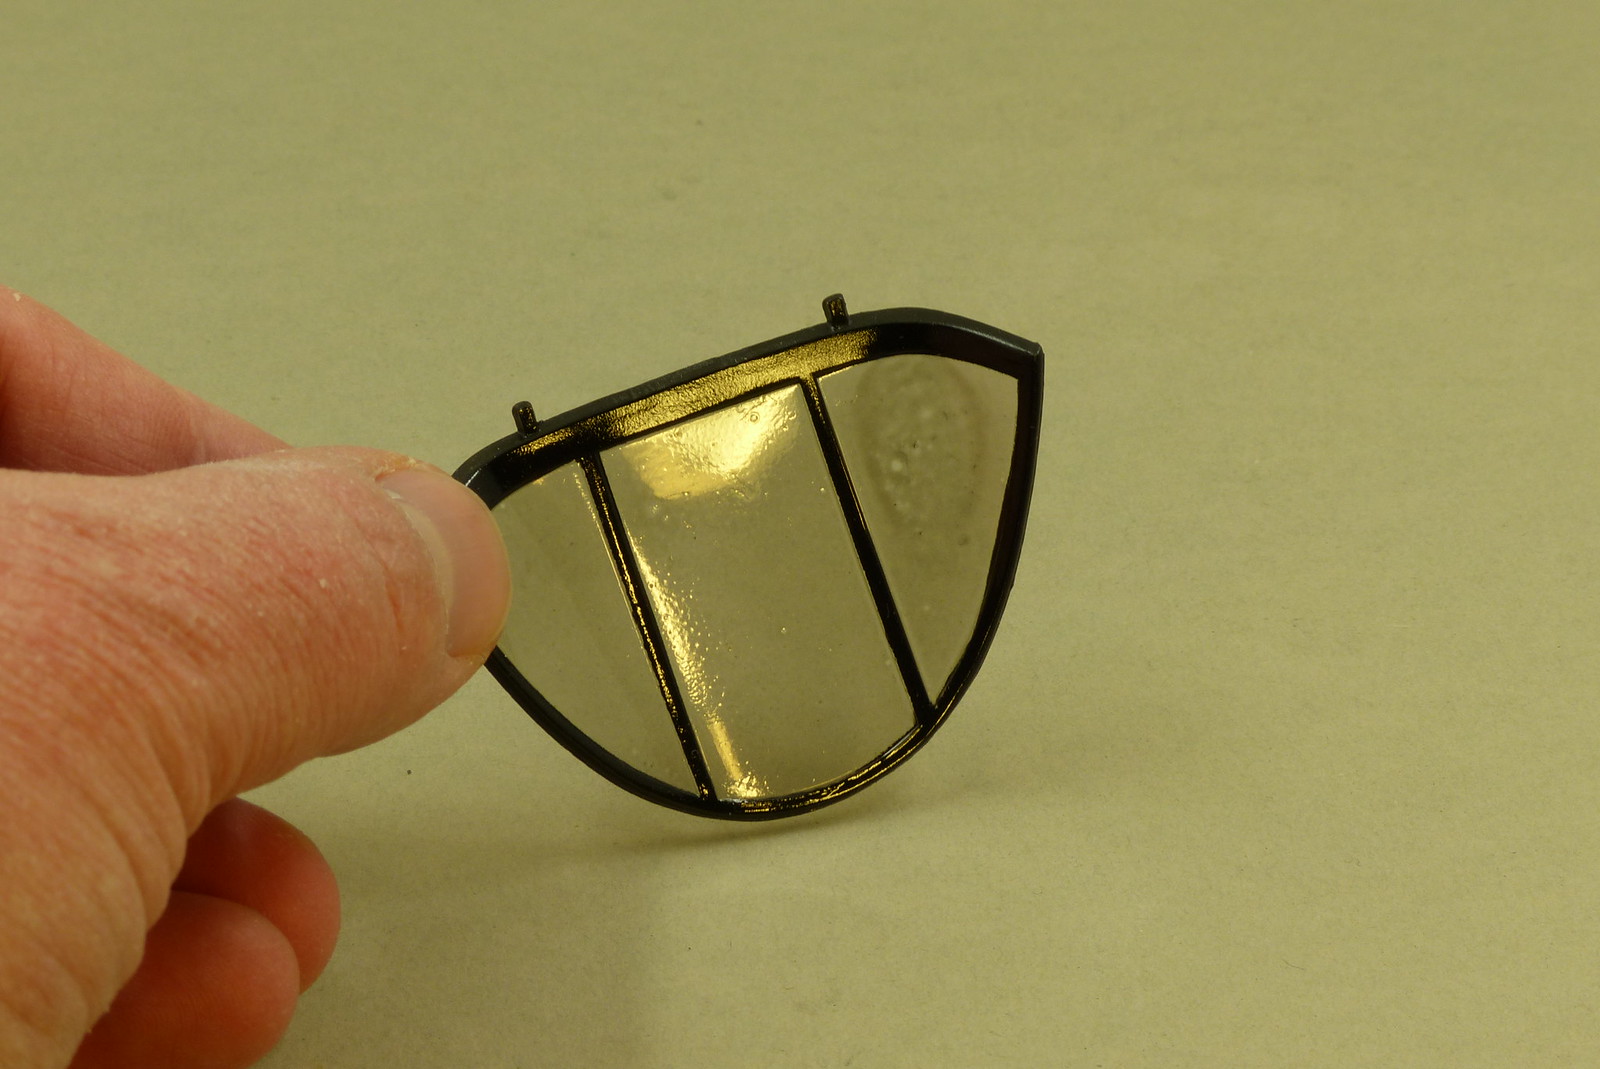
Next up was the rear window.
I decided to darken the rear window (using Tamiya X-19 Smoke) although it isn't required in the instructions.
In my reference images it apears as if the window on the real car is darkened too. Added bonus is that this will slightly hide the not so stellar detail in the back of the car.
Problem is that I have a bit of a love-hate relationship with clear colors.
Painting the glasses of the headlights went without a hitch on the other hand.
These needed to be painted clear yellow. Same brand, same thinner, same thinner-to-paint ratio. You tell me...
After the disappointment of the rear window I was happy that the headlight glasses went a whole lot better.

Than there was the message of D. Leung to my previous post stating that I should have filled some of the panellines on the bonnet of the car.
Amazing that I didn't spot this before. Sadly, it now is too late to do something about it, so I'll leave it be.
Before continuing I'd like to show (another) small mishap.
It seems that I'm a hard learner. Since my last update (way too long ago, I know) the model has been lying on my workbench accumulating dust...
... and shedding parts.
To my (mild) surprise the driver's rear view mirror came off again... That'll teach me not to pack the model away safely...
Last time I mentioned that I would be using Zero Paints 1K clearcoat on the model.
But in the meantime I've had some serious troubles with the ZP 1K clear coat on another build. So much so that I'm afraid I have to bin that model...
As I'm a bit hesitant to what clear to use now, I plan to test several different makes of clear on some painted sheet styrene.
The clears I want to test are Alclad Aqua Gloss (ALC 600), Lucky Varnish (glossy) from Ammo by Mig (A.MIG-2053), X22 from Tamiya.
No 2K clear you might wonder...
Well yes and no. I do have some Zero Paints 2K lacquer lying around. And I will give it a go as I know it's good.
But I'd love to be able to do a nice and (for me) simple 1K clear coat...
More on this when I have done my testing...
When cleaning the body, the grille of one of the vents popped out.
No problem I thought, just glue it back in. I put the grille on some blu tack, applied a small amount of super glue and slid the grille back in.
That was the plan at least. Somehow I managed to brush against the body leaving a nice glue mark on it and to top it all off, the glue had somehow reached the blu tack, dissolving/glueing it to the body/grille.
Leaving me with a(nother) fine mess... Nice.
In the end I was able to repair this without problems, so everything should be fine.
Next up was the rear window.
I decided to darken the rear window (using Tamiya X-19 Smoke) although it isn't required in the instructions.
In my reference images it apears as if the window on the real car is darkened too. Added bonus is that this will slightly hide the not so stellar detail in the back of the car.
Problem is that I have a bit of a love-hate relationship with clear colors.
For some reason I can't seem to get to grips with these colors (in this case the Tamiya clear colors).
The rear window turned out quite subpar (ie. a lot of orange peel). I'm afraid I'll have to sand back the clear and give it another go.
The rear window turned out quite subpar (ie. a lot of orange peel). I'm afraid I'll have to sand back the clear and give it another go.
Painting the glasses of the headlights went without a hitch on the other hand.
These needed to be painted clear yellow. Same brand, same thinner, same thinner-to-paint ratio. You tell me...
After the disappointment of the rear window I was happy that the headlight glasses went a whole lot better.
Than there was the message of D. Leung to my previous post stating that I should have filled some of the panellines on the bonnet of the car.
Amazing that I didn't spot this before. Sadly, it now is too late to do something about it, so I'll leave it be.
Before continuing I'd like to show (another) small mishap.
It seems that I'm a hard learner. Since my last update (way too long ago, I know) the model has been lying on my workbench accumulating dust...
... and shedding parts.
To my (mild) surprise the driver's rear view mirror came off again... That'll teach me not to pack the model away safely...
Last time I mentioned that I would be using Zero Paints 1K clearcoat on the model.
But in the meantime I've had some serious troubles with the ZP 1K clear coat on another build. So much so that I'm afraid I have to bin that model...
As I'm a bit hesitant to what clear to use now, I plan to test several different makes of clear on some painted sheet styrene.
The clears I want to test are Alclad Aqua Gloss (ALC 600), Lucky Varnish (glossy) from Ammo by Mig (A.MIG-2053), X22 from Tamiya.
No 2K clear you might wonder...
Well yes and no. I do have some Zero Paints 2K lacquer lying around. And I will give it a go as I know it's good.
But I'd love to be able to do a nice and (for me) simple 1K clear coat...
More on this when I have done my testing...
Comments
Post a Comment