Out with the old, in with the new...
The final sentence of the previous update couldn't be further from the truth.
Finished it is definately not. Well, yes and no actually. The car is not finished, but the body is. And had already been sent on a one-way trip to garbage-ness...
When trying to sand smooth the various spots left in the layer of clear and smooth out the clear in general a problem occured. Something which I haven't encountered with the Peugeot 307 of Gigi Galli.
For some reason I wasn't able to smooth out the layer enough and worst of all, I seemed to have damaged the clearcoat. I've sanded and compounded my hands sore, but for some reason I couldn't get the shine back into the clear. Very strange.
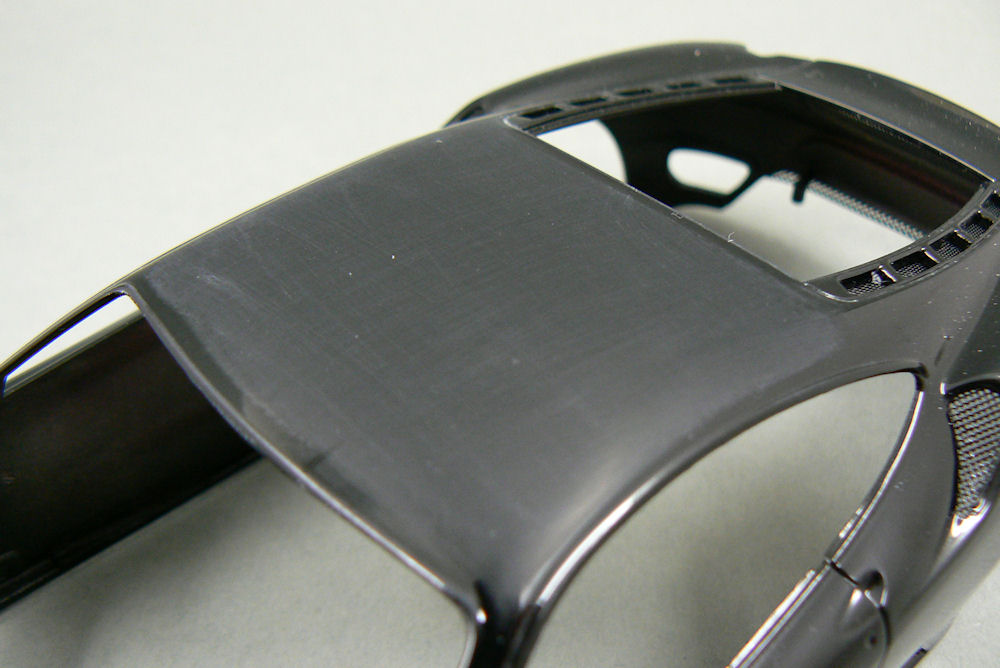
On top of it all the roof finally cracked for good after the plastic had already been weakened when stripping a previous paintjob.
The sad result can be seen in the picture below left.
 I placed a message in the classifieds section of Automotive Forums and
to my luck and joy I got a very quick and positive response. User
"exit13" (Jon Winter, a regular contributor to Tamiya Model Magazine)
had an almost complete kit lying around which he wasn't going to use
anymore.
I placed a message in the classifieds section of Automotive Forums and
to my luck and joy I got a very quick and positive response. User
"exit13" (Jon Winter, a regular contributor to Tamiya Model Magazine)
had an almost complete kit lying around which he wasn't going to use
anymore.
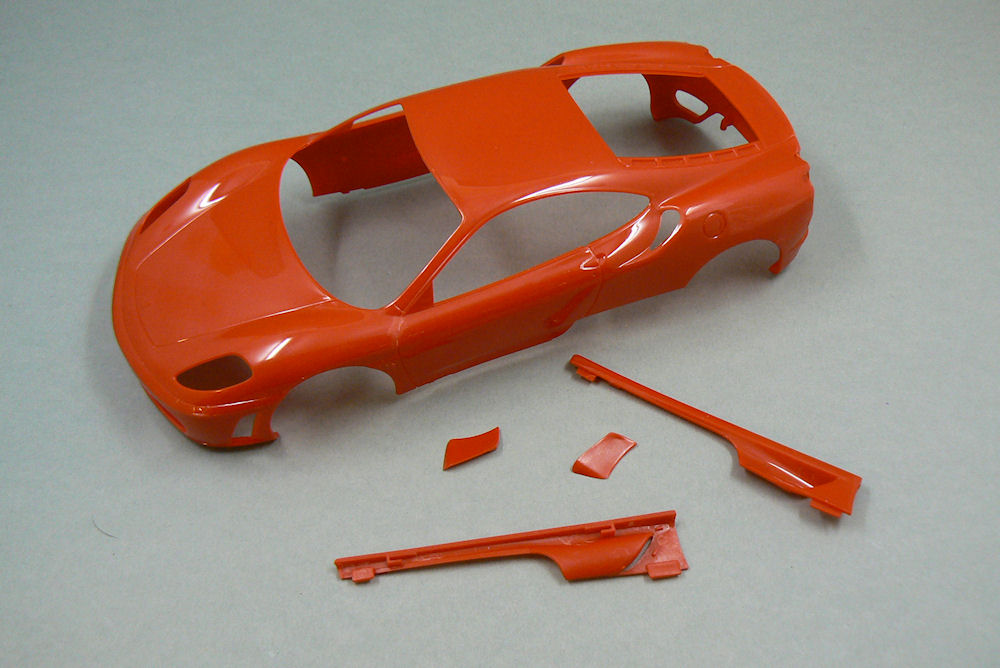
I could buy the kit from him for a very reasonable price and I could start working again.
The new body (and parts) can be seen in de picture above right.
Second time will be easier
Someone once told me that when you do something for the second time, you won't be making the mistakes you made the first time.
Well. Let's just wait and see.
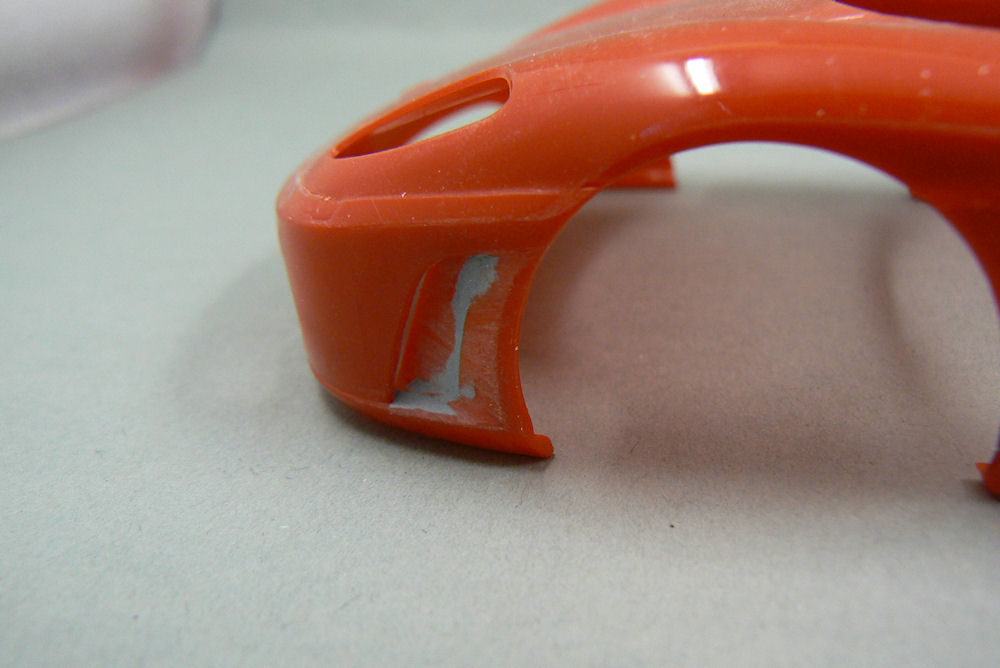
Preparation of the new body is going well. The inserts in front of the front wheels have been blended in with the rest of the body.
Some minor scratches I happened to make while deepening the panel lines of the model have been repaired.
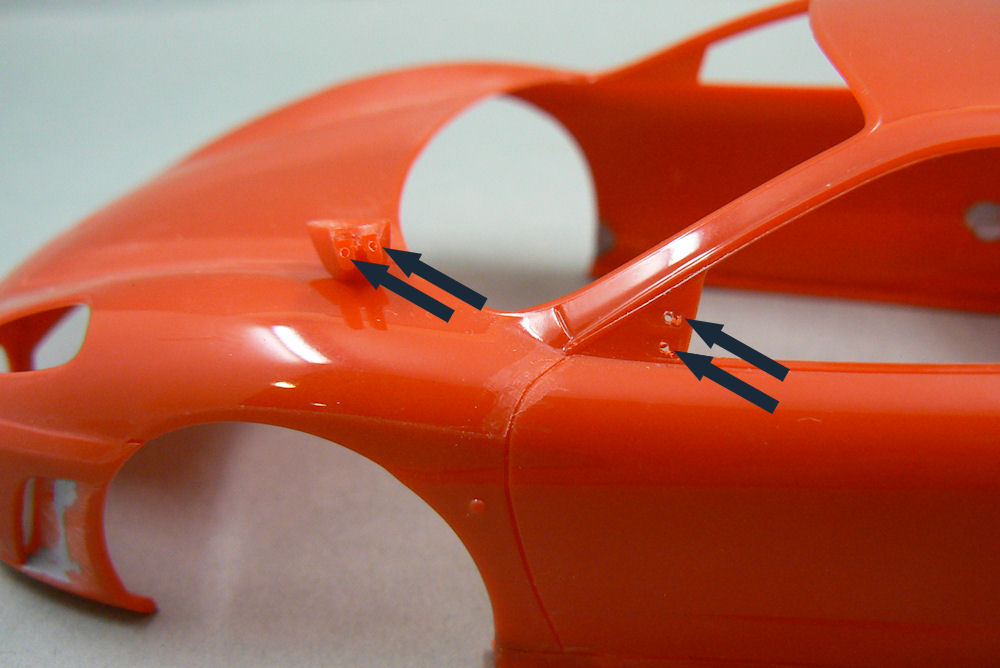
Another addition I made was drilling some holes in the mirror supports and the body. I glued some small pieces of wire into the mirror supports to create a better joint when mounting the mirrors.
Last picture is from (part of) the body after priming. As can be seen, a few spots had to be taken care of.
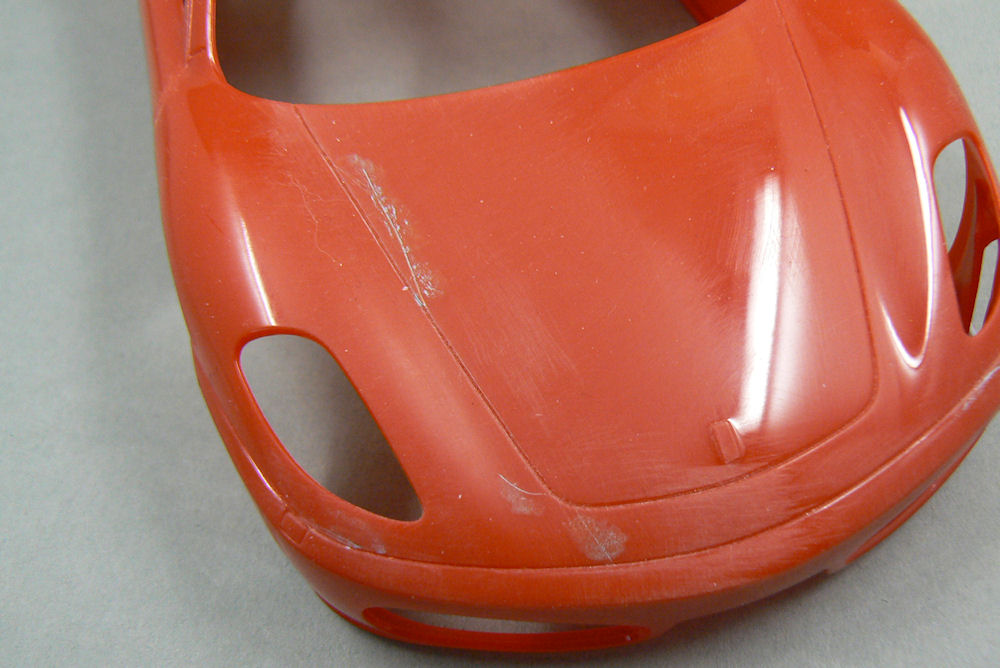
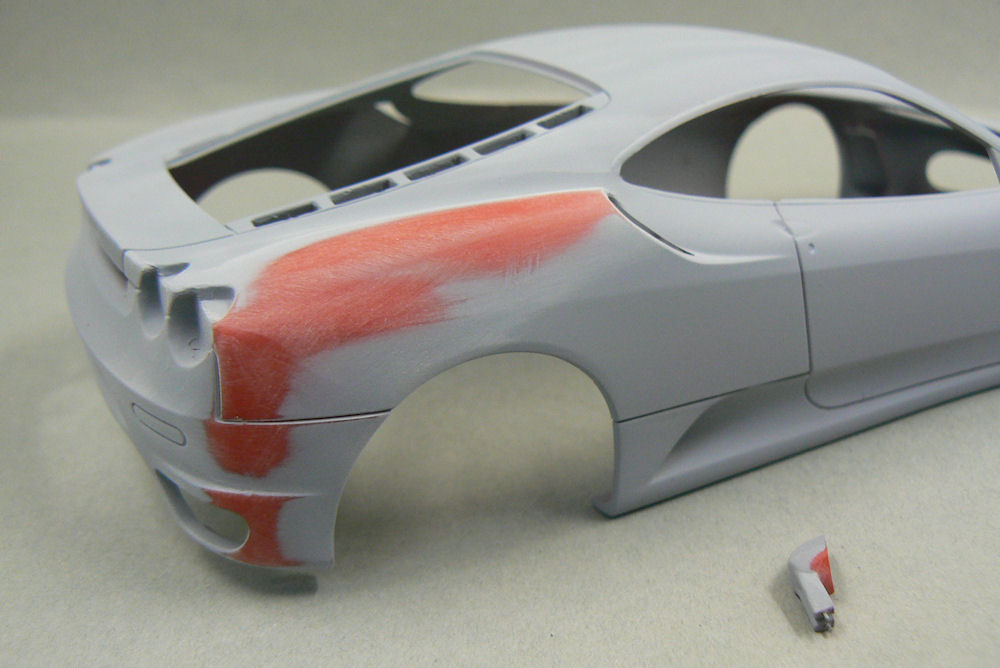 A final coat of primer is all it needs now, and than I can commence with the real painting.
But that will be for the next update.
The final sentence of the previous update couldn't be further from the truth.
Finished it is definately not. Well, yes and no actually. The car is not finished, but the body is. And had already been sent on a one-way trip to garbage-ness...
When trying to sand smooth the various spots left in the layer of clear and smooth out the clear in general a problem occured. Something which I haven't encountered with the Peugeot 307 of Gigi Galli.
For some reason I wasn't able to smooth out the layer enough and worst of all, I seemed to have damaged the clearcoat. I've sanded and compounded my hands sore, but for some reason I couldn't get the shine back into the clear. Very strange.
On top of it all the roof finally cracked for good after the plastic had already been weakened when stripping a previous paintjob.
The sad result can be seen in the picture below left.
I could buy the kit from him for a very reasonable price and I could start working again.
The new body (and parts) can be seen in de picture above right.
Second time will be easier
Someone once told me that when you do something for the second time, you won't be making the mistakes you made the first time.
Well. Let's just wait and see.
Preparation of the new body is going well. The inserts in front of the front wheels have been blended in with the rest of the body.
Some minor scratches I happened to make while deepening the panel lines of the model have been repaired.
Another addition I made was drilling some holes in the mirror supports and the body. I glued some small pieces of wire into the mirror supports to create a better joint when mounting the mirrors.
Last picture is from (part of) the body after priming. As can be seen, a few spots had to be taken care of.
But that will be for the next update.
Comments
Post a Comment