
Corvette C5-R Compuware (part 4)


The build of the Corvette is coming along slowly but steadily.
After all the work on the body everything had to be smoothed. This was done with putty, sandpaper and sanding sticks in different grades.
At the moment most of the sanding work is finished and the model is almost ready for primer.
Here's as few pictures of the current state of the build:

In the meantime I managed to prepare all the small(er) parts primer/paint. Only a small section of the parts is visible in the picture below.

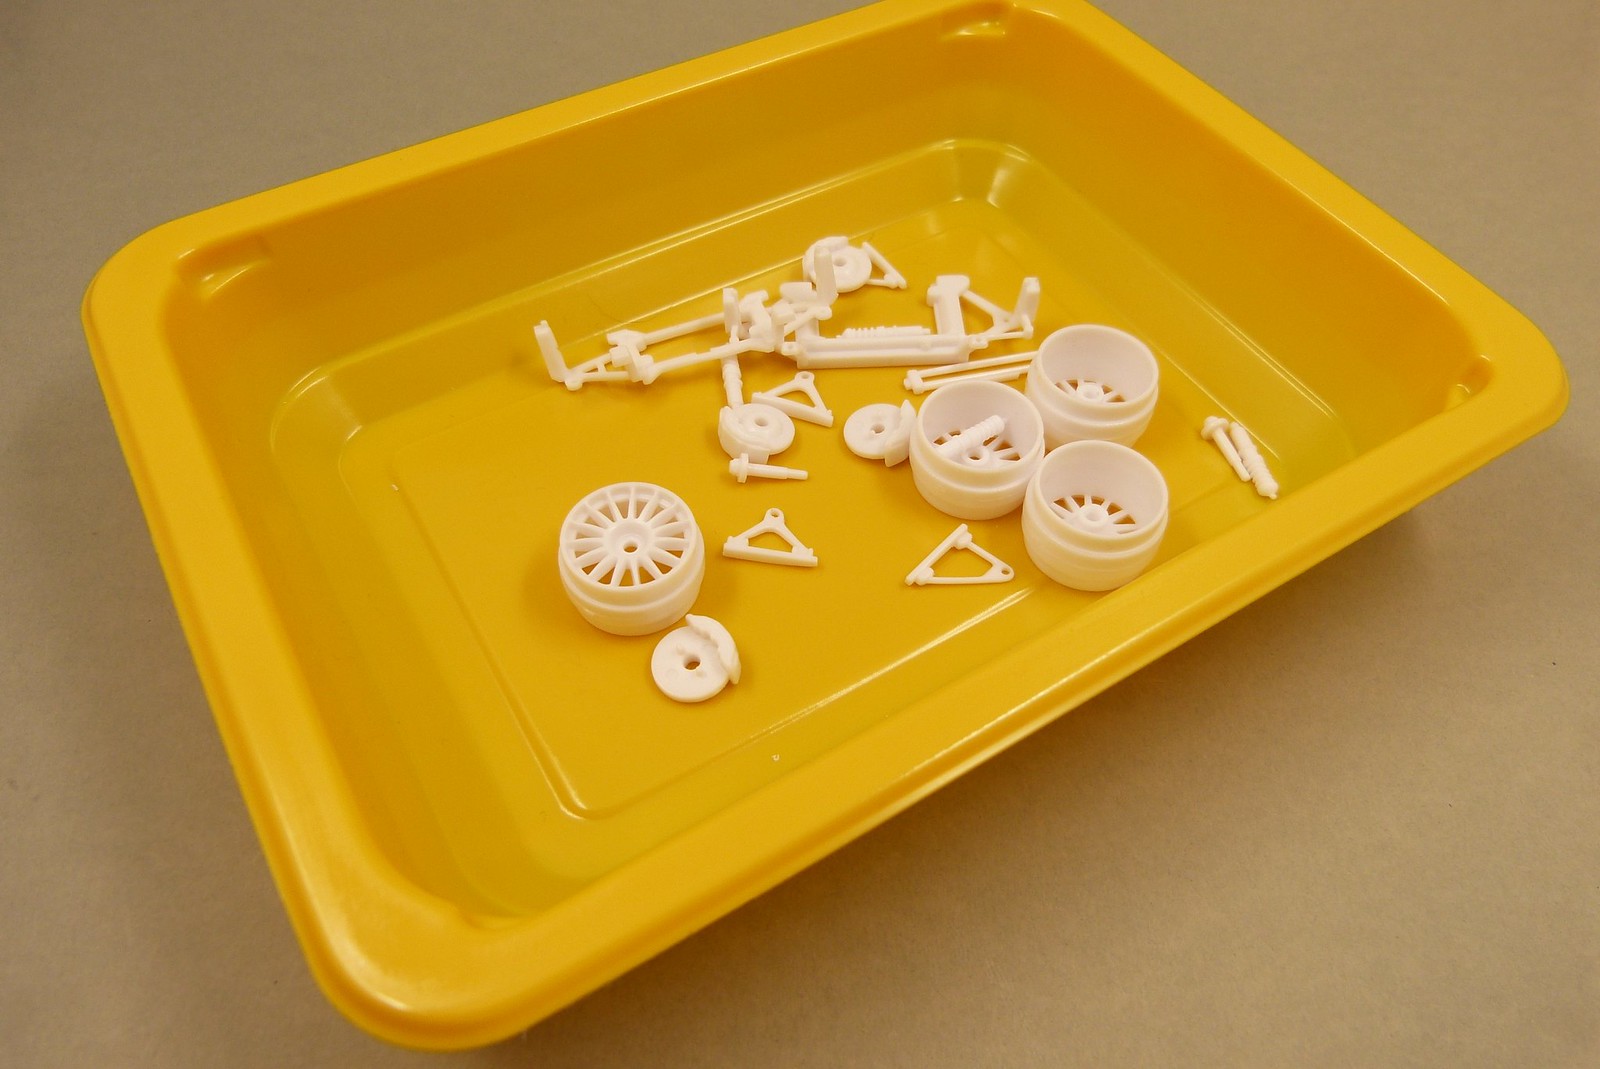
As I've decided to glue the body to the floor, I won't be spending a lot of time on the engine, suspension and other internals. I will paint them and might try a few weathering tricks on the parts, but won't be detailing the parts. It will stay OOB.
For the cockpit I'm planning to go a bit further because it is a very visible area and I've found several useful reference images.
Sadly I had to conclude that Revell has left out several details for this specific version of the Corvette C5-R here too. But nothing that can't be fixed with a bit of styrene and some putty.

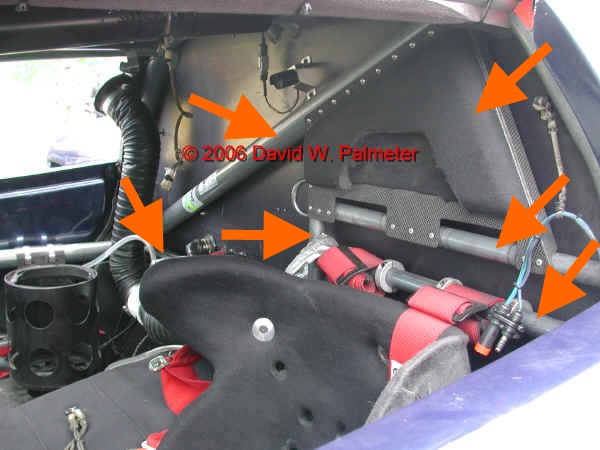
The rollcage in the kit wasn't complete. The section indicated in the picture below was not present in the kit. I'm still contemplating whether to scratchbuild this section or not. It's a bit dependent on the available space. I have to take some measurements first before deciding what to do.

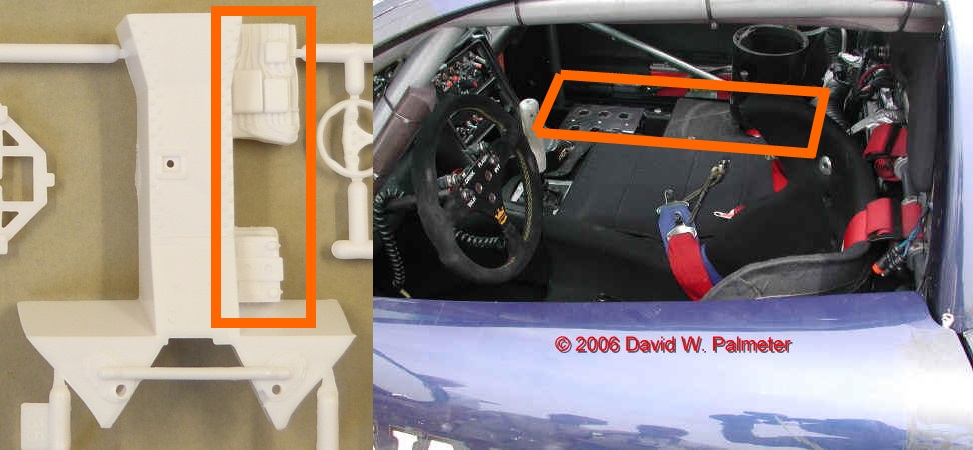
The passenger side of the interior for the real car is also different from what's to be found in the kit. But I think it will be relatively easy to scratchbuild the boxes in the picture.

I also started work in the driver's seat. I sanded down the straps moulded onto the seat. I will replace them later on in the build with some more realistic fabric seat belts. As I'm still working on the seat, I will show a picture of this at a later stage.

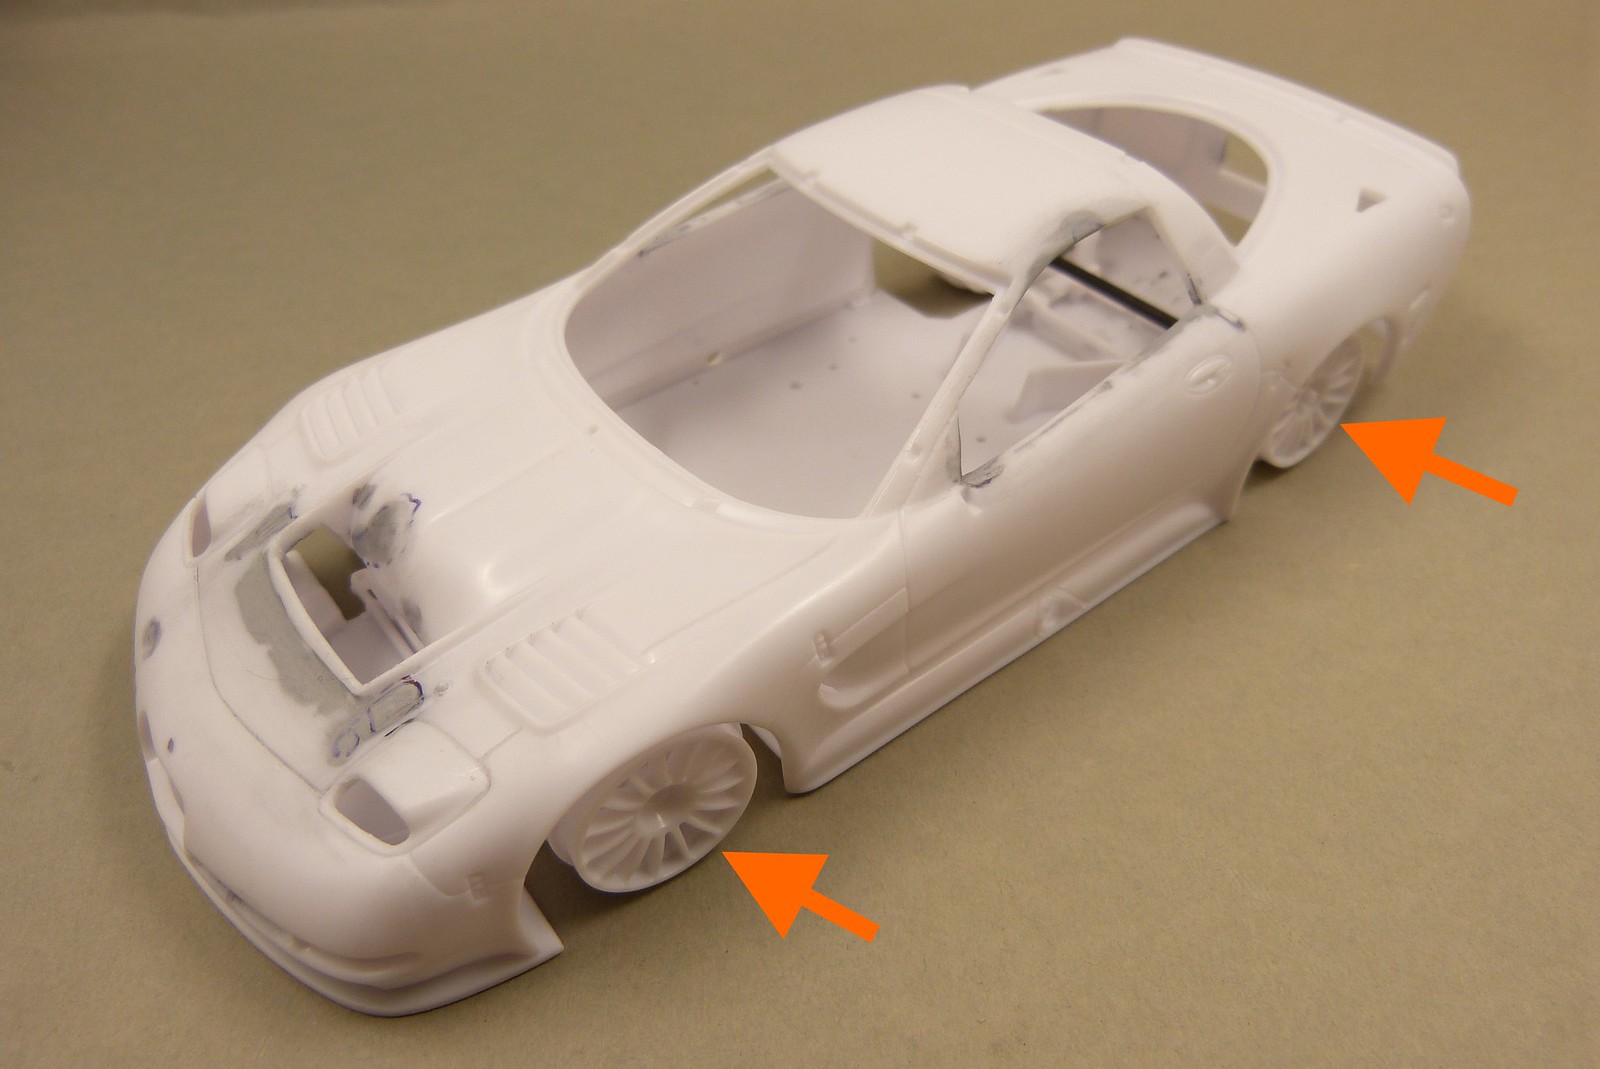
I've seen several builds of the C5-R by Revell on the internet. On most of these builds I thought that the wheels were too deep inside the wheel wells. So I did a dryfit with the wheels, suspension, floor and body. And indeed it showed that the wheels were too deep inside when compared to reference images. I will try to add some styrene to the suspension parts to get the wheels in the correct position.

That's it for now.
Hopefully next time I'll be showing some painted/primed parts...


Comments

Popular posts from this blog

Citroën Xsara WRC - Francois Duval, ADAC Rallye Deutschland 2007 (part 6)

Welcome to the next part of this build report. I left you last time (or should I say long, long ago...) with the images of the primed body, floor and roll cage, showing that there was some work to do to get everything ready for some color. In this update I will show you how far I got with these parts. I'll start with the body and floor. Sanding everything back turned out to be quite a bit of work. And of course there were several areas still in need of attention. Especially around the wheel arches there was a lot of additional work left. Luckily, with the car in tarmac setup, there's not much room left to see the remaining rough spots that have survived the clean up process... Which leads me to the conclusion that I could have cut some corners in this particular area by only cleaning up the most visible sections. It's a good lesson to check beforehand what is actually visible when the car is built together. I'll definitely be cutting some corners for the other two ...

Citroën Xsara WRC - Francois Duval, ADAC Rallye Deutschland 2007 (part 1)

And off we go on another project. When modelling WRC subjects, you cannot ignore the Citroën Xsara WRC as it is some kind of legend. Especially in the hands of a certain French driver. That's why I have 3 Xsara kits in my stash. None of said driver, that is. But rest assured, he is also present in my WRC collection. With this particular build I'm going to build the car that Francois Duval drove so expertly to the runner-up spot in the 2007 ADAC Rallye Deutschland. Sadly, where the Citroën Xsara WRC is a bit of a legend, the same thing can not be said of the only injection moulded kit if the same car... As said, there's not much choice, as Heller is the only kit manufacturer for this car (although the same kit has also been released by Airfix and Italeri). For this build I'll be using Heller kit no. 80769. Let's just say,it's not a Tamiya kit... By far. For several reasons I chose this particular car because I like the livery and I like Francois Duval too beca...

Citroën Xsara WRC - Francois Duval, ADAC Rallye Deutschland 2007 (part 5)

As promised in the previous part in this update I'll show what I changed on the roll cage. The roll cage as included in the kit is far from complete. When looking at on-board footage and reference images found on the internet the roll cage needs some extra tubing added.  Over the years the roll cage of the Xsara WRC has had several variants as I've noticed studying my reference images. Which isn't that strange as the crash test and safety regulations have changed over the years.  The reference images I have of the specific chassis (#28) which Duval raced during the 2007 ADAC Rallye Deutschland are sadly inconclusive about which version of the roll cage was fitted. Which means that the adaptations I made are at best a good "guesstimate"... As long as it looks and feels right, it is right I guess... I used Evergreen styrene rod of 1.6 mm in diameter for the added sections for the rollcage.  The added sections are highlighted in the images below. Another section I...