For several years I've been a member of the Dutch IPMS division.
To get a bit more involved with the IPMS and to restart (again..) my hobby I decided to do a build (and review) of a model offered up for review.
My choice fell on the Corvette C5-R Compuware by Revell.
Model specs:
Subject: Corvette C5-R Compuware
From: Revell
Kit no.: 07069
Scale: 1/25

About the original car: (excerpt taken from Wikipedia)
The Corvette C5-R was part of a plan by General Motors and their Chevrolet brand to create a factory team to participate in grand touring races not only in North America, but also elsewhere in the world, most notably at the 24 Hours of Le Mans.
General Motors chose the Pratt & Miller group of Michigan to build and develop the new racing cars, as well as to organize the racing team in preparation for a debut in 1999.
The C5-R initially used a 366 ci (6.0 liter) V8 engine based on the road car's LS1. This was replaced with a larger 427 ci (7.0 liter) engine several months later during the 1999 season, and became the standard engine for the C5-R for the rest of its career. Katech Engine Development constructed the C5-Rs engines, although they retained elements of the production LS1 units.
Eleven C5-R chassis were built by Pratt & Miller between 1998 and 2004, with ten being used directly by Corvette Racing and one built purely for privateer use.
More information can be found here: Wikipedia
About the kit:
This particular kit is a new release from Revell for the year 2014.
Which doesn't mean that the kit is new. Revell issued their first release of their Corvette C5-R in 2000. And it shows...
With this kit the entries for the 2003 Le Mans event can be built. More specifically the starting no.'s 50 (2nd in the GTS class) and 53 (3rd in the GTS class).
Revell has released this livery before in 2011.What the particular differences are between this release and the 2011 release I don't know, although I do know that the decalsheet is new (copyright 2014) and the box has a new image/design.
When I opened up the box I was pleasantly surprised at first. The kit is spread over 7 sprues in white plastic and one clear sprue for the windows. There's also a tiny sprue in clear red containing the rear lights. The kit comprises 93 parts (and 4 tires naturally).
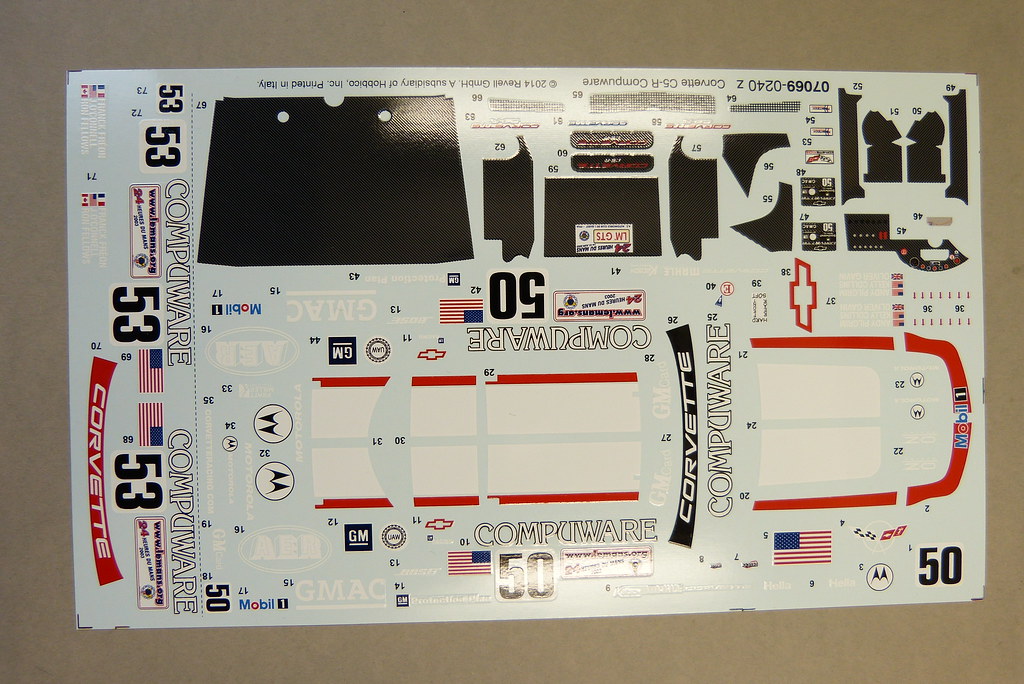
As mentioned a new (?) decalsheet is present with sponsors and carbon fibre decals for certain parts. Sadly the Good Year decals are missing.
Looking at the kit in more detail it soon becomes clear that this is already an older kit and that the moulds have seen better days.
Quite a few parts have flash. Several parts appear to be misaligned and really don't look that great.
As I already have started this kit I can also mention that the fitment of the parts isn't the best.
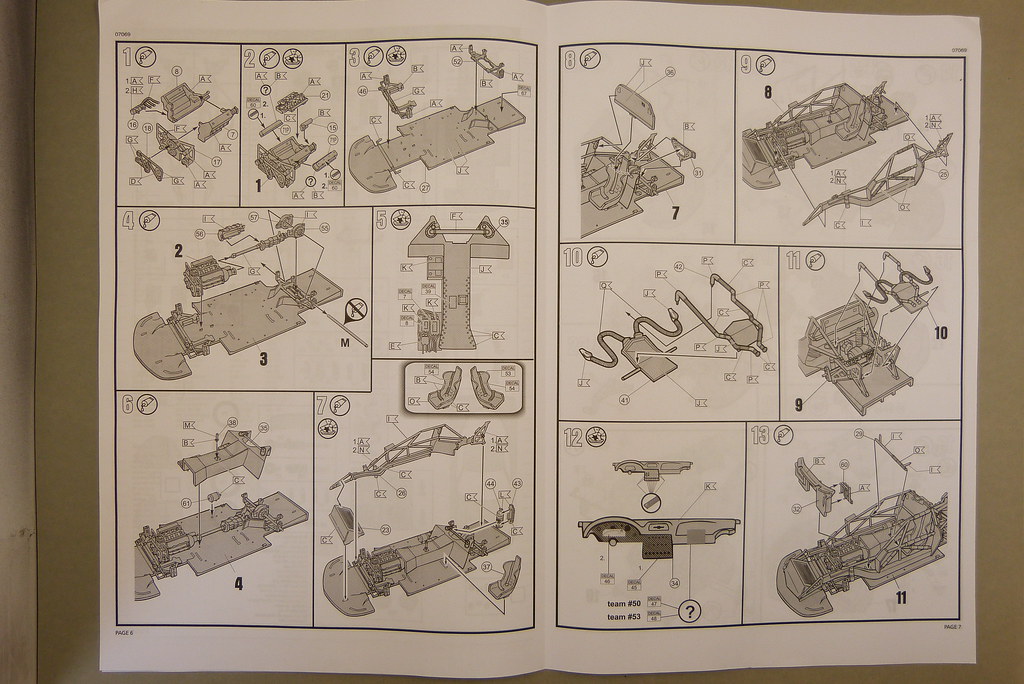
Also the instructions are quite a challenge. It isn't always clear which section of a part needs what specific colour.
Or maybe I'm just too spoiled by all those Tamiya kits I've built...?
Images of the sprues:
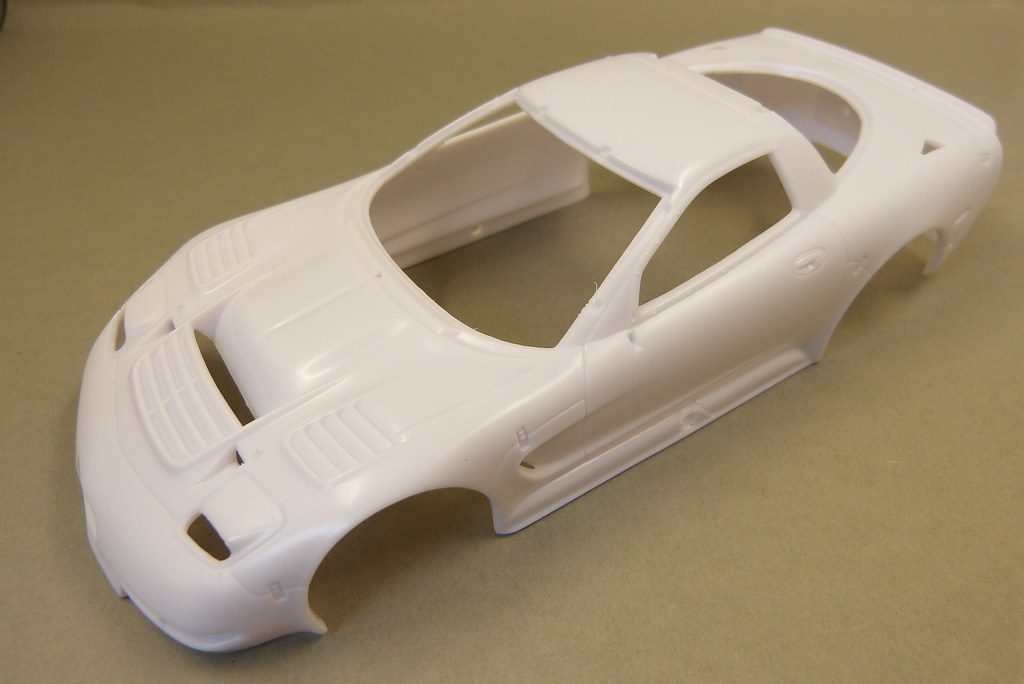
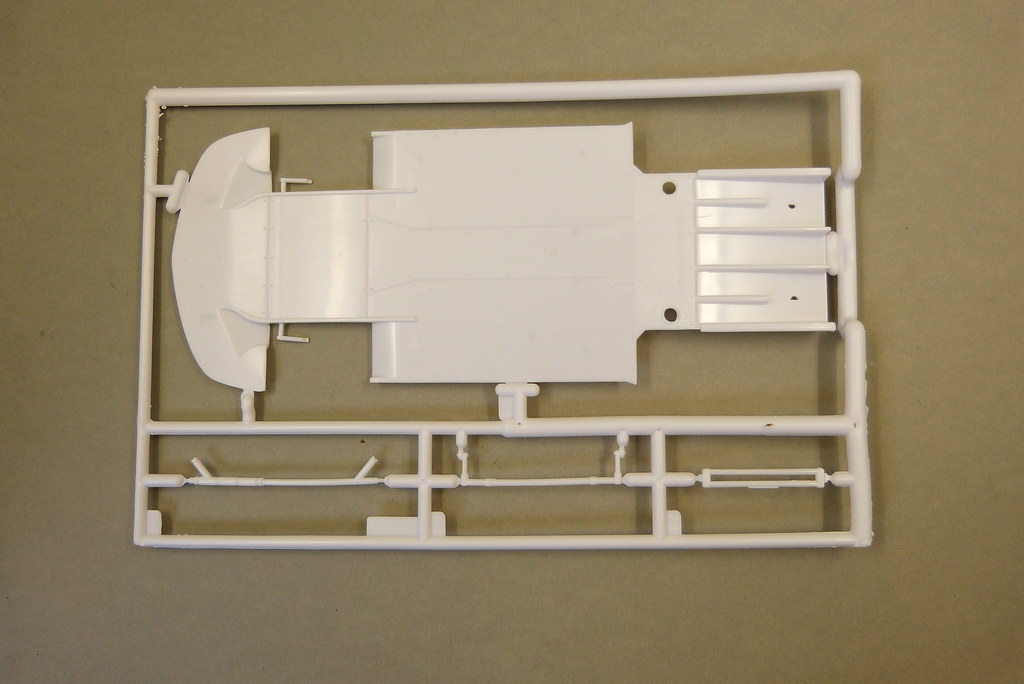
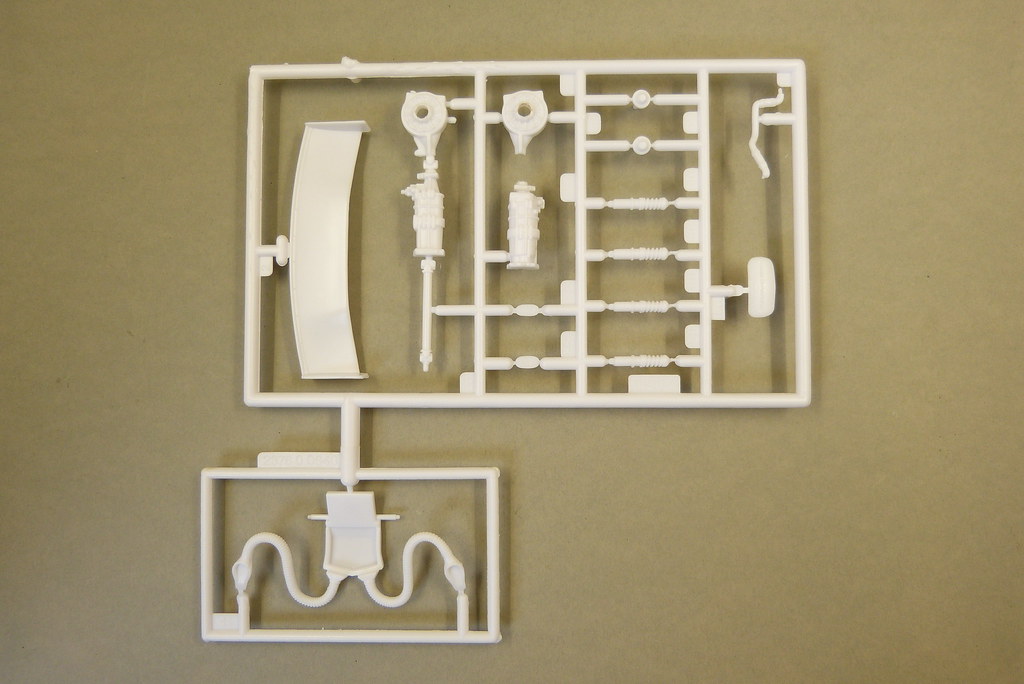
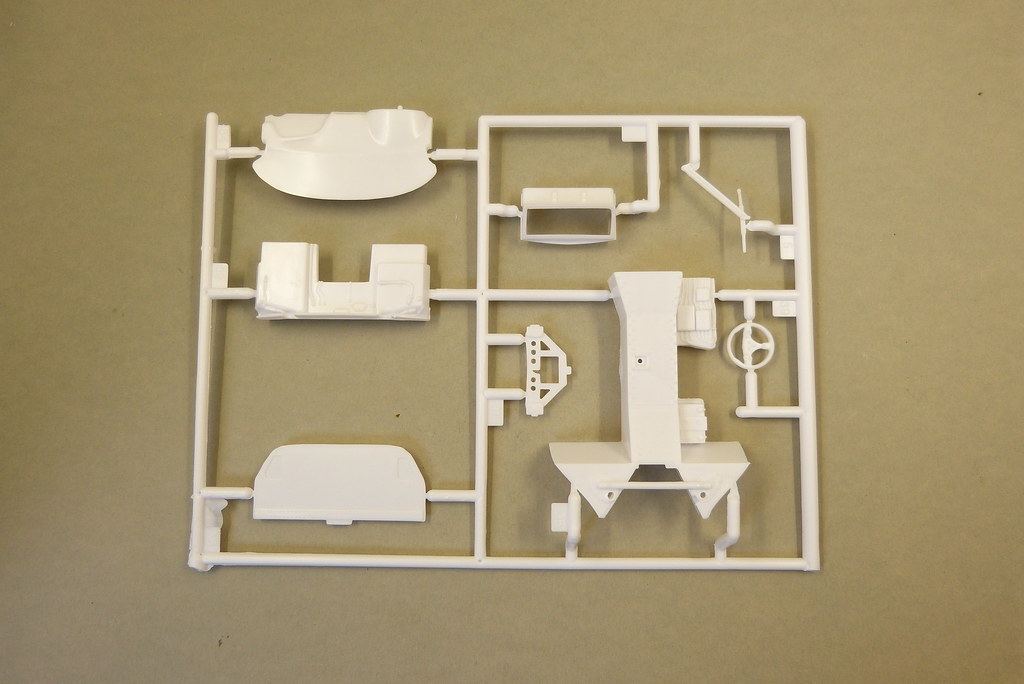
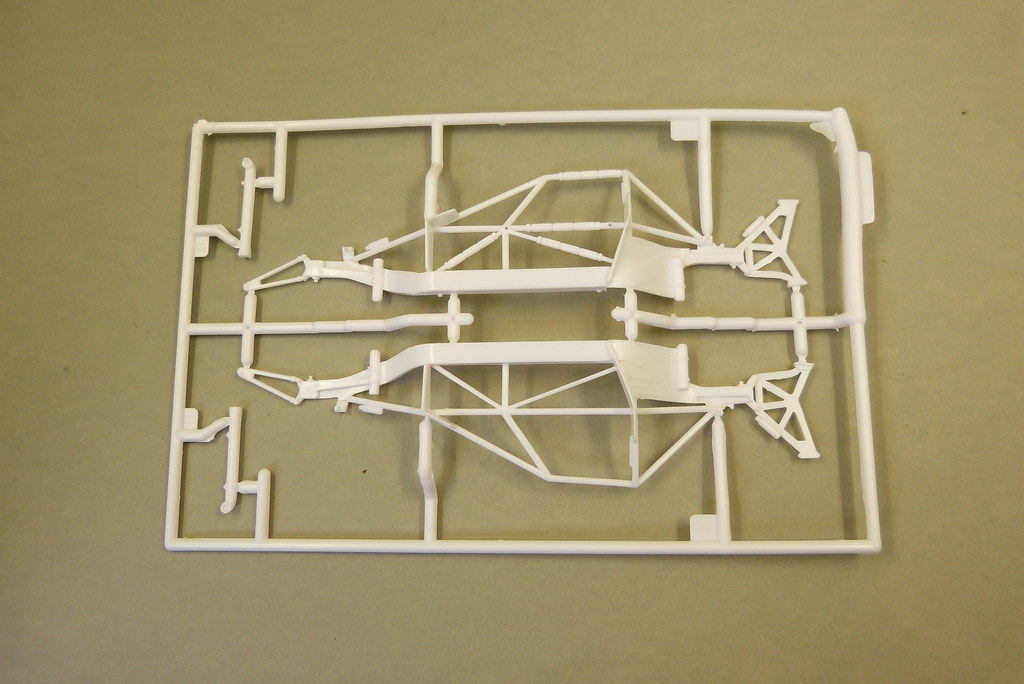

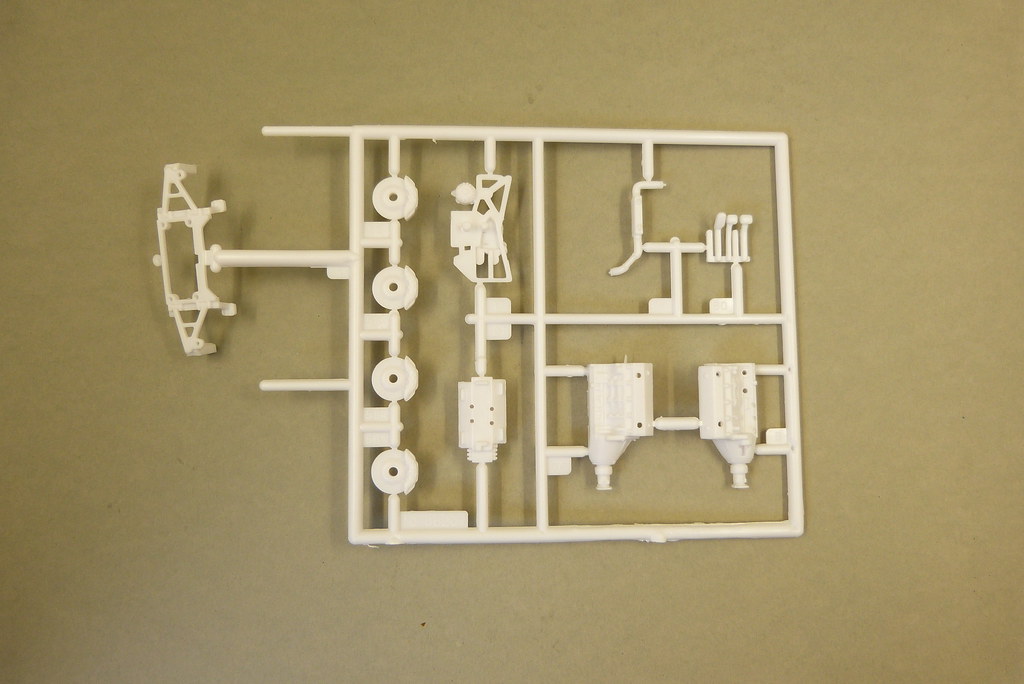
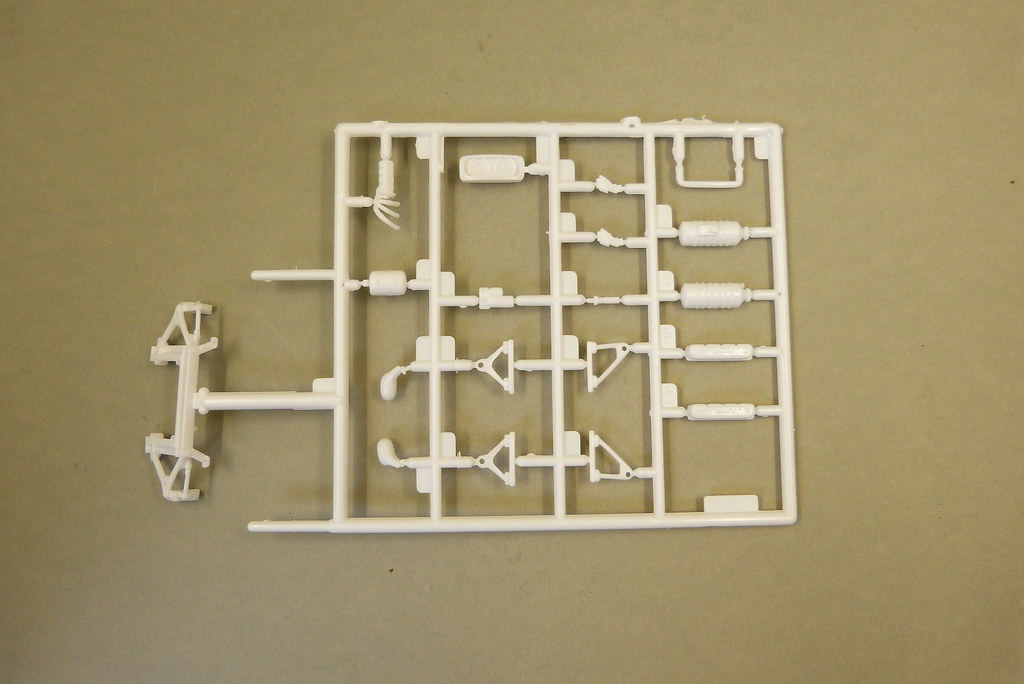
Instructions:
Decal sheet:
More to follow in the next update !
To get a bit more involved with the IPMS and to restart (again..) my hobby I decided to do a build (and review) of a model offered up for review.
My choice fell on the Corvette C5-R Compuware by Revell.
Model specs:
Subject: Corvette C5-R Compuware
From: Revell
Kit no.: 07069
Scale: 1/25
Image source: Scalemates.com
About the original car: (excerpt taken from Wikipedia)
The Corvette C5-R was part of a plan by General Motors and their Chevrolet brand to create a factory team to participate in grand touring races not only in North America, but also elsewhere in the world, most notably at the 24 Hours of Le Mans.
General Motors chose the Pratt & Miller group of Michigan to build and develop the new racing cars, as well as to organize the racing team in preparation for a debut in 1999.
The C5-R initially used a 366 ci (6.0 liter) V8 engine based on the road car's LS1. This was replaced with a larger 427 ci (7.0 liter) engine several months later during the 1999 season, and became the standard engine for the C5-R for the rest of its career. Katech Engine Development constructed the C5-Rs engines, although they retained elements of the production LS1 units.
Eleven C5-R chassis were built by Pratt & Miller between 1998 and 2004, with ten being used directly by Corvette Racing and one built purely for privateer use.
More information can be found here: Wikipedia
About the kit:
This particular kit is a new release from Revell for the year 2014.
Which doesn't mean that the kit is new. Revell issued their first release of their Corvette C5-R in 2000. And it shows...
With this kit the entries for the 2003 Le Mans event can be built. More specifically the starting no.'s 50 (2nd in the GTS class) and 53 (3rd in the GTS class).
Revell has released this livery before in 2011.What the particular differences are between this release and the 2011 release I don't know, although I do know that the decalsheet is new (copyright 2014) and the box has a new image/design.
When I opened up the box I was pleasantly surprised at first. The kit is spread over 7 sprues in white plastic and one clear sprue for the windows. There's also a tiny sprue in clear red containing the rear lights. The kit comprises 93 parts (and 4 tires naturally).
As mentioned a new (?) decalsheet is present with sponsors and carbon fibre decals for certain parts. Sadly the Good Year decals are missing.
Looking at the kit in more detail it soon becomes clear that this is already an older kit and that the moulds have seen better days.
Quite a few parts have flash. Several parts appear to be misaligned and really don't look that great.
As I already have started this kit I can also mention that the fitment of the parts isn't the best.
Also the instructions are quite a challenge. It isn't always clear which section of a part needs what specific colour.
Or maybe I'm just too spoiled by all those Tamiya kits I've built...?
Images of the sprues:
Instructions:
Decal sheet:
More to follow in the next update !
Comments
Post a Comment